
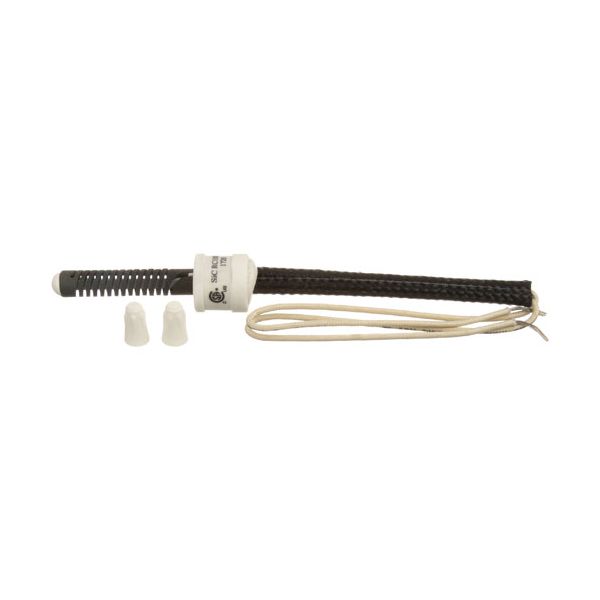
Blodgett 17460 Oven Ignitor 15" Leads 2-3/4" Long 115V

Special Price $150.03 Regular Price $311.25
In stock
SKU
17460
Manufacturer:

The Blodgett 17460 Ignitor 15" Leads 2-3/4" Long 115V triggers, the combustion process by producing the required heat to start the flow of gas in the oven. It works by attracting electrical current using its heating element that becomes hot and produces the spark needed to ignite the burner flame. This part is fitted in compatible commercial ovens, and usually it is located close to the burner assembly where the gas is introduced into the combustion chamber. It has 15-inch leads and 2-3/4-inch length that allows it to be connected and placed in a specific location accurately and securely so that it fits well in the intended mounting space.

Dimensions

  • Length: 8.25 In
  • Width: 2.5 In
  • Height: 2.75 In
  • Weight: 0.3 lbs
https://partsfe.com/media/catalog/product/b/l/blodgett-17460-oven-ignitor-15-leads-3-16-female-push-on-77074-2.jpg

Product Notes

  • Ignitor, 115V
  • 2-3/4" Long W/15" Leads, 1 Has 3/16" Female Push On,
  • Other Wire Stripped Bare.
  • For Bracket Use # 26-1808
  • Blodgett Oven Dfg
  • Market Forge Oven
  • Southbend Oven Xe, Xse,
  • Used W/Igniter "Ajs" Control Module # 44-1277
Write Your Own Review
You're reviewing:Blodgett 17460 Oven Ignitor 15" Leads 2-3/4" Long 115V
Your Rating
Customer Questions
What maintenance is required for the Blodgett 17460 Ignitor?

Regularly inspect the oven ignitor for cracks, damage, or weak glowing during operation. Ensure electrical connections are tight and free of corrosion. Keep surrounding components clean to prevent buildup affecting ignition. Always disconnect power before servicing to avoid electrical hazards.

What are common issues with the Blodgett 17460 Ignitor?

  • Oven ignitor not glowing or failing to heat.
  • Delayed ignition or burner not lighting.
  • Weak or inconsistent glow causing startup failure.
  • Electrical connection faults or damaged leads.
  • Cracked or worn ignitor element.

We strive to provide our customers with a hassle-free and efficient shopping experience. Our shipping policy ensures the timely delivery of your orders and complete customer satisfaction. View More

We are committed to ensuring your complete satisfaction with every purchase. We understand that circumstances may arise where you must return a product or request a refund. If for any reason you are not satisfied, you may return the item(s) according to the terms outlined below. View More

This Payment Policy outlines the terms and conditions governing all payments made for products purchased through our website. By making a purchase, you agree to be bound by this Payment Policy. View More

Installation Steps

Step1: Disconnect electrical power and shut off gas supply to ensure safety before servicing the oven ignitor.

Step2: Remove the oven panel and carefully detach the faulty ignitor from its mounting bracket.

Step3: Install the new ignitor into the bracket, aligning it properly with the burner assembly.

Step4: Connect the leads securely, ensuring tight and correct polarity connections.

Step5: Reassemble the oven, restore power, and test ignition for proper operation.