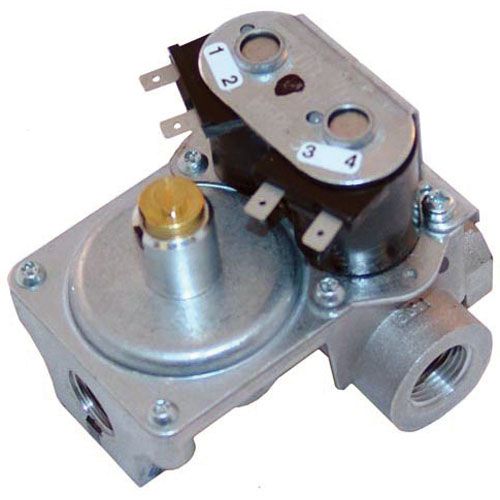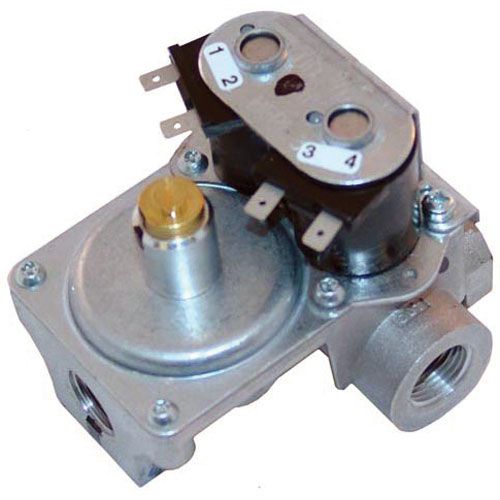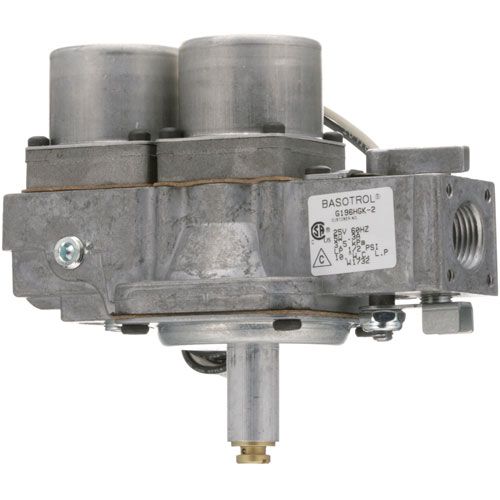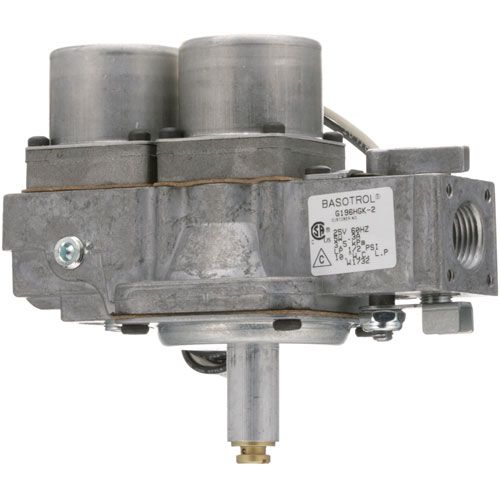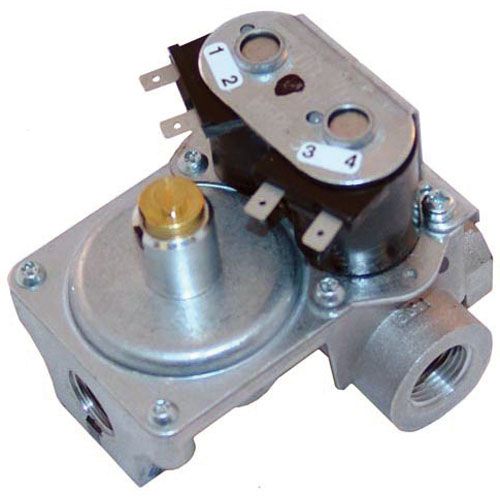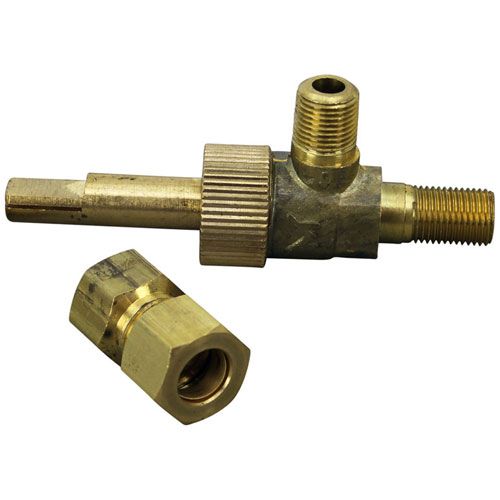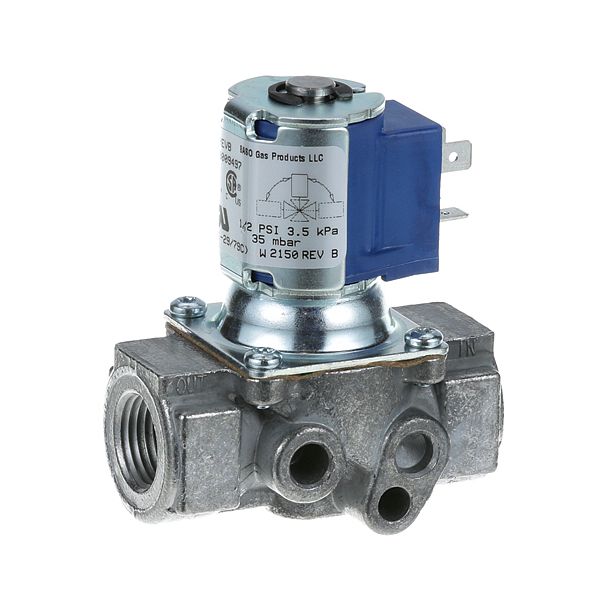
Imperial 38181 Oven Solenoid Valve 5W .05A 1/2" NPT 1/2 PSI 120V
Dimensions
- Weight: 0 lbs
Burner Operation Support:
Controls the availability of gas supplied to the burner assembly during operation. By opening or closing the gas passage in response to the control signal, the valve supports the burner system's required fuel-delivery sequence.
Gas Line Interface:
The valve forms the connection between the incoming fuel supply and the controlled burner circuit. Its threaded inlet provides the designated attachment point within the oven's gas piping arrangement. From this point, the component regulates passage through the fuel path according to signals from the control system.
Replacement Guidelines:
Replace the Oven Solenoid Valve if it develops physical damage, leakage, inconsistent actuation, or no longer controls gas flow as intended. The part number 38181, 1/2" NPT connection, 1/2 PSI pressure rating, and 120V electrical specification should be verified before replacement to ensure the correct valve is selected. Gas-system service should be performed by a qualified technician.
Common Failure Symptoms:
Equipment Compatibility:
Intended for commercial oven applications using this specific gas-control configuration. Verify the complete equipment model, part number 38181, connection size, pressure rating, and electrical specifications against the applicable manufacturer documentation.
Technical Specifications:
Brand: Imperial
Part Number: 38181
Component Type: Solenoid Valve
Equipment Type: Oven
Connection Size: 1/2" NPT
Pressure Rating: 1/2 PSI
Current Rating: 0.05A
Power Rating: 5W
Voltage: 120V
We strive to provide our customers with a hassle-free and efficient shopping experience. Our shipping policy ensures the timely delivery of your orders and complete customer satisfaction. View More
We are committed to ensuring your complete satisfaction with every purchase. We understand that circumstances may arise where you must return a product or request a refund. If for any reason you are not satisfied, you may return the item(s) according to the terms outlined below. View More
This Payment Policy outlines the terms and conditions governing all payments made for products purchased through our website. By making a purchase, you agree to be bound by this Payment Policy. View More
Step1: Turn off the oven and disconnect both electrical power and gas supply.
Step2: Remove the old solenoid valve by disconnecting gas lines and wiring carefully.
Step3: Inspect the mounting area and clean any debris.
Step4: Install the new solenoid valve, securing it to the gas line with proper fittings.
Step5: Reconnect the electrical wiring according to specifications.
Step6: Restore gas and power, then test the oven for proper operation and check for leaks.