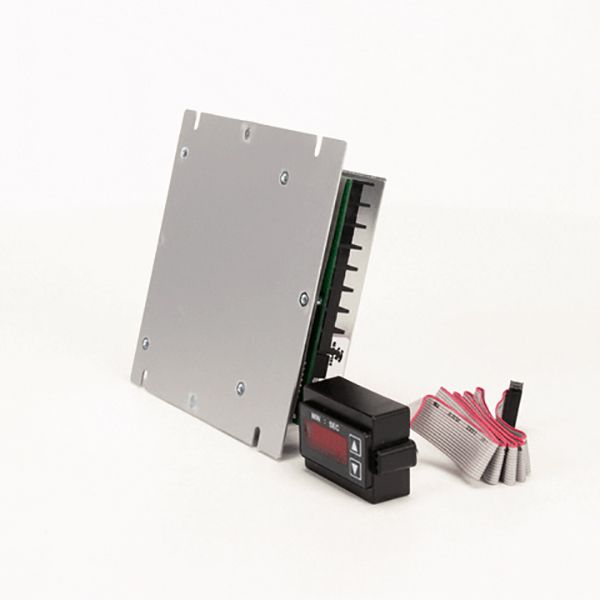
Middleby Marshall 60542 Oven Speed Control Board W/ Remote Digital Display 5-3/8" x 5-1/2"

$979.76
In stock
SKU
60542
Middleby Marshall 60542 Speed Control Board fits oven models such as BE2136, BE3240 and others. It has a 5-3/8 inch x 5-1/2 inch dimension and it has a remote digital display with a clear LCD that shows minutes and seconds for the exact control. The 30” ribbon cable also makes it easy to install and is flexible. This speed control board increases the rate of cooking by allowing precise control of the speed hence increasing the efficiency of ovens. It is better suited to professional kitchens, as it provides the ability to maintain stable temperature and time conditions and increases speed of work in conditions of high demand.

Dimensions

  • Length: 7 In
  • Width: 5.5 In
  • Height: 2 In
  • Weight: 1.08 lbs
https://partsfe.com/media/catalog/product/m/i/middleby-marshall-60542-oven-speed-control-board-w-remote-digital-display-5-3-8-x-5-1-2-87485-2.jpg

Product Notes

  • Speed Control Board, 5-3/8" X 5-1/2" National Controls With
  • Remote Min/Sec Lcd Digital Display &, 30" Ribbon Cable,
  • For Digital Display Only Use # 44-1518
  • Middleby Marshall Be2136, Be3240, Bg2136,
  • Ps224-R68, Ps520E, Ps520G, Ps536Gs, Ps540E, Ps540G, Ps555,
  • Ps570G, S1820
Write Your Own Review
You're reviewing:Middleby Marshall 60542 Oven Speed Control Board W/ Remote Digital Display 5-3/8" x 5-1/2"
Your Rating
Customer Questions
What maintenance is required for the Middleby Marshall 60542 Speed Control Board W/ Remote Digital Display?

Inspect wiring connections and ensure the control board is free from dust and grease buildup. Regularly check the remote digital display for accuracy and responsiveness. Ensure a stable power supply and secure mounting to prevent vibration damage in commercial ovens.

What are common issues with the Middleby Marshall 60542 Speed Control Board W/ Remote Digital Display?

  • Unresponsive or inaccurate speed control adjustments.
  • Flickering or failed remote digital display.
  • Intermittent communication loss between board and oven system.
  • Power fluctuations causing erratic operation.

We strive to provide our customers with a hassle-free and efficient shopping experience. Our shipping policy ensures the timely delivery of your orders and complete customer satisfaction. View More

We are committed to ensuring your complete satisfaction with every purchase. We understand that circumstances may arise where you must return a product or request a refund. If for any reason you are not satisfied, you may return the item(s) according to the terms outlined below. View More

This Payment Policy outlines the terms and conditions governing all payments made for products purchased through our website. By making a purchase, you agree to be bound by this Payment Policy. View More

Installation Steps

Step1: Disconnect power to the oven and check it is fully de-energized.

Step2: Remove the control panel cover to access the existing board.

Step3: Label and carefully disconnect all wiring and the ribbon cable.

Step4: Unscrew and remove the old control board from its mounting.

Step5: Install the new board, aligning it to the mounting points.

Step6: Reconnect all wiring and the ribbon cable securely.

Step7: Restore power and test the digital display and conveyor speed control for proper operation.