
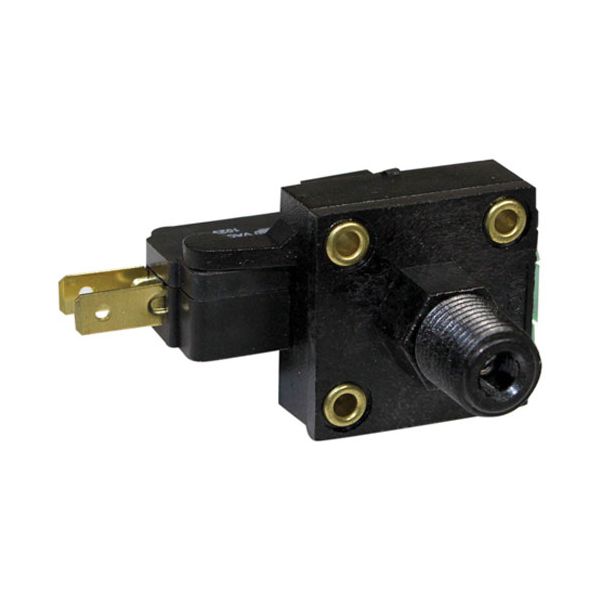
Accutemp AT1E-2647-1 Pressure Switch W/3 Tab Terminals & Steamer 3A

Special Price $71.15 Regular Price $134.00
In stock
SKU
AT1E-2647-1
Manufacturer:

The Accutemp AT1E-2647-1 Pressure Switch with 3 Tab Terminals & Steamer 3 AMP is monitoring system for compatible commercial equipment. It has three tab terminals a 3 amp rating, and senses pressure changes in the steamer system and turns on or off electrical operation. It is installed in the pressure control assembly to assist in keeping the unit in steam generation performance. This switch is essential for controlling system pressure and system components. It is used in commercial kitchen steamers and is replaced when pressure response or switching is inconsistent.

Dimensions

  • Length: 1.625 In
  • Width: 1 In
  • Height: 1.625 In
  • Weight: 0.35 lbs
https://partsfe.com/media/catalog/product/a/c/accutemp-at1e-2647-1-oven-pressure-switch-w-3-tab-terminals-steamer-3-amp-30870-2.jpg

Product Notes

  • Pressure Swotch
  • 3 Amp 125/250/277 Vac
  • 3 Tab Terminals
  • Accutemp Steamer S3, S6, S62083D120
ACCUTEMP:
ACCAT1E-2647-1, ACCAT1E2647-1, AT1E-2647-1, AT1E2647-1, AT1E26471
Write Your Own Review
You're reviewing:Accutemp AT1E-2647-1 Pressure Switch W/3 Tab Terminals & Steamer 3A
Your Rating
Customer Questions
What maintenance is required for the Accutemp AT1E-2647-1 Pressure Switch?

Inspect the oven pressure switch and wiring terminals regularly for corrosion or looseness. Clean contacts carefully to ensure accurate signal flow. Proper maintenance prevents control failures and ensures better operation under pressure conditions.

What are common issues with the Accutemp AT1E-2647-1 Pressure Switch?

  • Pressure sensing inaccuracies.
  • Loose or oxidized terminals.
  • Switch failure under heat or steam exposure.
  • Wiring connection faults.
  • Inability to trigger heating system.

We strive to provide our customers with a hassle-free and efficient shopping experience. Our shipping policy ensures the timely delivery of your orders and complete customer satisfaction. View More

We are committed to ensuring your complete satisfaction with every purchase. We understand that circumstances may arise where you must return a product or request a refund. If for any reason you are not satisfied, you may return the item(s) according to the terms outlined below. View More

This Payment Policy outlines the terms and conditions governing all payments made for products purchased through our website. By making a purchase, you agree to be bound by this Payment Policy. View More

Installation Steps

Step1: Turn off power and gas supply, apply lockout tagout, allow unit to cool.

Step2: Remove existing switch and label wiring on 3-tab terminals.

Step3: Mount new switch securely and reconnect terminals per wiring diagram.

Step4: Restore power and test pressure response and safety ignition cut-off.

Step5: Check stable operation ensure proper cut-off and no faults.