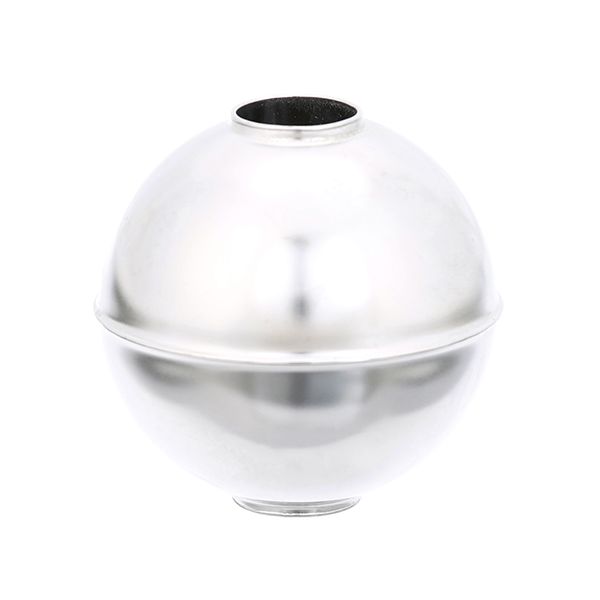
Accutemp ATOP-3233-1 2" Float

$52.64
In stock
SKU
ATOP-3233-1
The Accutemp ATOP-3233-1 2" Float represents a float solution that works effectively in different systems. The 2-inch size of this float makes it perfect for managing and vessels and other containers. The float's engineering design supports stable and accurate operation. The product serves industries that need accurate level monitoring including water treatment facilities and chemical processing operations and manufacturing facilities. To avoid fluid overflows and sustain proper fluid height ranges the float functions as an essentialelement in fluid control systems. The product delivers dependable operation alongside long-term durability while simplifying installation procedures which leads to operational efficiency improvements.

Dimensions

  • Length: 4.19 In
  • Width: 2 In
  • Height: 1.25 In
  • Weight: 0.45 lbs
https://partsfe.com/media/catalog/product/a/c/accutemp-atop-3233-1-2-float-78953-2.jpg
Manufacturer Name: Accutemp
Product Number: ATOP-3233-1
OEM Part Number: ATOP-3233-1
Product Description: Float, 2"
Similar Models:AT0P32231 - Accutemp, AT0P-3233-1 - Accutemp
Dimensions:
Length:4.19in/10.64cm
Width:2in/5.08cm
Height:1.25in/3.18cm
Weight:0.45lbs/204.12g

Choose the best Commercial kitchen & Restaurant equipment parts and supplies from PartsFe!

  • Same Day Shipping

  • Best Quality And Best Price

  • Wide Range of Inventory

  • Best Customer Service

Have More Questions or Need Help to Place The Order?
Reach us at 866-863-0907 or contact@partsfe.com

Write Your Own Review
You're reviewing:Accutemp ATOP-3233-1 2" Float
Your Rating
Customer Questions
What maintenance is required for the Accutemp ATOP-3233-1 Float?

Check that the float moves freely without sticking or obstruction. Inspect for cracks or material wear and ensure all connections are secure. This supports maintain accurate liquid level control and prevents overflow or underfill situations.

What are common issues with the Accutemp ATOP-3233-1 Float?

  • Float sticking or binding.
  • Cracks or deformation affecting floating.
  • Incorrect liquid level readings.
  • Leaks at the connection points.
  • Erratic operation causing overfill or dry running.

We strive to provide our customers with a hassle-free and efficient shopping experience. Our shipping policy ensures the timely delivery of your orders and complete customer satisfaction. View More

We are committed to ensuring your complete satisfaction with every purchase. We understand that circumstances may arise where you must return a product or request a refund. If for any reason you are not satisfied, you may return the item(s) according to the terms outlined below. View More

This Payment Policy outlines the terms and conditions governing all payments made for products purchased through our website. By making a purchase, you agree to be bound by this Payment Policy. View More

Installation Steps

Step1: Turn off the water supply and drain the system if necessary before installation.

Step2: Remove the old float carefully, noting its orientation in the tank or reservoir.

Step3: Insert the new float into position, ensuring it moves freely without obstruction.

Step4: Secure the float in place according to the manufacturer's instructions.

Step5: Test operation by filling the tank and observing float movement and cutoff.

Step6: Adjust the float height if needed to ensure proper fill and shutoff level.