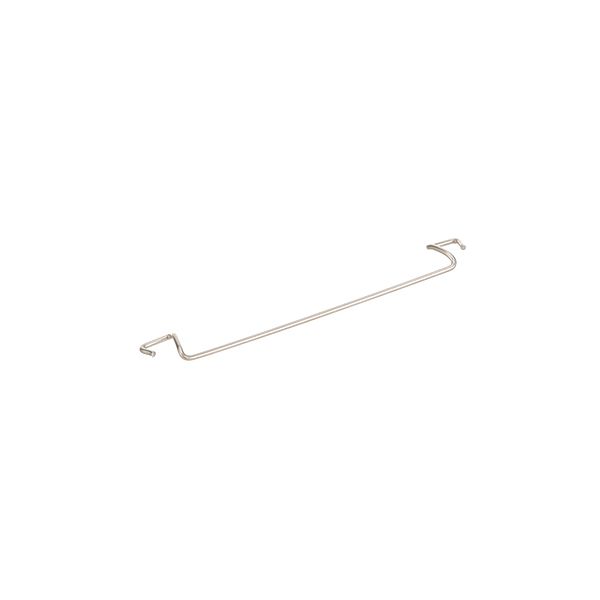
Lincoln 369165 Oven Conveyor Belt Connecting Link

$19.84
In stock
SKU
369165
The Lincoln 369165 Oven Conveyor Belt Connection is a mechanical fastening part that is applied in commercial conveyor oven systems. It is created to connect parts of the conveyor belt to enable the belt to create a continuous loop that transfers food products through the heated area. This connecting link is fitted in the assembly of the conveyor itself and aids in the smooth and consistent movement of the belts in the baking or cooking cycles. It is widely applicable in commercial kitchens where conveyor ovens are operating long hours of the conveyor system.

Dimensions

  • Length: 3 In
  • Width: 0.5 In
  • Height: 3 In
  • Weight: 0.1 lbs
https://partsfe.com/media/catalog/product/c/o/connecting-link-for-lincoln-part-369165-91239-2.jpg

Product Notes

  • Conveyor Belt Connecting Link,
  • Stainless Steel, 3" Long,
  • Lincoln Oven Series 1100
Write Your Own Review
You're reviewing:Lincoln 369165 Oven Conveyor Belt Connecting Link
Your Rating
Customer Questions
What maintenance is required for the Lincoln 369165 Connecting Link?

Keep the connecting link clean and free from grease buildup, debris, and corrosion to ensure smooth conveyor movement. Inspect regularly for wear, bending, or loosened joints. Replace damaged links promptly to avoid system misalignment.

What are common issues with the Lincoln 369165 Connecting Link?

  • Cracking or deformation under heavy load.
  • Corrosion leading to stiffness or binding.
  • Loose fit causing misalignment and uneven conveyor movement issues.

We strive to provide our customers with a hassle-free and efficient shopping experience. Our shipping policy ensures the timely delivery of your orders and complete customer satisfaction. View More

We are committed to ensuring your complete satisfaction with every purchase. We understand that circumstances may arise where you must return a product or request a refund. If for any reason you are not satisfied, you may return the item(s) according to the terms outlined below. View More

This Payment Policy outlines the terms and conditions governing all payments made for products purchased through our website. By making a purchase, you agree to be bound by this Payment Policy. View More

Installation Steps

Step1: Disconnect power and ensure the unit is fully locked out for safety before starting.

Step2: Remove the worn or damaged connecting link from the assembly using proper tools.

Step3: Align the new connecting link with the designated mounting points on the mechanism.

Step4: Secure fasteners tightly and verify correct fitment and movement.

Step5: Restore power and test operation carefully to ensure smooth and safe performance.