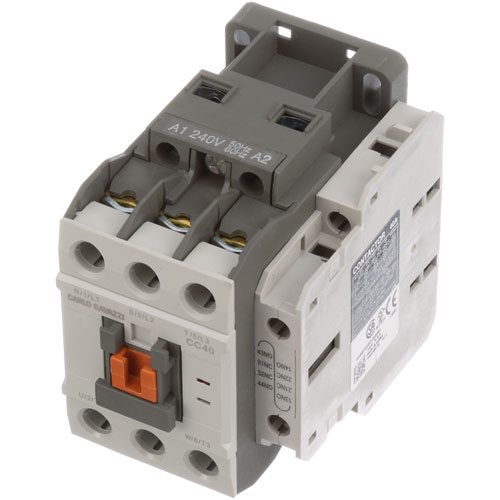

Blodgett R11087 Oven 3-Pole Contactor 240V 40A
Specifications:
- Contactor, 240V, 40A, 3 Pole
- Blodgett Cos-5Ha, Ctb, Ctbr, Mark V, Mark V Series
Description
Dimensions:
- Weight: 1.06 lbs
- Length: 4 in
- Height: 2.13 in
- Width: 4 in
This Part Fits the Following Models
14 modelsStep1: Disconnect oven power, ensure unit is cooled.
Step2: Open control panel carefully and secure access door.
Step3: Label and remove wires from old contactor, note each terminal position.
Step4: Mount new contactor securely in same position and orientation using existing hardware.
Step5: Reconnect wiring per diagram or labels, ensuring tight connections.
Step6: Close panel, restore power, test oven operation safely and confirm operation.
-
What maintenance is required for the Blodgett R11087 Contactor?
Inspect Oven contact points for pitting or arcing, tighten connections, ensure coil operates correctly, and keep enclosure clean from dust and grease. Always isolate power before servicing to prevent electrical shock and accidental activation during maintenance.
-
What are common issues with the Blodgett R11087 Contactor?
- Contact pitting or arcing causing intermittent power loss.
- Coil failure or voltage instability preventing proper switching.
- Overheating from loose connections or worn terminals.
- Contact welding due to excessive current load.
- Mechanical damage leading to delayed or failed engagement.
Customer Reviews
No reviews yet. Be the first to write one!
Write a Review
We strive to provide our customers with a hassle-free and efficient shopping experience. Our shipping policy ensures the timely delivery of your orders and complete customer satisfaction. View More
We are committed to ensuring your complete satisfaction with every purchase. We understand that circumstances may arise where you must return a product or request a refund. If for any reason you are not satisfied, you may return the item(s) according to the terms outlined below. View More
This Payment Policy outlines the terms and conditions governing all payments made for products purchased through our website. By making a purchase, you agree to be bound by this Payment Policy. View More