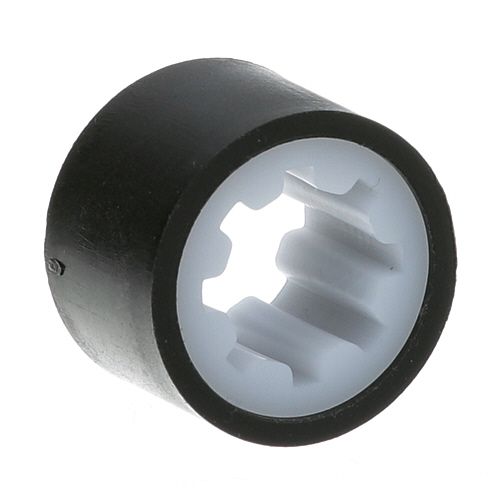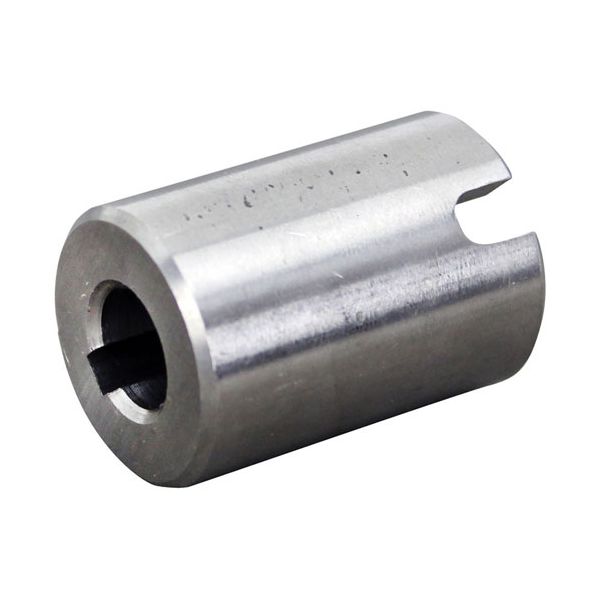
Lincoln 369410 Oven Coupling Sleeve

Special Price $58.32 Regular Price $63.95
In stock
SKU
369410
Manufacturer:

The Lincoln 369410 Oven Coupling Sleeve is used to link the rotational motion between the shafts in the connection to maintain the synchronized movement in the operation. It is placed over the ends of mating gears and maintained aligned during the transmission of torque over the drive connection. This is installed in the drive mechanism between the motor output shaft and the rotating part. The component supports maintaining interaction during heating cycles and operation. It is designed to be used in operations in which a damaged or lost coupling interrupts movement in the system.

Dimensions

  • Length: 3 In
  • Width: 1.5 In
  • Height: 1 In
  • Weight: 0.16 lbs
https://partsfe.com/media/catalog/product/l/i/lincoln-369410-coupling-sleeve-73757-2.jpg
Manufacturer Name: Lincoln
Product Number: 369410
OEM Part Number: 369410
Product Description: Coupling Sleeve
Similar Models:NONE
Dimensions:
Length:3in/7.62cm
Width:1.5in/3.81cm
Height:1in/2.54cm
Weight:0.16lbs/72.57g

Choose the best Commercial kitchen & Restaurant equipment parts and supplies from PartsFe!

  • Same Day Shipping

  • Best Quality And Best Price

  • Wide Range of Inventory

  • Best Customer Service

Have More Questions or Need Help to Place The Order?
Reach us at 866-863-0907 or contact@partsfe.com

LINCOLN:
Write Your Own Review
You're reviewing:Lincoln 369410 Oven Coupling Sleeve
Your Rating
Customer Questions
What maintenance is required for the Lincoln 369410 Coupling Sleeve?

The coupling sleeve should be kept clean and free of grease buildup and debris. Regularly inspect for wear, cracks, or deformation and ensure secure attachment during use. Proper maintenance ensures accurate lubrication flow and safe operation.

What are common issues with the Lincoln 369410 Coupling Sleeve?

  • Leaking or loose connection between coupler and fitting.
  • Wear causing poor sealing or slipping during operation.
  • Corrosion or rust affecting metal performance.
  • Blockage reducing grease flow or pressure issues.
  • Difficulty locking or improper engagement of sleeve.

We strive to provide our customers with a hassle-free and efficient shopping experience. Our shipping policy ensures the timely delivery of your orders and complete customer satisfaction. View More

We are committed to ensuring your complete satisfaction with every purchase. We understand that circumstances may arise where you must return a product or request a refund. If for any reason you are not satisfied, you may return the item(s) according to the terms outlined below. View More

This Payment Policy outlines the terms and conditions governing all payments made for products purchased through our website. By making a purchase, you agree to be bound by this Payment Policy. View More

Installation Steps

Step1: Turn off equipment and disconnect power before starting.

Step2: Remove the drive assembly cover to access the existing coupling sleeve and inspect surrounding components.

Step3: Slide off the worn sleeve and clean the shaft ends to remove grease or debris buildup.

Step4: Align and install the new coupling sleeve, ensuring it seats fully on both drive shafts.

Step5: Reassemble the cover, restore power, and test for smooth, aligned rotation.