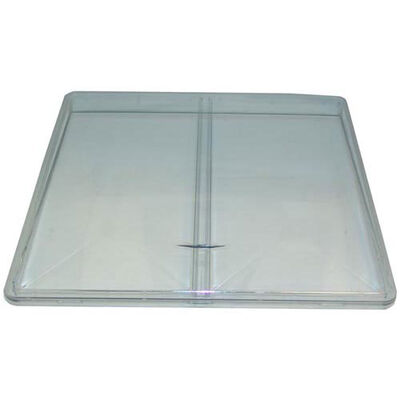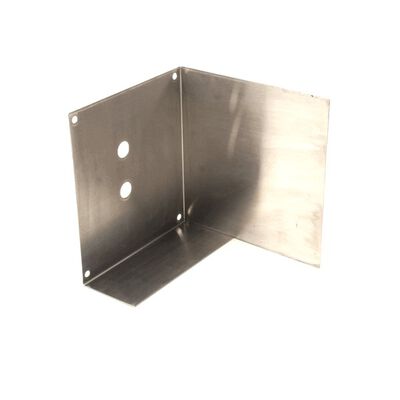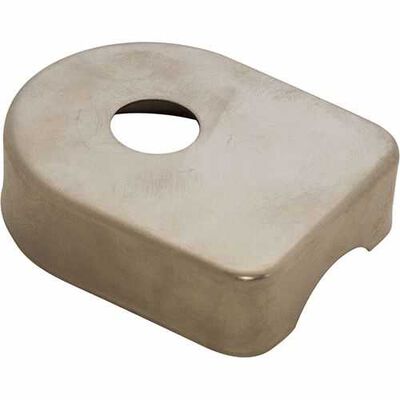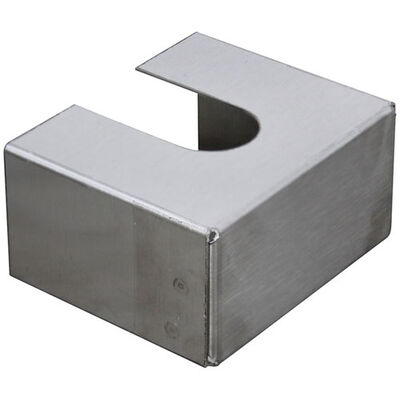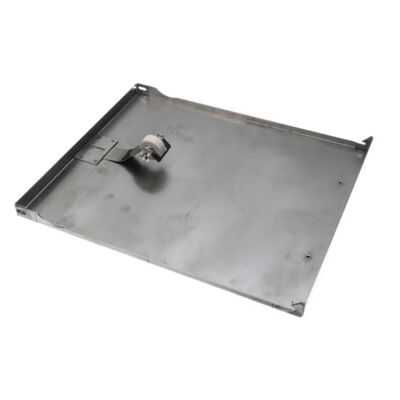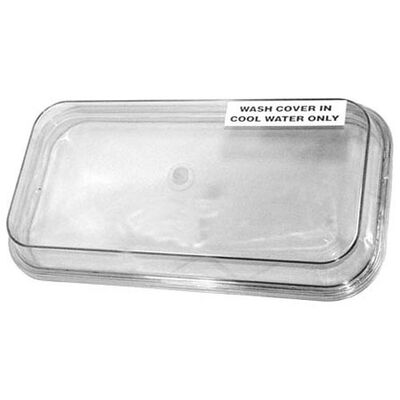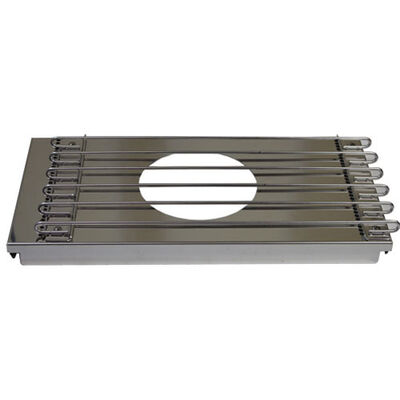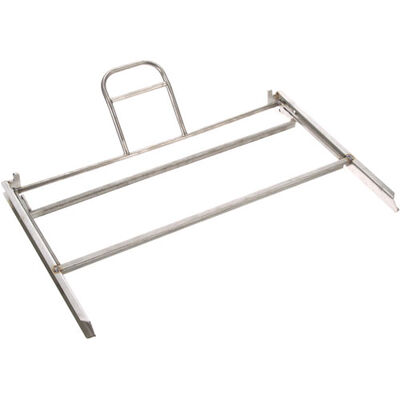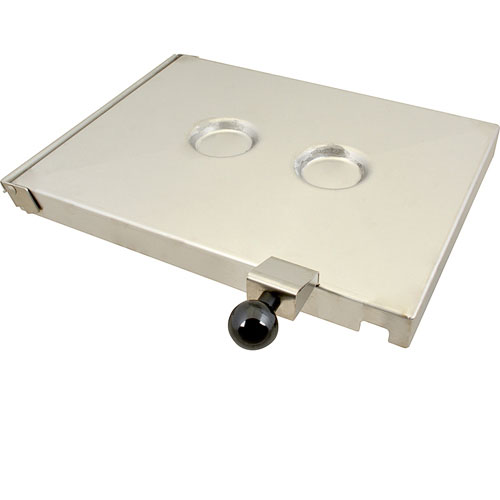
Antunes 7000836 Cover Assembly Kit
Description
Dimensions:
- Weight: 2 lbs
- Length: 12 in
- Height: 1 in
- Width: 8 in
| Manufacturer Name: Roundup - AJ Antunes Product Number: 7000836 OEM Part Number: 7000836 Product Description: Cover Assy Kit Similar Models:NONE Dimensions: Length:12in/30.48cm Width:8in/20.32cm Height:1in/2.54cm Weight:2lbs/907.18g |
Choose the best Commercial kitchen & Restaurant equipment parts and supplies from PartsFe!
Same Day Shipping
Best Quality And Best Price
Wide Range of Inventory
Best Customer Service
Have More Questions or Need Help to Place The Order?
Reach us at 866-863-0907 or contact@partsfe.com
ROUNDUP:
ROU7000836
Step1: Disconnect power supply and ensure unit is fully cool before servicing.
Step2: Remove existing cover assembly carefully and retain all mounting hardware.
Step3: Align new cover assembly kit with mounting points and ensure gasket is positioned correctly for proper seal.
Step4: Secure using screws or fasteners evenly, tightening gradually to avoid damage.
Step5: Restore power and test operation to confirm proper sealing, movement, and safe functionality.
-
What maintenance is required for the Antunes 7000836 Cover Assembly Kit?
Keep the cover assembly kit clean by regularly wiping away grease, food residue, and debris. Inspect components for wear or loose fittings to ensure proper alignment. This helps maintain consistent performance and prevents operational issues. Handle gently during cleaning to avoid damage.
-
What are common issues with the Antunes 7000836 Cover Assembly Kit?
- Loose or improper cover fit.
- Cracking or material wear.
- Misalignment causing poor sealing.
- Debris buildup leading to obstruction.
- Warping under high heat exposure.
- Fastener loosening during operation.
- Surface corrosion over time.
Customer Reviews
No reviews yet. Be the first to write one!
Write a Review
We strive to provide our customers with a hassle-free and efficient shopping experience. Our shipping policy ensures the timely delivery of your orders and complete customer satisfaction. View More
We are committed to ensuring your complete satisfaction with every purchase. We understand that circumstances may arise where you must return a product or request a refund. If for any reason you are not satisfied, you may return the item(s) according to the terms outlined below. View More
This Payment Policy outlines the terms and conditions governing all payments made for products purchased through our website. By making a purchase, you agree to be bound by this Payment Policy. View More