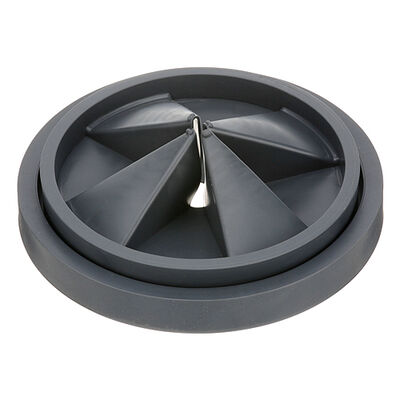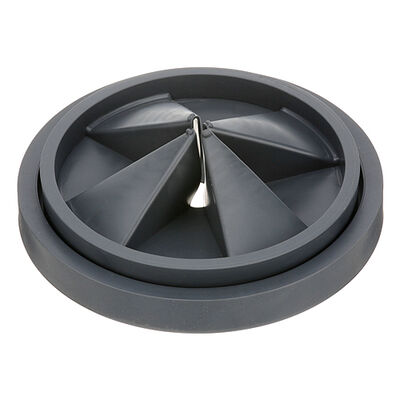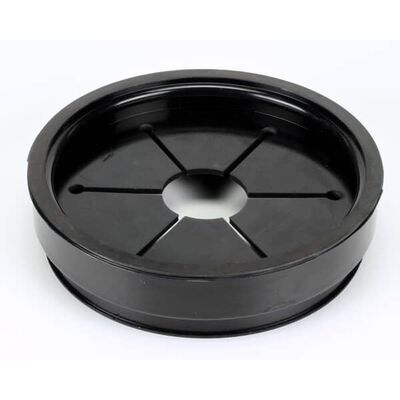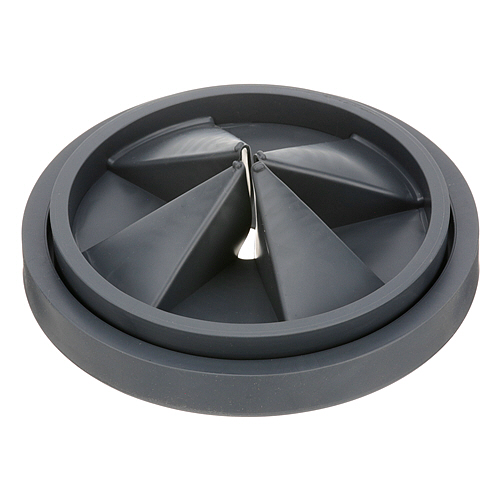
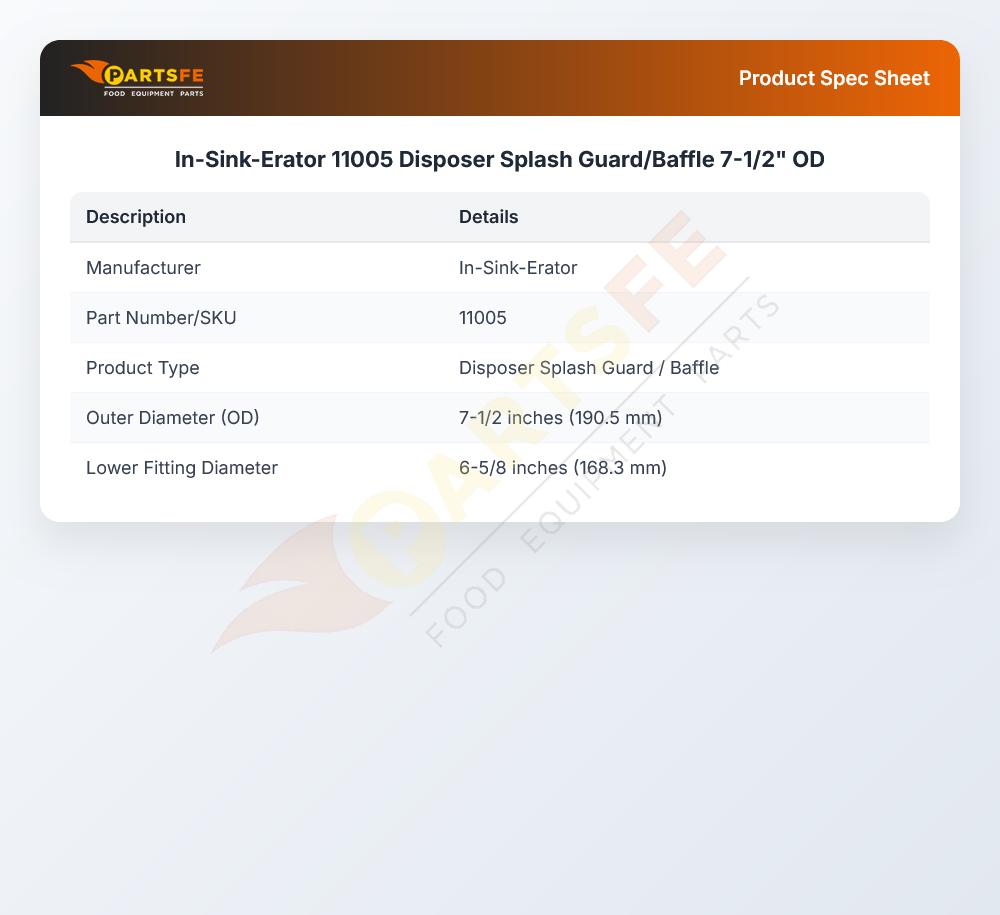
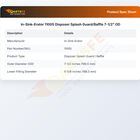
In-Sink-Erator 11005 Disposer Splash Guard/Baffle 7-1/2" OD
Description
Dimensions:
- Weight: 1.4 lbs
Splash Containment:
Helps reduce upward movement of water and food particles generated during disposer operation. The flexible center opening allows waste and water to pass through while creating a partial barrier around the inlet. This arrangement supports a more controlled disposer opening during routine use.
Inlet Protection:
Creates a flexible barrier over the disposer opening that helps reduce accidental entry of larger unwanted objects. Its position at the inlet provides an additional layer of separation between the sink area and internal disposer components.
Replacement Guidelines:
Replace the Disposer Splash Guard/Baffle if it is cracked, torn, hardened, deformed, worn, or no longer provides proper coverage at the disposer opening. The part number 11005 and 7-1/2" OD specification should be verified before replacement to ensure the correct splash guard/baffle is selected. Replace the splash guard/baffle if deterioration affects fit, coverage, debris control, or normal disposer operation.
Common Failure Symptoms:
- Baffle becomes cracked or torn.
- Material becomes hardened or loses its flexibility.
- Baffle becomes deformed around the disposer inlet.
- Coverage of the disposer opening is reduced.
- Increased splash or uncontrolled material movement occurs around the inlet.
Equipment Compatibility:
The In-Sink-Erator 11005 Splash Guard/Baffle is specified with a 7-1/2-inch outside diameter for disposer configurations requiring this component. Verify the equipment model, part number, dimensions, and inlet configuration before purchase.
Technical Specifications:
Brand: In-Sink-Erator
Part Number: 11005
Product Name: Disposer Splash Guard/Baffle
Step1: Turn off the disposer and ensure it is not running.
Step2: Remove any existing splash guard from the disposer opening.
Step3: Clean the disposer rim to remove debris and residue.
Step4: Align the new splash guard with the disposer opening.
Step5: Press firmly to seat the guard securely into place.
Step6: Test by running water and verifying that the splash guard fits snugly and prevents splashing.
-
Does the splash guard have any features to combat unpleasant odors that may develop over time in the garbage disposal unit?
Some models may have features to help control odors. Regular cleaning and maintenance contribute to a fresh-smelling kitchen.
-
Can the splash guard be recycled, and are there specific disposal guidelines to follow at the end of its life cycle?
Splash guards are typically made from recyclable materials. Check with local recycling facilities for specific guidelines on recycling or disposal.
-
How does the splash guard handle food debris and residue, and are there any special cleaning considerations to maintain its effectiveness over time?
The splash guard is designed to resist food debris and residue. Regular cleaning is recommended, and some models may be dishwasher safe for added convenience.
-
What maintenance is required for the In-Sink-Erator 11005 Disposer Splash Guard/Baffle?
Keep the splash guard clean by removing food buildup and rinsing it regularly to prevent odors and clogs. Inspect for cracks, tears, or a loose fit that may reduce sealing performance. Replace it if it becomes worn to maintain safety and reduce water splashing. Avoid using harsh chemicals that can degrade the rubber material.
-
What are common issues with the In-Sink-Erator 11005 Disposer Splash Guard/Baffle?
- Cracks or tears in the rubber material.
- Warping is causing an improper seal.
- Food particles are getting trapped and causing odors.
- Splashing or leaking around the disposer opening.
-
What is a disposer splash guard used for?
It provides a flexible barrier at the disposer inlet that helps control splashing and keeps the inlet area more contained during operation.
-
How does a splash guard work?
The flexible material forms a partial barrier over the disposer opening while allowing food waste and water to pass through during normal use.
-
What happens when a disposer splash guard becomes damaged?
Cracks, tears, deformation, or hardened material can reduce its ability to control splash and maintain the intended inlet arrangement.
-
Why is a flexible splash guard used instead of a solid cover?
The flexible design allows material to pass through the inlet while still providing a barrier against excessive splash and unwanted movement.
-
What does the In-Sink-Erator 11005 splash guard do?
It provides a flexible barrier at the disposer opening that helps reduce splashing of water, food particles, and debris during operation while maintaining an opening for normal waste entry.
Customer Reviews
Write a Review
-
Debris Block
Blocks food particles from spraying outside the unit. Helps keep the surrounding dry.
-
Keeps Sink Dry
Efficient baffle for minimizing water and debris splash
-
Effective Protection
Stops water from splashing out
-
Great purchase
This splash guard fits exactly around my disposer and keeps the water where it belongs. Excellent quality and function as promised. I am really delighted with my purchase!
-
Trusted Guard
Reduces sink splashes effectively
We strive to provide our customers with a hassle-free and efficient shopping experience. Our shipping policy ensures the timely delivery of your orders and complete customer satisfaction. View More
We are committed to ensuring your complete satisfaction with every purchase. We understand that circumstances may arise where you must return a product or request a refund. If for any reason you are not satisfied, you may return the item(s) according to the terms outlined below. View More
This Payment Policy outlines the terms and conditions governing all payments made for products purchased through our website. By making a purchase, you agree to be bound by this Payment Policy. View More