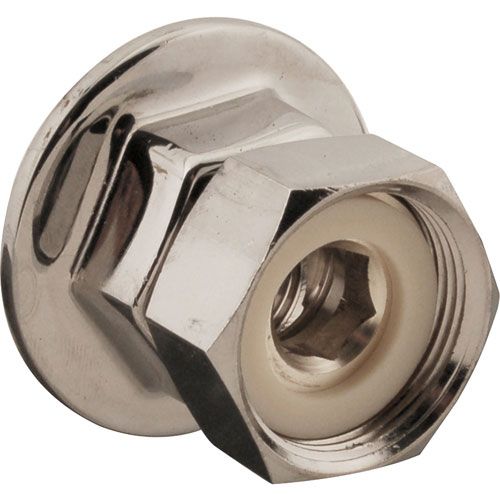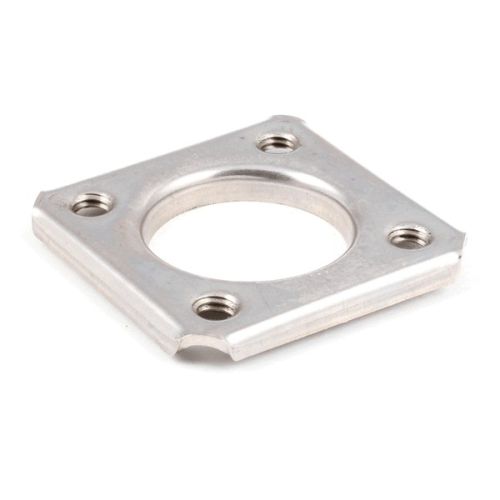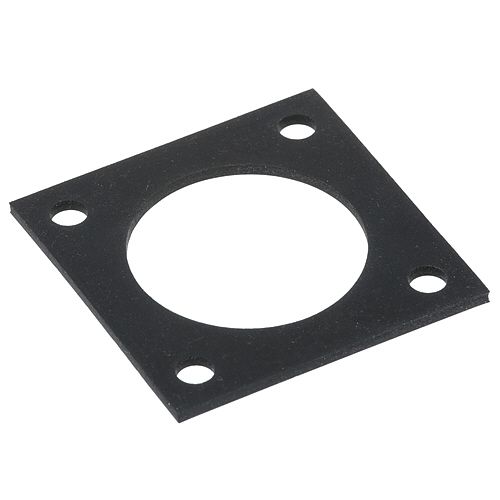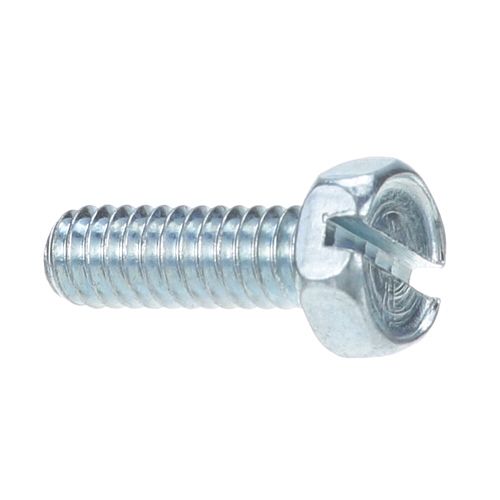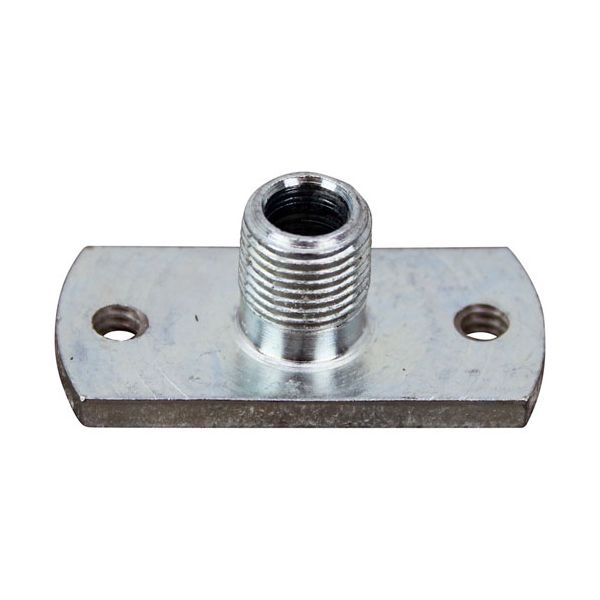
Vulcan Hart 00-719373 BJ Thermostat Flange Nipple 1/8" IPM

Special Price $16.94 Regular Price $22.00
In stock
SKU
00-719373
The Vulcan Hart 00-719373 BJ Thermostat Flange Nipple 1/8" IPM that is threaded to fit into a proper opening to form a mechanical bond. It is operated by pulling adjoining parts together as the threads interlock, to assist in keeping things straight during operation. This is normally fitted at flange or fitting connection points in equipment assemblies that are compatible. It is designed to have a size which is compatible with installation requirements. It is also provided as a single unit and is supposed to be accompanied by the corresponding hardware.

Dimensions

  • Length: 1.5 In
  • Width: 0.75 In
  • Height: 0.6 In
  • Weight: 0.1 lbs
https://partsfe.com/media/catalog/product/v/u/vulcan-hart-00-719373-19-32-flange-nipple-screw-sold-separately-26-3850-68721-2.jpg

Product Notes

  • Bj Flange Nipple,
  • 19/32" Long Flange For Bjfma Thermostats
  • Screw Sold Separately # 26-3850
  • Flange Is 11/16" X 1.5" With Molded O-Ring
  • Tri-Star Mf-R10, Mf-R4, Mf-R6, Mf-R8
AMERICAN RANGE:
IMPERIAL:
VULCAN HART:
Write Your Own Review
You're reviewing:Vulcan Hart 00-719373 BJ Thermostat Flange Nipple 1/8" IPM
Your Rating
Customer Questions
What is the Best Electric Griddle?

Electric Griddle is an electronic equipment that uses an electric element as its heat source. It has a large cooking surface often made up of nonstick material. Electric Griddle has a surface which you do not find in the regular stovetop cookware. ...

What maintenance is required for the Vulcan Hart 00-719373 Flange Nipple?

Inspect the flange nipple regularly for corrosion, leaks, or thread wear to ensure secure connections. Clean debris and buildup from threads during routine equipment servicing. Apply proper thread sealant when reinstalling to maintain tight sealing. Always ensure proper torque during installation to prevent loosening or damage.

What are common issues with the Vulcan Hart 00-719373 Flange Nipple?

  • Thread wear causing loose or unstable connections.
  • Corrosion or rust buildup reducing sealing efficiency.
  • Leakage due to improper sealing or damaged threads.
  • Difficulty fitting if misaligned during installation.

We strive to provide our customers with a hassle-free and efficient shopping experience. Our shipping policy ensures the timely delivery of your orders and complete customer satisfaction. View More

We are committed to ensuring your complete satisfaction with every purchase. We understand that circumstances may arise where you must return a product or request a refund. If for any reason you are not satisfied, you may return the item(s) according to the terms outlined below. View More

This Payment Policy outlines the terms and conditions governing all payments made for products purchased through our website. By making a purchase, you agree to be bound by this Payment Policy. View More

Installation Steps

Step1: Turn off water/gas supply and depressurize system and ensure power is isolated.

Step2: Remove old fitting and clean threaded connection to prevent contamination.

Step3: Apply thread sealant/tape to nipple threads for leak prevention.

Step4: Thread flange nipple into designated port and hand start then tighten securely with wrench.

Step5: Attach screw sold separately ensuring alignment and check orientation.

Step6: Check for leaks after restoring supply and tighten if needed and test pressure gradually.

Step7: Verify stable installation before equipment use and follow manufacturer specs.