
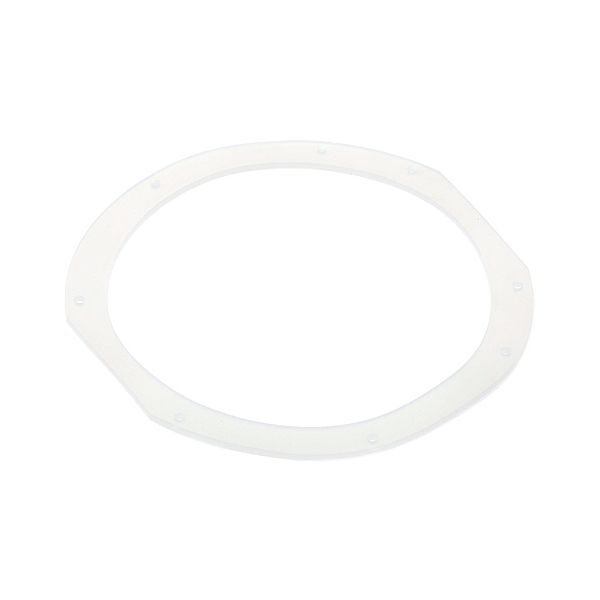
Bunn 04221.0000 Gasket 7" D

Special Price $8.36 Regular Price $8.90
In stock
SKU
04221.0000
Manufacturer:

Gasket 7" D

Dimensions

  • Length: 7 In
  • Width: 7 In
  • Height: 0.2 In
  • Weight: 0.1 lbs
https://partsfe.com/media/catalog/product/b/u/bunn-04221-0000-gasket-7-d-36853-2.jpg

Product Notes

  • Tank Lid Gasket, 7"Od X 5-3/4" Id, 8 Holes, Silicone,
  • Bunn-O-Matic
  • Coffee Brewers: C12, Ol15(Before S/N 9475),
  • Ol20(Before S/N 28290), Ol35(Before S/N 12461),
  • Ot15(After S/N 1901), Ot20(After S/N 28701),
  • Ot35(After S/N 7901).
  • Series: Bl, Bt, C, Cg, Crtf, Ct, Ctf, Ctfg, Ctg, Cw,
  • Cwaps, Cwg, Cwt, Cwtaps, Cwtf, Cwtfaps, Cwtfcomp,
  • Cwtfg, Cwtfts, Cwtg, Cwts, Cwtts, Cwtwin, F, Fl, Fwr,
  • Rl(Before S/N 137510), Rt(After S/N 81501), Rtf,
  • System Ii(1.6 Gal), Tc, Tcf, Tw, Tw12, Twc, Twcf,
  • Twf, Twf12, Vlpf, Vp17, Vpca, Vpcaf, Vpcp, Vpr, Vps,
  • Vpsf. Coffee Urns: Ucb.
  • Tea Brewer: Easy-T, Tu3Q. Hot Water Hw2.
  • Newco
Write Your Own Review
You're reviewing:Bunn 04221.0000 Gasket 7" D
Your Rating
Customer Questions
What maintenance is required for the Bunn 04221.0000 Gasket?

Inspect the gasket regularly for cracks, flattening, or damage to maintain proper sealing. Clean contact surfaces to remove residue and ensure a tight fit. Replace immediately if deformation is noticed to prevent leakage and maintain equipment efficiency and safe operation.

What are common issues with the Bunn 04221.0000 Gasket?

  • Compression loss leading to Low sealing.
  • Cracking or splitting under repeated heat exposure.
  • Misalignment causing leakage or inefficient operation.
  • Wear buildup resulting in reduced pressure retention.

We strive to provide our customers with a hassle-free and efficient shopping experience. Our shipping policy ensures the timely delivery of your orders and complete customer satisfaction. View More

We are committed to ensuring your complete satisfaction with every purchase. We understand that circumstances may arise where you must return a product or request a refund. If for any reason you are not satisfied, you may return the item(s) according to the terms outlined below. View More

This Payment Policy outlines the terms and conditions governing all payments made for products purchased through our website. By making a purchase, you agree to be bound by this Payment Policy. View More

Installation Steps

Step1: Disconnect the equipment from the electrical power source before beginning the gasket replacement.

Step2: Allow the unit to cool completely and access the component where the gasket is installed.

Step3: Remove the old gasket carefully from the groove or mounting surface without damaging surrounding parts.

Step4: Clean the sealing surface thoroughly to remove residue, debris, or old gasket material.

Step5: Position the new gasket evenly in place, reassemble the components securely, restore power, and test the equipment for proper sealing and operation.