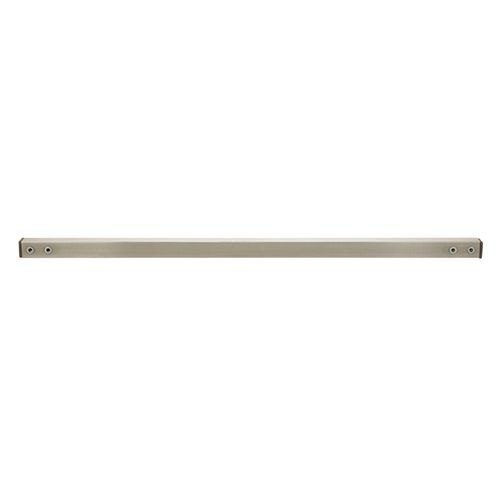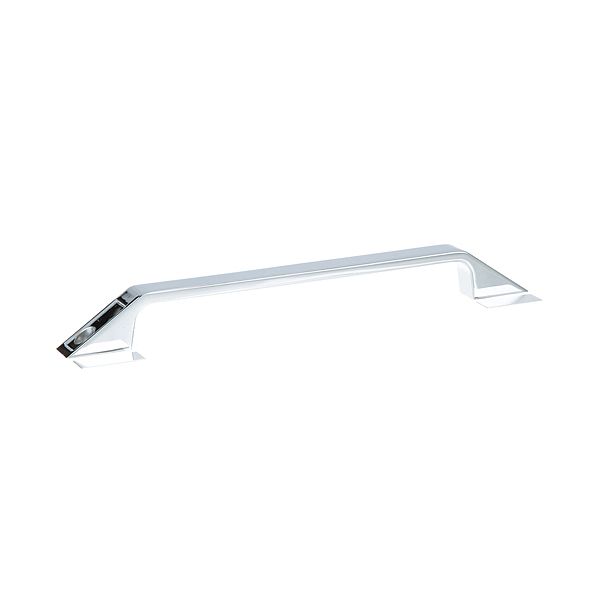
Randell HDHDL130 Handle

Special Price $25.28 Regular Price $42.00
In stock
SKU
HDHDL130
Manufacturer:

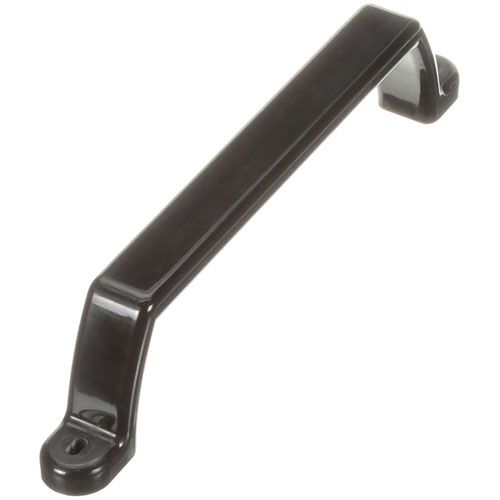
The Randell HDHDL130 Handle serves as a gripping point for opening and closing doors or drawers on foodservice and refrigeration equipment. It is mounted to the front side of the unit with fasteners that fit through pre-drilled mounting holes to ensure it is firmly attached to the panel. The handle is part on the outside where it has to be accessed and this gives it a point of contact in day-to-day use. It is shaped to fit a particular equipment model, and as such, it is compatible with existing mounting patterns. Its positioning facilitates easy and regular use in accessing contents within the unit.

Dimensions

  • Length: 12.5 In
  • Width: 0.75 In
  • Height: 1 In
  • Weight: 0.93 lbs
https://partsfe.com/media/catalog/product/r/a/randell-hdhdl130-handle-91097.jpg

Product Notes

  • Pull Handle
  • Length 12-13/16"
  • Mount Centers 10-5/8"
  • Screw Size 1/4"-20
  • Finish Polished Chrome
  • Material Die Cast Metal
  • Comments Nsf, Front Or Rear Mounts
  • Ardco
  • Hatco Food Warmwer Hdw-(1,2,3,4), Hdw-(1B, 2B, 3B)

Write Your Own Review
You're reviewing:Randell HDHDL130 Handle
Your Rating
Customer Questions
What maintenance is required for the Randell HDHDL130 Handle?

Wipe the handle frequently with a mild cleaner to remove grease and debris. Check that mounting hardware remains tight and aligned. Inspect for cracks or surface damage. Avoid abrasive pads to protect the finish and ensure safe handling.

What are common issues with the Randell HDHDL130 Handle?

  • Handle loosens from repeated pulling.
  • Surface damage or scratches from frequent use.
  • Misalignment affecting door operation.
  • Mounting hardware becoming stripped or damaged.

We strive to provide our customers with a hassle-free and efficient shopping experience. Our shipping policy ensures the timely delivery of your orders and complete customer satisfaction. View More

We are committed to ensuring your complete satisfaction with every purchase. We understand that circumstances may arise where you must return a product or request a refund. If for any reason you are not satisfied, you may return the item(s) according to the terms outlined below. View More

This Payment Policy outlines the terms and conditions governing all payments made for products purchased through our website. By making a purchase, you agree to be bound by this Payment Policy. View More

Installation Steps

Step1: Disconnect power and ensure the unit is cool before starting.

Step2: Remove the old handle by loosening the mounting screws.

Step3: Align the new handle with the existing door holes.

Step4: Insert and hand-tighten the screws to hold it in place.

Step5: Secure firmly with a screwdriver without over-tightening.

Step6: Test the handle for a stable, proper grip and alignment.