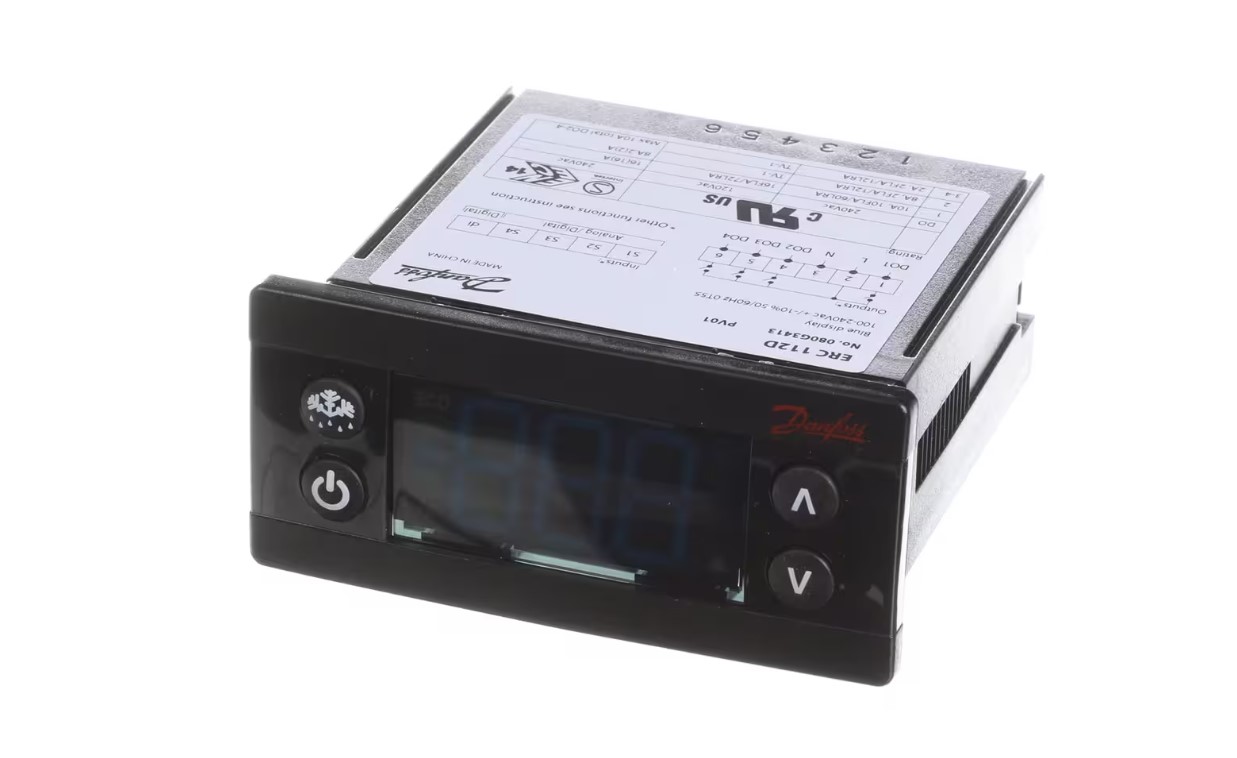

Hoshizaki 4A6626G01 Refrigerator Freezer Glass Programmed Controller
Description
Step1: Cut power to the refrigerator by unplugging it.
Step2: Remove the old controller from the control panel.
Step3: Install the new controller and secure it with screws.
Step4: Reconnect wires according to the original layout.
Step5: Verify connections are tight and properly seated.
Step6: Restore power and run a quick test to ensure proper operation.
-
What maintenance is required for the Hoshizaki 4A6626G01 Glass Programmed Controller?
Keep the refrigerator controller dry and free from dust. Inspect connectors and wiring for corrosion. Test the controller regularly to ensure it maintains the programmed temperatures. Careful handling maintains operational efficiency and accurate cooling performance.
-
What are common issues with the Hoshizaki 4A6626G01 Glass Programmed Controller?
- Inconsistent temperature regulation.
- Display malperformances or screen flickering.
- Delayed response to control inputs.
- Electrical connection problems causing intermittent operation.
- Failure to maintain programmed defrost cycles.
Customer Reviews
No reviews yet. Be the first to write one!
Write a Review
We strive to provide our customers with a hassle-free and efficient shopping experience. Our shipping policy ensures the timely delivery of your orders and complete customer satisfaction. View More
We are committed to ensuring your complete satisfaction with every purchase. We understand that circumstances may arise where you must return a product or request a refund. If for any reason you are not satisfied, you may return the item(s) according to the terms outlined below. View More
This Payment Policy outlines the terms and conditions governing all payments made for products purchased through our website. By making a purchase, you agree to be bound by this Payment Policy. View More