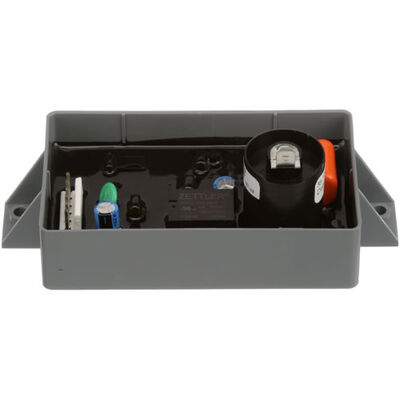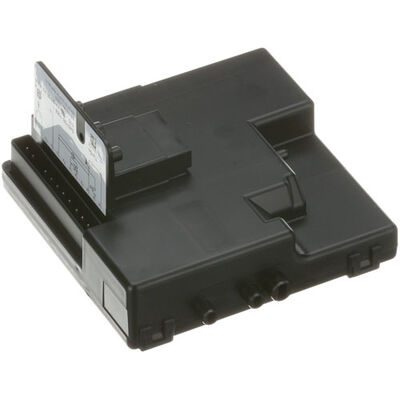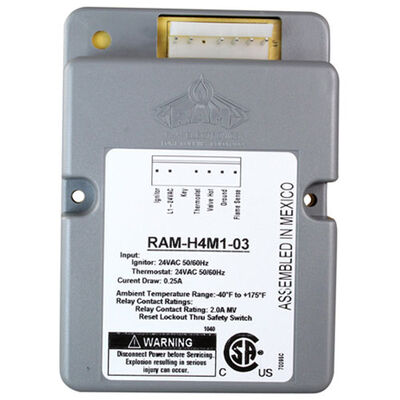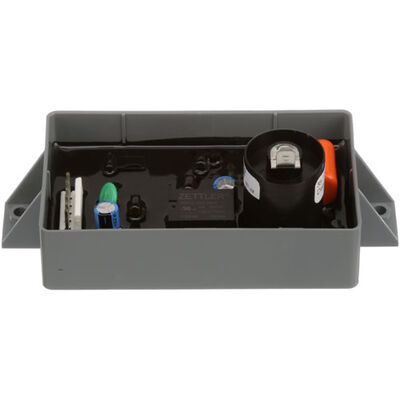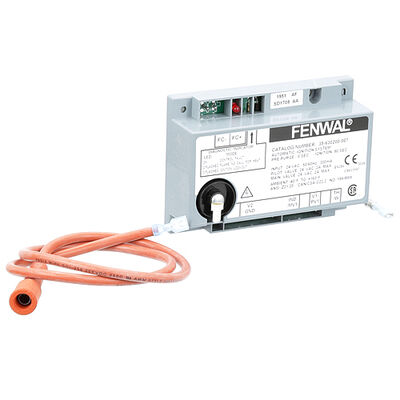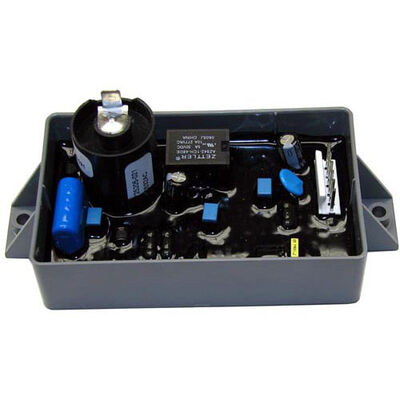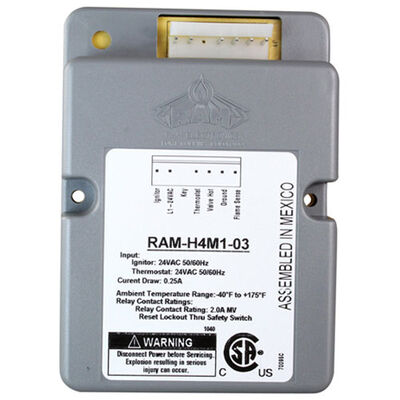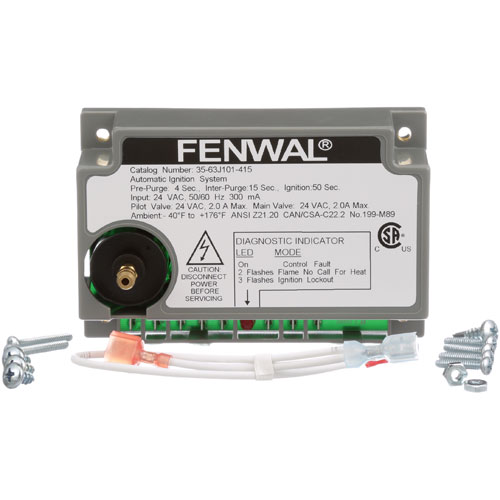
Blodgett 20348 Ignition Control Box, 24V, NAT/LP Gas
Description
Dimensions:
- Weight: 0.69 lbs
Ignition Control Operation:
Controlling the sequence associated with burner ignition, the ignition control coordinates the electrical functions required to initiate the gas ignition process. It works with connected ignition-system components to provide the control signals and electrical operation needed for the burner ignition sequence.
Burner Flame Control:
Supporting the transition from ignition to burner operation, the control works with the ignition and flame-sensing components within the oven’s gas system. This interaction allows the ignition system to establish and monitor burner operation as part of the oven heating sequence.
Replacement Guidelines:
Replace the Blodgett 20348 Combi Oven Ignition Control Kit when the ignition control no longer provides the required ignition-system function or when physical damage affects its intended operation. Select the replacement by matching the control configuration, electrical requirements, ignition-system arrangement, and applicable Blodgett equipment model.
Common Failure Symptoms:
- Burner ignition does not occur as expected.
- Oven heating fails to establish normal burner operation.
- Ignition sequence becomes inconsistent.
- Flame establishment is interrupted during operation.
- Ignition control or included mounting hardware shows physical damage.
Equipment Compatibility:
The Blodgett oven must use the specified ignition control kit design for 20348, with the applicable 24 VAC, 50/60Hz electrical specification. Confirm the oven model, existing ignition control arrangement, and manufacturer parts documentation before purchase to ensure the kit matches the intended equipment.
Technical Specifications:
Part Number: 20348
Brand: Blodgett
Component Name: Ignition Control Kit
Equipment Type: Commercial Gas/Combi Oven
Voltage: 24 VAC
Frequency: 50/60Hz
Step1: Turn off power and gas supply to prevent shocks.
Step2: Remove the access panel to reach the control box.
Step3: Disconnect all wiring and mounting screws from the old ignition control.
Step4: Install the new control box and secure it with screws.
Step5: Reconnect all wiring according to manufacturer specifications.
Step6: Restore power and gas, then test ignition and operation carefully.
-
Can I replace the Ignition Control myself?
While some basic maintenance tasks can be performed by trained individuals, replacing the Ignition Control should ideally be done by a qualified technician. Working with gas systems and ignition controls requires expertise to ensure safety and proper installation.
-
What are common issues with the Ignition Control?
Common issues with the Ignition Control may include failure to ignite, intermittent ignition problems, or failure to detect flame once ignited. These issues can lead to uneven cooking, inefficient operation, or even safety concerns.
-
How can I troubleshoot Ignition Control issues?
If you're experiencing ignition problems, ensure that the gas supply is on and the pilot light (if applicable) is lit. Check for loose or damaged wiring connections and make sure the Ignition Control is clean and free from debris. If issues persist, it's best to contact a professional for diagnosis and repair.
-
What maintenance is required for the Blodgett 20348 Ignition Control Box?
Inspect the control box for loose wiring and secure mounting. Test ignition cycles to ensure consistent spark delivery. Check for signs of overheating or corrosion on terminals. Replace any worn connectors to maintain stable ignition performance.
-
What are common issues with the Blodgett 20348 Ignition Control Box?
- Igniter fails to spark.
- Delayed ignition response.
- Intermittent flame detection errors.
- Control box shuts down unexpectedly.
-
What does the Blodgett 20348 Combi Oven Ignition Control Kit do?
The Blodgett 20348 Combi Oven Ignition Control Kit manages the ignition control process within the applicable oven heating system.
-
How does the ignition control support the oven's ignition sequence?
The ignition control coordinates the electrical control actions required during the ignition sequence of the oven's heating system.
-
What is the purpose of the screw included with the Blodgett 20348 kit?
The included screw provides the specified fastening hardware for securing the ignition control component within the equipment assembly.
-
What does 24 VAC 50/60Hz indicate for the Blodgett 20348?
The 24 VAC 50/60Hz designation identifies the electrical supply characteristics associated with operation of the ignition control.
-
What does the "Kit With Screw" designation mean for the Blodgett 20348?
The "Kit With Screw" designation indicates that the Blodgett 20348 is supplied as an ignition control kit with the specified fastening screw included.
Customer Reviews
Write a Review
-
Steady Flame
After installing, the flame stays consistent without cutting off unexpectedly.
-
Quick Ignition
Quickly restores reliable ignition for burners.
-
Highly Satisfied
Reliable ignition control, fixed my heating issue!
-
Fast Response
Exceeded expectations, reliable and performs perfectly
-
Reliable Ignition
Perfect fit, no issues, heater runs smoothly
We strive to provide our customers with a hassle-free and efficient shopping experience. Our shipping policy ensures the timely delivery of your orders and complete customer satisfaction. View More
We are committed to ensuring your complete satisfaction with every purchase. We understand that circumstances may arise where you must return a product or request a refund. If for any reason you are not satisfied, you may return the item(s) according to the terms outlined below. View More
This Payment Policy outlines the terms and conditions governing all payments made for products purchased through our website. By making a purchase, you agree to be bound by this Payment Policy. View More