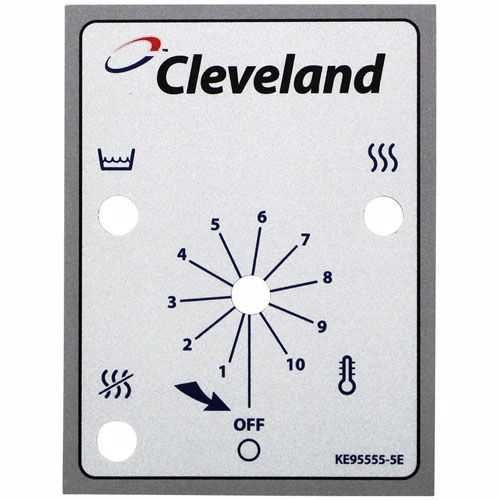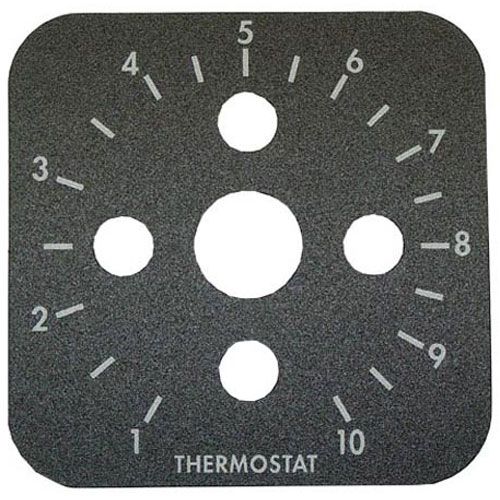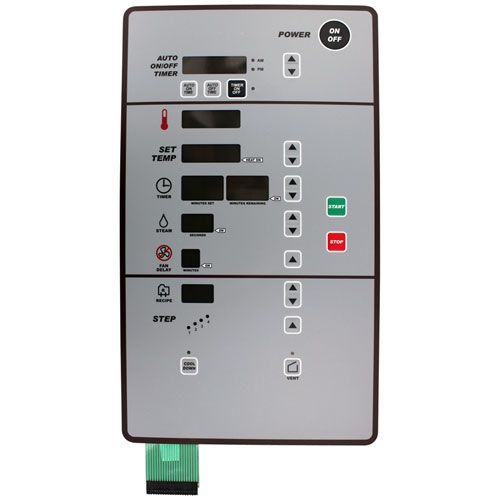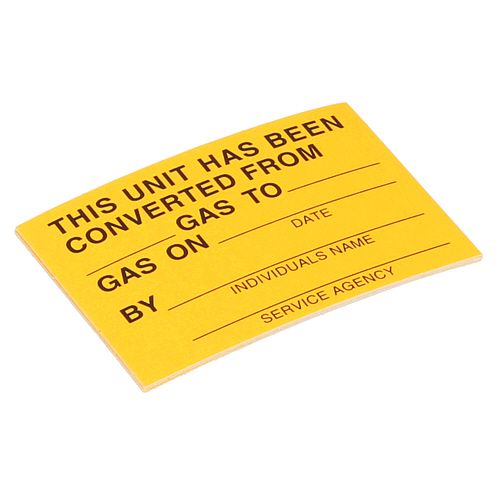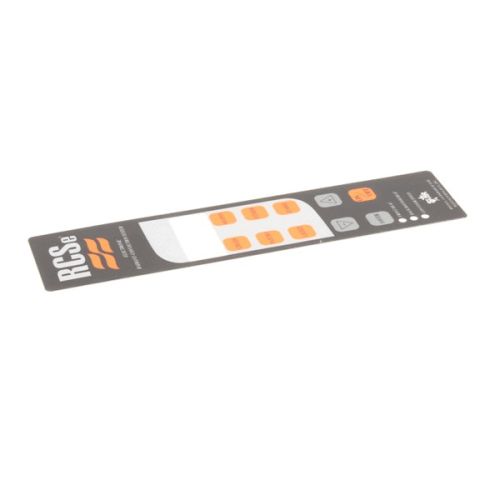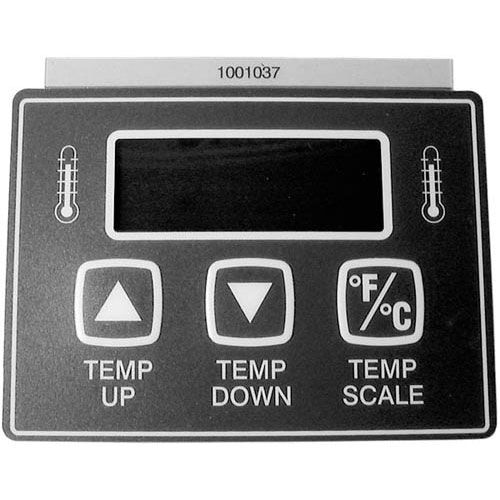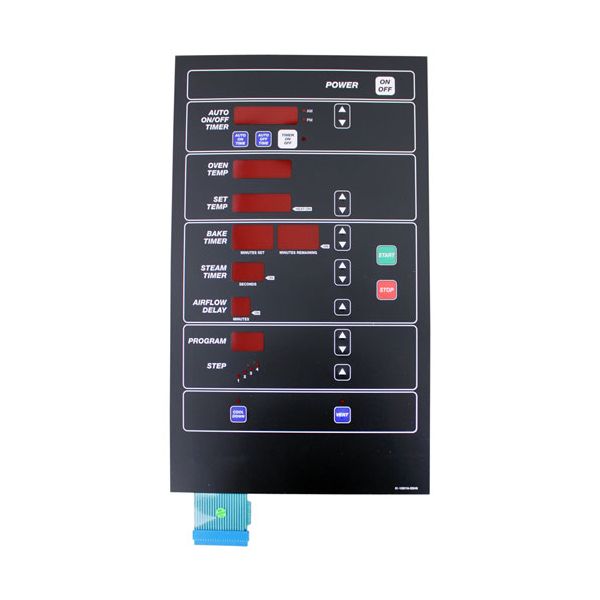
Hobart 01-100V16-00546 Rack Oven Control Label

$591.84
In stock
SKU
01-100V16-00546
The Hobart 01-100V16-00546 Rack Oven Control Label works by showing equipment identification, electrical specifications, and safety information needed to operate and service as a reference. It conveys standard information using printed text and signs, that are in line with the labeling requirements of commercial kitchen equipment. The label will be placed on outside panel of the electric rack oven, and it will be visible during inspection, installation and maintenance processes. It is developed to be used in foodservice settings, where it aids in documentation of compliance and tracking equipment.

Dimensions

  • Length: 22.5 In
  • Width: 14 In
  • Height: 1 In
  • Weight: 0.76 lbs
https://partsfe.com/media/catalog/product/h/o/hobart-01-100v16-00546-label-79549-2.jpg
Manufacturer Name: Hobart
Product Number: 01-100V16-00546
OEM Part Number: 01-100V16-00546
Product Description: Label
Similar Models:100V16-00546 - Baxter, 100V16-00546 - Hobart
Dimensions:
Length:22.5in/57.15cm
Width:14in/35.56cm
Height:1in/2.54cm
Weight:0.76lbs/344.73g

Choose the best Commercial kitchen & Restaurant equipment parts and supplies from PartsFe!

  • Same Day Shipping

  • Best Quality And Best Price

  • Wide Range of Inventory

  • Best Customer Service

Have More Questions or Need Help to Place The Order?
Reach us at 866-863-0907 or contact@partsfe.com

Write Your Own Review
You're reviewing:Hobart 01-100V16-00546 Rack Oven Control Label
Your Rating
Customer Questions
What maintenance is required for the Hobart 01-100V16-00546 Label?

Keep label surface clean and dry to maintain readability. Inspect regularly for peeling, fading, or damage. Replace if adhesive weakens or text becomes unclear. Avoid harsh chemicals or abrasive wiping during cleaning.

What are common issues with the Hobart 01-100V16-00546 Label?

  • Peeling or lifting edges due to weak adhesive.
  • Surface damage or tearing from handling.
  • Misalignment causing poor visibility.
  • Contamination reducing adhesion.

We strive to provide our customers with a hassle-free and efficient shopping experience. Our shipping policy ensures the timely delivery of your orders and complete customer satisfaction. View More

We are committed to ensuring your complete satisfaction with every purchase. We understand that circumstances may arise where you must return a product or request a refund. If for any reason you are not satisfied, you may return the item(s) according to the terms outlined below. View More

This Payment Policy outlines the terms and conditions governing all payments made for products purchased through our website. By making a purchase, you agree to be bound by this Payment Policy. View More

Installation Steps

Step1: Turn off and unplug the equipment for safety.

Step2: Clean the surface where the label will be applied ensure it’s dry and free of grease.

Step3: Peel the backing carefully from the new control label without touching the adhesive.

Step4: Align the label correctly before placing it.

Step5: Press firmly from center outward to remove air bubbles.

Step6: Allow adhesive to set and avoid moisture or handling immediately.