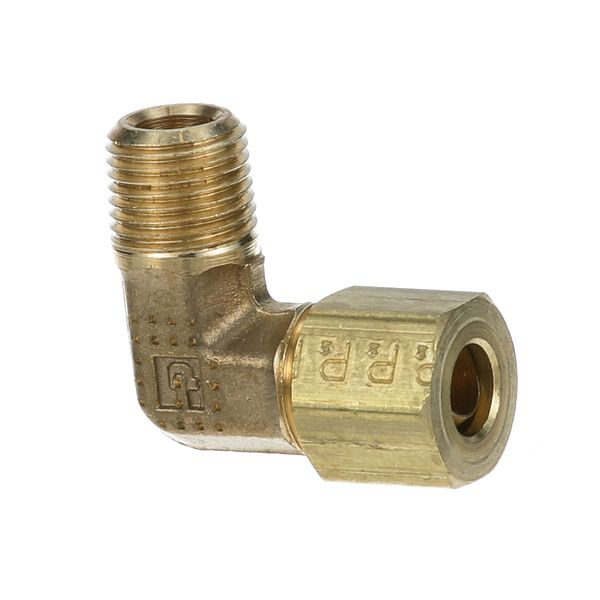
Royal Range 2516 Male Elbow
$6.20
In stock
SKU
2516
Manufacturer:

Male Elbow
Dimensions
- Length: 1 In
- Width: 0.5 In
- Height: 1 In
- Weight: 0.015 lbs
Product Notes
- Brass Male 90 Degree Elbow,
- 1/8" Mpt X 1/4" Cct Nut & Ferrule.

We strive to provide our customers with a hassle-free and efficient shopping experience. Our shipping policy ensures the timely delivery of your orders and complete customer satisfaction. View More
We are committed to ensuring your complete satisfaction with every purchase. We understand that circumstances may arise where you must return a product or request a refund. If for any reason you are not satisfied, you may return the item(s) according to the terms outlined below. View More
This Payment Policy outlines the terms and conditions governing all payments made for products purchased through our website. By making a purchase, you agree to be bound by this Payment Policy. View More
Step1: Shut off gas or fluid supply and allow the equipment line to depressurize completely.
Step2: Remove the existing elbow fitting from the connection point carefully.
Step3: Inspect and clean threads on both the inlet line and mating connection.
Step4: Apply the thread sealant to the male threads if required.
Step5: Thread the new male elbow into place and tighten securely without overtightening.
Step6: Reconnect the mating line.
Step7: Restore supply and check all joints for leaks using a soap solution before operation.