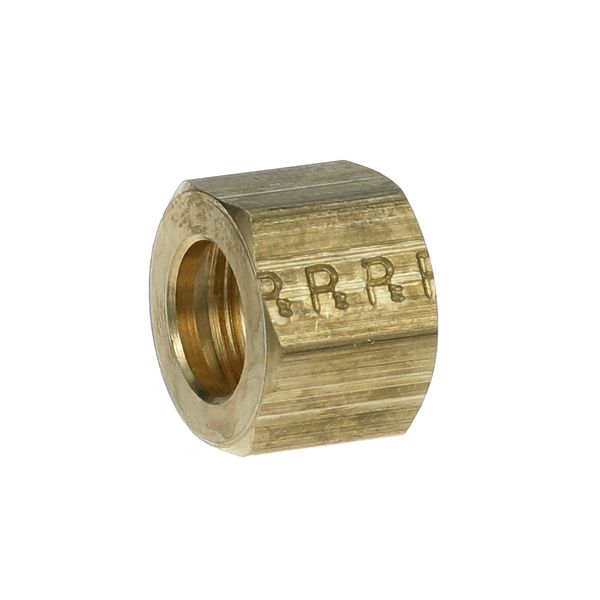
Imperial 30266 Compression Nut 3/8"

$0.62
In stock
SKU
30266
Manufacturer:
The Imperial 30266 Compression Nut 3/8" is an attachment component in foodservice and commercial kitchen equipment to hold components like burners, shields, or assemblies in place. It is used by screwing on a matching bolt or stud to hold the adjoining parts together in mechanical stability. This nut is installed by tightening to the right specification as per equipment design and ensures the correct alignment of the components, it does not loosen easily due to vibration and heat, and it leads to the operation of cheese melters and other related appliances.

Dimensions

  • Length: 4 In
  • Width: 4.5 In
  • Height: 2 In
  • Weight: 0.019 lbs
https://partsfe.com/media/catalog/product/i/m/imperial-30266-nut-13143-2.jpg

Product Notes

  • 3/8" Cct Compression Nut, Each
IMPERIAL:
SOUTHBEND:
Write Your Own Review
You're reviewing:Imperial 30266 Compression Nut 3/8"
Your Rating
Customer Questions
What maintenance is required for the Imperial 30266 Compression Nut?

Clean the compression nut regularly to remove grease and debris. Inspect threads for damage or stripping during routine servicing. Tighten properly to ensure a secure, leak-free connection and avoid gas fitting issues.

What are common issues with the Imperial 30266 Compression Nut?

  • Thread stripping.
  • Loose connections causing gas or fluid leaks.
  • Brass corrosion from moisture exposure.
  • Cross threading during installation leading to improper sealing.
  • Worn threads reducing tightening efficiency.
  • Overtightening causing deformation of fitting.

We strive to provide our customers with a hassle-free and efficient shopping experience. Our shipping policy ensures the timely delivery of your orders and complete customer satisfaction. View More

We are committed to ensuring your complete satisfaction with every purchase. We understand that circumstances may arise where you must return a product or request a refund. If for any reason you are not satisfied, you may return the item(s) according to the terms outlined below. View More

This Payment Policy outlines the terms and conditions governing all payments made for products purchased through our website. By making a purchase, you agree to be bound by this Payment Policy. View More

Installation Steps

Step1: Turn off Cheesemelter gas/equipment and allow to cool completely before starting work.

Step2: Remove old compression nut and clean threads thoroughly.

Step3: Align new brass nut on line fitting correctly.

Step4: Hand-tighten, then wrench-tighten gently to seal—do not over-torque or strip threads.

Step5: Check for leaks with soapy water after pressurizing slightly.

Step6: Ensure gas is off and wear protective gloves and eyewear always.