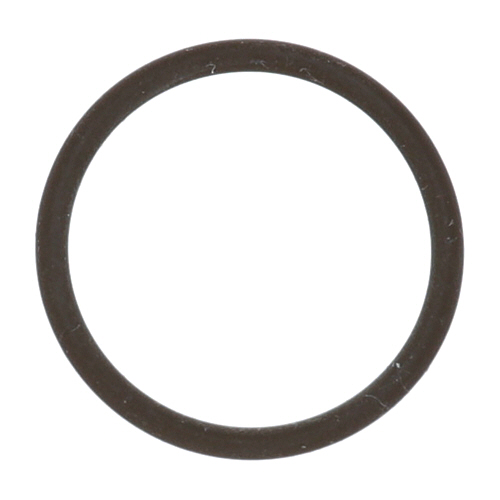
Cleveland FA05002-35 Steam Kettle O-Ring Viton A-018
Specifications:
- O Ring, .739" Id
Description
Dimensions:
- Weight: 0.01 lbs
- Length: 0.75 in
- Height: 0.1 in
- Width: 0.75 in
Step1: Turn off equipment and relieve system pressure.
Step2: Disassemble housing and carefully remove old O-Ring.
Step3: Clean groove and mating surfaces thoroughly using lint-free cloth.
Step4: Inspect groove for damage, corrosion, or wear before installation.
Step5: Lightly lubricate new O-Ring with compatible grease or oil.
Step6: Install new O-Ring carefully without twisting, pinching, or stretching.
Step7: Reassemble components, tighten securely, and test for leaks under pressure.
-
What maintenance is required for the Cleveland FA05002-35 O-Ring?
Inspect the o-ring regularly for cracks, flattening, or chemical damage. Keep sealing surfaces clean and free from grease buildup or debris. Apply lubricant during installation to ensure proper sealing and reduce friction. Avoid exposure to chemicals or excessive heat.
-
What are common issues with the Cleveland FA05002-35 O-Ring?
- Cracking or splitting from heat exposure.
- Loss of elasticity causing poor sealing.
- Leaks due to improper seating or misalignment.
- Swelling or degradation from chemical contact.
Customer Reviews
No reviews yet. Be the first to write one!
Write a Review
We strive to provide our customers with a hassle-free and efficient shopping experience. Our shipping policy ensures the timely delivery of your orders and complete customer satisfaction. View More
We are committed to ensuring your complete satisfaction with every purchase. We understand that circumstances may arise where you must return a product or request a refund. If for any reason you are not satisfied, you may return the item(s) according to the terms outlined below. View More
This Payment Policy outlines the terms and conditions governing all payments made for products purchased through our website. By making a purchase, you agree to be bound by this Payment Policy. View More