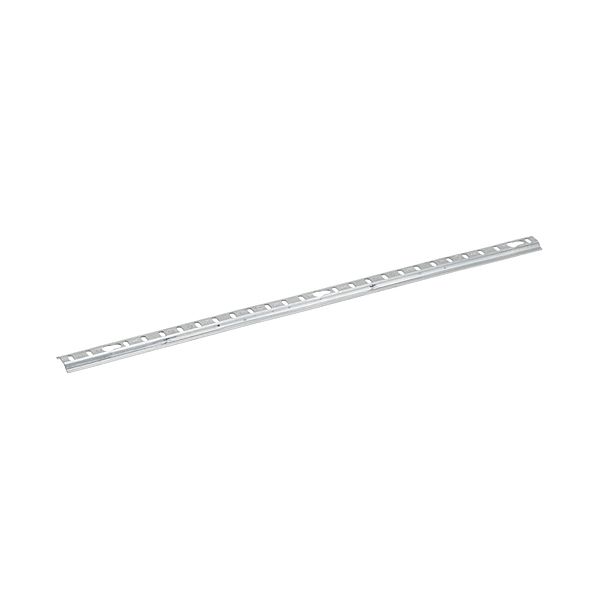
Beverage Air 403-154A Refrigerator Pilaster 27/48" Width X 15" Length

$17.06
In stock
SKU
403-154A
The Beverage Air 403-154A Refrigerator Pilaster 27/48" Width X 15" Length is a structural support element that is applied to commercial freezer units to support the cabinet structure and direct the door movement. It fits vertically on the inside of the freezer opening and offers a stable place to mount the hinges, gaskets, and trim and also assists in keeping the door correctly aligned. This pilaster is used between the outer cabinet and the inner liner of the freezer and it connects with other panels and hardware. It assists in efficient cooling and the long life of the freezer assembly.

Dimensions

  • Length: 14.5 In
  • Width: 1 In
  • Height: 0.5 In
  • Weight: 0.07 lbs
https://partsfe.com/media/catalog/product/b/e/beverage-air-403-154a-pilaster-86463-2.jpg

Product Notes

  • Pilaster
  • 14-1/2" Long
  • Beverage Air, Sp27, Sp48, Sp48-12M, Sp60, Sp60-18M, Sp72,
  • Ucf27, Ucf27-23, Ucf27A, Ucf48, Ucf48A, Ucr-27A-23, Ucr20,
  • Ucr34, Wtf-27, Wtf27, Wtf27A, Wtf48, Wtr-27, Wtr119, Wtr27,
  • Wtr27A, Wtr41, Wtr46, Wtr48A, Wtr48A-23, Wtr60, Wtr60A-23,
  • Wtr67, Wtr72A, Wtr93, Wtrf-27
BEVERAGE AIR:
403-154A, BEV403-154A
FRANKLIN CHEF:
Write Your Own Review
You're reviewing:Beverage Air 403-154A Refrigerator Pilaster 27/48" Width X 15" Length
Your Rating
Customer Questions
What maintenance is required for the Beverage Air 403-154A Pilaster?

Regularly inspect the pilaster for bending, corrosion, or loose mounting points to ensure shelf stability and proper alignment. Clean the surface with a mild detergent to remove debris and moisture buildup. Check that shelf clips fit securely into the pilaster slots.

What are common issues with the Beverage Air 403-154A Pilaster?

  • Misalignment causing shelving instability.
  • Corrosion or rust on metal surfaces.
  • Loose or stripped mounting points.
  • Wear from repeated load pressure.
  • Bending or deformation under heavy loads.
  • Fastener loosening due to vibration.

We strive to provide our customers with a hassle-free and efficient shopping experience. Our shipping policy ensures the timely delivery of your orders and complete customer satisfaction. View More

We are committed to ensuring your complete satisfaction with every purchase. We understand that circumstances may arise where you must return a product or request a refund. If for any reason you are not satisfied, you may return the item(s) according to the terms outlined below. View More

This Payment Policy outlines the terms and conditions governing all payments made for products purchased through our website. By making a purchase, you agree to be bound by this Payment Policy. View More

Installation Steps

Step1: Turn off and unplug equipment for safety.

Step2: Remove interior shelves or obstructions.

Step3: Align pilaster with mounting rail slots.

Step4: Insert top and bottom into clips securely.

Step5: Fasten with screws if required by unit.

Step6: Check vertical alignment and stability.

Step7: Reinstall shelves and restore power safely.