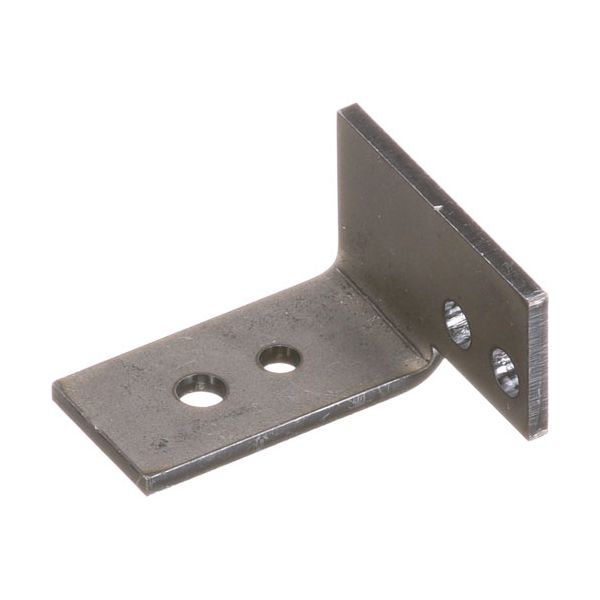
Blodgett 52313 Pilot Bracket Assembly 1048/1060

Special Price $15.96 Regular Price $24.28
In stock
SKU
52313
Dishwasher Parts, Brackets,
Manufacturer:
The Blodgett 52313 Pilot Bracket Assembly 1048/1060 is an aid that holds a pilot assembly in place in a gas-fired control system. It is made to fit the pilot burner or pilot tube in a manner that it is made to be parallel to the area of ignition that is supposed to be ignited. The bracket is attached to the internal structure of the equipment to eliminate vibration and thermal cycling. This designation has the effect of stabilizing and maintaining a constant pilot flame.

Dimensions

  • Length: 1.5 In
  • Width: 1.5 In
  • Height: 1 In
  • Weight: 0.05 lbs
https://partsfe.com/media/catalog/product/b/l/blodgett-52313-pilot-bracket-1048-106-96033-2.jpg
BLODGETT:
Write Your Own Review
You're reviewing:Blodgett 52313 Pilot Bracket Assembly 1048/1060
Your Rating
Customer Questions
What maintenance is required for the Blodgett 52313 Pilot Bracket?

Inspect the pilot bracket for alignment and secure mounting to ensure stable flame positioning. Clean away grease and carbon buildup that may affect burner performance. Tighten fittings periodically to maintain proper support and better, efficient oven operation.

What are common issues with the Blodgett 52313 Pilot Bracket?

  • Misaligned bracket causing unstable pilot flame.
  • Loose mounting leading to vibration issues.
  • Carbon buildup affecting burner positioning.
  • Wear or deformation from repeated heat exposure.

We strive to provide our customers with a hassle-free and efficient shopping experience. Our shipping policy ensures the timely delivery of your orders and complete customer satisfaction. View More

We are committed to ensuring your complete satisfaction with every purchase. We understand that circumstances may arise where you must return a product or request a refund. If for any reason you are not satisfied, you may return the item(s) according to the terms outlined below. View More

This Payment Policy outlines the terms and conditions governing all payments made for products purchased through our website. By making a purchase, you agree to be bound by this Payment Policy. View More

Installation Steps

Step1: Turn off gas and electrical power and let the unit cool completely.

Step2: Remove the access panel to reach the burner and pilot area.

Step3: Carefully detach the old pilot bracket if installed.

Step4: Align new bracket with existing mounting points.

Step5: Secure firmly using screws.

Step6: Reconnect pilot tubing and ignition components.

Step7: Restore gas, test ignition, and check for leaks with soapy water.