
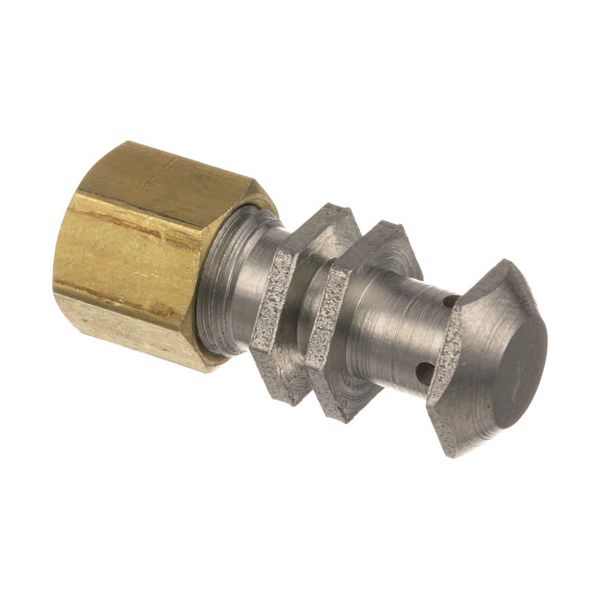
Vulcan Hart 00-412063-00002 Range Pilot Head W/Nut & Ferrule 3/16" CCT

$9.46
In stock
SKU
00-412063-00002
The Vulcan Hart 00-412063-00002 Range Pilot Head with nut and ferrule 3/16" CCT is a replacement part that fits a commercial gas appliance. It guides the small, constant flame required to start the main burner when in operation, which contributes to the constant efficiency in kitchen settings. It is utilised in foodservice areas like restaurants, cafeterias, and institutional kitchens. It is installed as part of the burner assembly of the range and assists in maintaining proper flame control, and also assists in ensuring that the entire gas system functions efficiently.

Dimensions

  • Length: 1 In
  • Width: 0.25 In
  • Height: 1 In
  • Weight: 0.1 lbs
https://partsfe.com/media/catalog/product/v/u/vulcan-hart-00-412063-00002-pilot-head-3-16-cct-w-nut-ferrule-27033-2.jpg

Product Notes

  • Pilot Head, 3/16" Cct, W/ Nut & Ferrule.
  • Can Be Used With:
  • 3/16" Cct X 36" Copper Clad Steel Pilot Tubing # 26-1589
Write Your Own Review
You're reviewing:Vulcan Hart 00-412063-00002 Range Pilot Head W/Nut & Ferrule 3/16" CCT
Your Rating
Customer Questions
What maintenance is required for the Vulcan Hart 00-412063-00002 Pilot Head?

Clean pilot head regularly to remove carbon buildup and maintain proper flame quality. Inspect the connection and nut-and-ferrule fitting for tightness and leaks. Ensure gas orifice remains clear to prevent ignition issues during operation.

What are common issues with the Vulcan Hart 00-412063-00002 Pilot Head?

  • Clogging in pilot orifice causing weak or unstable flame.
  • Loose nut-and-ferrule connection leading to gas leakage or pressure drop.
  • Carbon deposits affecting ignition consistency and flame stability.
  • Misalignment of pilot head reducing efficient gas flow.

We strive to provide our customers with a hassle-free and efficient shopping experience. Our shipping policy ensures the timely delivery of your orders and complete customer satisfaction. View More

We are committed to ensuring your complete satisfaction with every purchase. We understand that circumstances may arise where you must return a product or request a refund. If for any reason you are not satisfied, you may return the item(s) according to the terms outlined below. View More

This Payment Policy outlines the terms and conditions governing all payments made for products purchased through our website. By making a purchase, you agree to be bound by this Payment Policy. View More

Installation Steps

Step1: Turn off gas supply and allow unit to cool completely for safety.

Step2: Remove old pilot head and clean connection area thoroughly.

Step3: Fit new pilot head with nut and ferrule, align tubing properly.

Step4: Tighten securely, restore gas, and test ignition carefully.

Step5: Check for gas leaks using soapy water solution around joints.

Step6: Verify steady flame and secure all fittings firmly.
