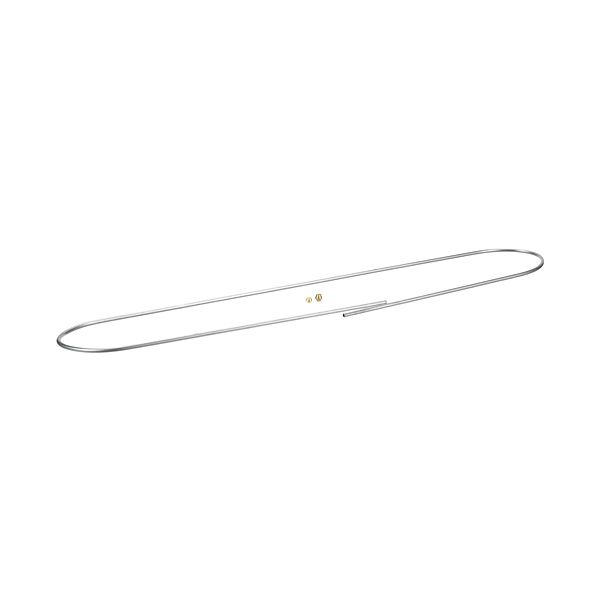
Blodgett 8708 Pilot Tube Assembly
Dimensions
- Length: 13 In
- Width: 2 In
- Height: 0.25 In
- Weight: 0 lbs
Product Notes
- 40" Of 3/16" Pilot Tubing With 2 Ferrules
- Blodgett 1060, 901, 911, 916, 931, 951, 961, 966, 981, 999
Functions as an integral part of commercial oven ignition systems, this pilot tube assembly is used to deliver a controlled and stable gas pilot flow that supports consistent burner ignition and safe oven startup. Built with 40 inches of 3/16" pilot tubing and supplied with two ferrules for secure connection, it ensures proper routing and sealing of the pilot gas line within the equipment. Installed in a wide range of commercial Blodgett ovens, the assembly plays a key role in maintaining reliable ignition performance and steady flame operation during heating cycles. Over time, pilot tubing can become worn, restricted, or damaged, which may lead to inconsistent ignition or delayed startup; replacing it helps restore proper gas delivery and supports efficient and stable oven operation in daily cooking environments.
Equipment Compatibility:
Replacement application for Blodgett Oven Pilot Tube Assembly includes commercial baking and roasting ovens used in foodservice kitchens. This Pilot Tube Assembly 8708 is compatible with commercial equipment from leading brands such as Blodgett, and more, where stable pilot gas delivery and ignition consistency are required for proper equipment operation.
Brand Compatibility:
This pilot tube assembly replaces multiple part numbers used across compatible equipment models from brands such as Blodgett and more. Complete cross-reference details are provided separately for identification and ordering purposes.
Product Specifications:
Product Type: Oven Pilot Tube Assembly
Manufacturer: Blodgett
SKU: 8708
Material/Build: 3/16" pilot tubing
Length: 40 inches
Connection: 2 ferrules included
Function: Pilot gas delivery line for ignition systems
Application: Commercial oven burner ignition systems
Key Features:
“After replacing the pilot tube, the oven lights consistently every time.”
We strive to provide our customers with a hassle-free and efficient shopping experience. Our shipping policy ensures the timely delivery of your orders and complete customer satisfaction. View More
We are committed to ensuring your complete satisfaction with every purchase. We understand that circumstances may arise where you must return a product or request a refund. If for any reason you are not satisfied, you may return the item(s) according to the terms outlined below. View More
This Payment Policy outlines the terms and conditions governing all payments made for products purchased through our website. By making a purchase, you agree to be bound by this Payment Policy. View More
Step1: Turn off gas and power; allow oven to cool completely for safety.
Step2: Remove front panel to access pilot assembly area.
Step3: Disconnect old pilot tube and inspect gas line for debris or damage.
Step4: Install new pilot tube, securing fittings tightly without over-torquing.
Step5: Reassemble panel, restore gas/power, and test ignition for proper flame.