

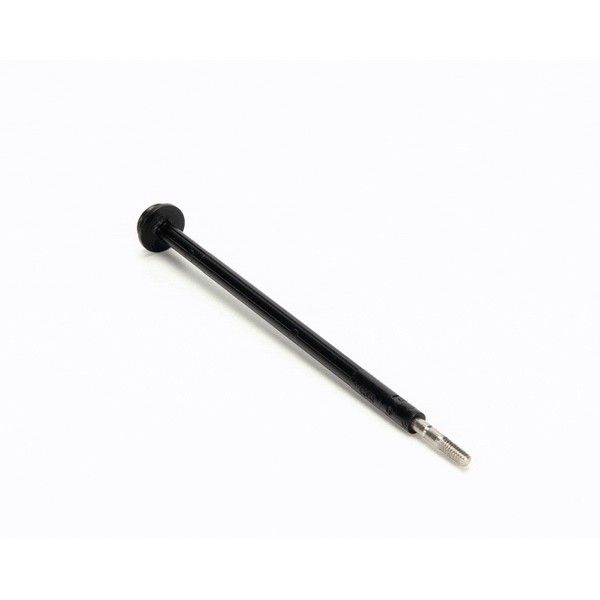
Server Products 82013 Piston & Stem Assembly

Special Price $20.36 Regular Price $25.95
In stock
SKU
82013
Manufacturer:

The work of Server Products 82013 Piston & Stem Assembly lies in the design that it moves up and down at the pump system and regulates the intake and discharge of the product in every dispensing cycle. The piston produces pressure during the movement in the chamber and the stem directs movement and is linked to the handle mechanism to maintain constant movement. It is fitted into the pump body of suitable condiment and sauce dispensers. It is designed in such a way that it facilitates repetitive pumping and flow management.

Dimensions

  • Length: 0.75 In
  • Width: 0.75 In
  • Height: 7.25 In
  • Weight: 0.07 lbs
https://partsfe.com/media/catalog/product/s/e/server-products-82013-piston-stem-assemby-88784-2.jpg

Product Notes

  • Piston & Stem Assembly, 7-1/4"
  • Server Dispenser Old Style Pumps: Big Cheese,
  • Cp-(1/6,1/4,1/3,5, 6-1/2,8-1/2,10,10-1/2,200), Cream, Fsp,
  • Lbs, Lfsp, Lhssw, Lncs, mms, Sp, Sp-8-1/2.
  • New Style Pumps: Cp-(1/6,1/4,1/3,5,6-1/2,8-1/2,10,
  • 10-1/2,200), Cp-G(89Mm,110Mm,120Mm), Cpss-(L,R),
  • Csm, Fsp, Lbs, Lfsp, Lhssw, Lncs, mms, Sp, Sp-8-1/2.
SERVER PRODUCTS:
Write Your Own Review
You're reviewing:Server Products 82013 Piston & Stem Assembly
Your Rating
Customer Questions
What maintenance is required for the Server Products 82013 Piston And Stem Assembly?

Clean and inspect the piston and stem regularly to prevent buildup and sticking. Lubricate moving parts with food-safe lubricant to ensure smooth operation. Regular checks can maintain dispensing accuracy and reduce wear during use.

What are common issues with the Server Products 82013 Piston And Stem Assembly?

  • Piston sticking due to residue buildup.
  • Stem wear causing inconsistent dispensing.
  • Leakage from worn seals or misalignment.
  • Reduced flow or clogging during operation.
  • Difficulty maintaining consistent portion control.

We strive to provide our customers with a hassle-free and efficient shopping experience. Our shipping policy ensures the timely delivery of your orders and complete customer satisfaction. View More

We are committed to ensuring your complete satisfaction with every purchase. We understand that circumstances may arise where you must return a product or request a refund. If for any reason you are not satisfied, you may return the item(s) according to the terms outlined below. View More

This Payment Policy outlines the terms and conditions governing all payments made for products purchased through our website. By making a purchase, you agree to be bound by this Payment Policy. View More

Installation Steps

Step1: Turn off power and gas supply; allow unit to cool completely before service always.

Step2: Disassemble housing and remove old piston and stem.

Step3: Clean internal seat and inspect seals for wear.

Step4: Apply food-grade lubricant to O-rings lightly.

Step5: Insert new piston & stem assembly, aligning correctly.

Step6: Reassemble housing and tighten securely.

Step7: Restore power and test operation for leaks; ensure safe functioning carefully.