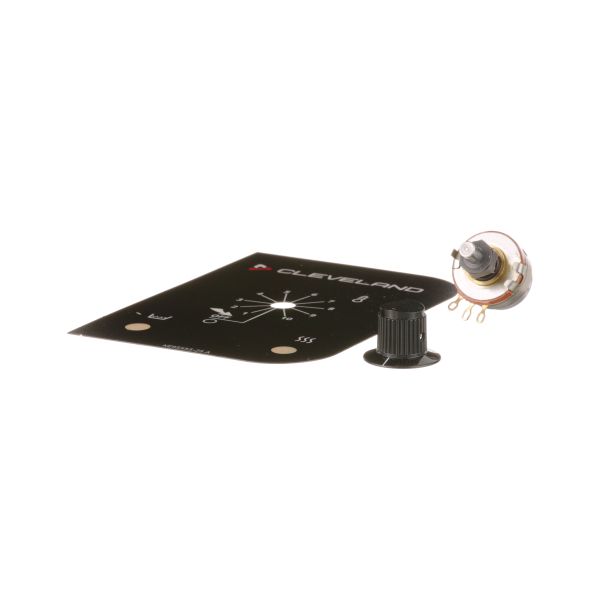
Cleveland SE00115 Potentiometer Kit

Special Price $244.40 Regular Price $331.95
In stock
SKU
SE00115
The Cleveland SE00115 Potentiometer Kit helps you adjust electrical voltage with better accuracy in commercial kitchens. It helps users control electrical signals consistently and correctly, which matches what audio technologies want, testing tools, and systems that manipulate signals. Each potentiometer is made with better-quality materials for simple and dependable fine-tuning. This kit has three helpful features it works well with different projects, lets you control electrical circuits better, and gives you more choices for setting voltage levels. This tool is perfect for people who repair electronics, design new equipment, and maintain electrical systems.

Dimensions

  • Length: 6 In
  • Width: 4 In
  • Height: 1.5 In
  • Weight: 0.12 lbs
https://partsfe.com/media/catalog/product/c/l/cleveland-se00115-potentiometer-kit-30878.jpg
CLEVELAND:
CLESE00115, SE00115
Write Your Own Review
You're reviewing:Cleveland SE00115 Potentiometer Kit
Your Rating
Customer Questions
What maintenance is required for the Cleveland SE00115 Potentiometer Kit?

Inspect wiring connections regularly and ensure terminals are tight and free from corrosion. Clean potentiometer to prevent dust buildup affecting signal accuracy and response. Check smooth knob movement and recalibrate if needed for consistent control performance.

What are common issues with the Cleveland SE00115 Potentiometer Kit?

  • Loose or corroded terminals causing intermittent signal loss.
  • Dust contamination leading to inaccurate resistance output or erratic readings.
  • Worn potentiometer track causing dead spots or unstable control response.
  • Knob slippage or mechanical looseness affecting adjustment accuracy.

We strive to provide our customers with a hassle-free and efficient shopping experience. Our shipping policy ensures the timely delivery of your orders and complete customer satisfaction. View More

We are committed to ensuring your complete satisfaction with every purchase. We understand that circumstances may arise where you must return a product or request a refund. If for any reason you are not satisfied, you may return the item(s) according to the terms outlined below. View More

This Payment Policy outlines the terms and conditions governing all payments made for products purchased through our website. By making a purchase, you agree to be bound by this Payment Policy. View More

Installation Steps

Step1: Disconnect power supply and allow equipment to cool before opening panel for safety.

Step2: Remove control cover and locate existing potentiometer wiring connections.

Step3: Label and disconnect wires from old unit carefully.

Step4: Mount new potentiometer securely in control panel slot.

Step5: Reconnect wires to matching terminals per wiring diagram.

Step6: Tighten connections and ensure proper alignment of dial.

Step7: Restore power and test functionality, ensuring smooth adjustment.