
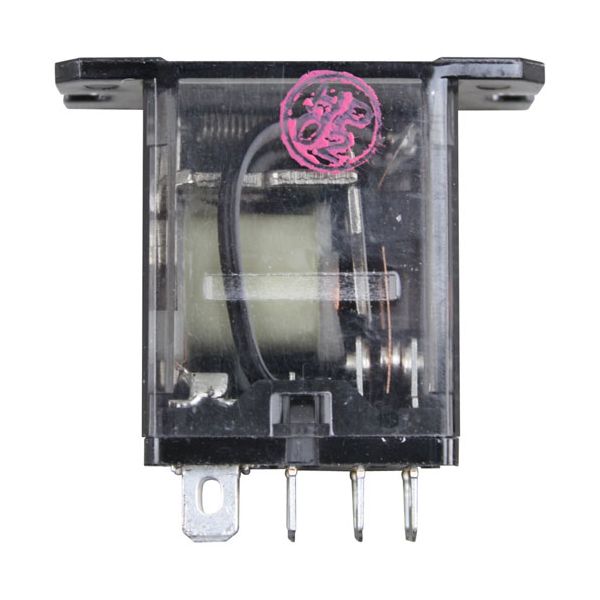
Star Mfg 2E-Z14428 Oven Relay W/8 Terminals, 120V AC Coil

Special Price $59.47 Regular Price $94.40
In stock
SKU
2E-Z14428
Manufacturer:

The Star Mfg 2E-Z14428 Relay with 8 terminals and a 120V AC coil is an essential device to regulate the power supply in ovens. It works by receiving a signal from the control circuit and making the relay turn the power switch on or off to the heaters. The 8 terminals enable different wiring, and there is confidence that the interconnections will be perfect. Compared to the previous relay, this relay emerges as much more hard-wearing, as well as stable in performance, with short response times that allow the equipment to operate at maximum efficiency and prevent overheating.

Dimensions

  • Length: 2 In
  • Width: 2 In
  • Height: 1 In
  • Weight: 0.07 lbs
https://partsfe.com/media/catalog/product/s/t/star-mfg-2e-z14428-oven-relay-w-8-terminals-120v-ac-coil-89110-2.jpg

Product Notes

  • (8) Terminals, 120V Coil, 50/60Hz
  • Globe 2750, 2850V, 2875V, 3500, 3600, 3750, 3850(V), 3875V,
  • 3950
Write Your Own Review
You're reviewing:Star Mfg 2E-Z14428 Oven Relay W/8 Terminals, 120V AC Coil
Your Rating
Customer Questions
What maintenance is required for the Star Mfg 2E-Z14428 Relay?

Inspect the relay terminals regularly for loose connections, corrosion, or heat discoloration. Keep the relay compartment clean and free from grease or moisture buildup. Verify proper voltage supply and secure wiring to maintain accurate switching performance. Always disconnect electrical power before inspecting or replacing the relay to prevent shock hazards.

What are common issues with the Star Mfg 2E-Z14428 Relay?

  • Burnt or pitted contact points causing intermittent power.
  • Coil failure resulting in the oven relay failing to connecting.
  • Audible clicking without electrical throughput.
  • Terminal corrosion leading to high resistance and overheating.

We strive to provide our customers with a hassle-free and efficient shopping experience. Our shipping policy ensures the timely delivery of your orders and complete customer satisfaction. View More

We are committed to ensuring your complete satisfaction with every purchase. We understand that circumstances may arise where you must return a product or request a refund. If for any reason you are not satisfied, you may return the item(s) according to the terms outlined below. View More

This Payment Policy outlines the terms and conditions governing all payments made for products purchased through our website. By making a purchase, you agree to be bound by this Payment Policy. View More

Installation Steps

Step1: Turn off power at breaker and confirm zero voltage with a tester.

Step2: Remove oven control panel or access cover.

Step3: Label existing terminal wiring.

Step4: Disconnect wires from old relay.

Step5: Mount new relay securely in same position.

Step6: Reconnect wires to matching terminals per diagram.

Step7: Reassemble panel, restore power, test oven operation.

Step8: Keep hands clear of live circuits and check operation cycle.