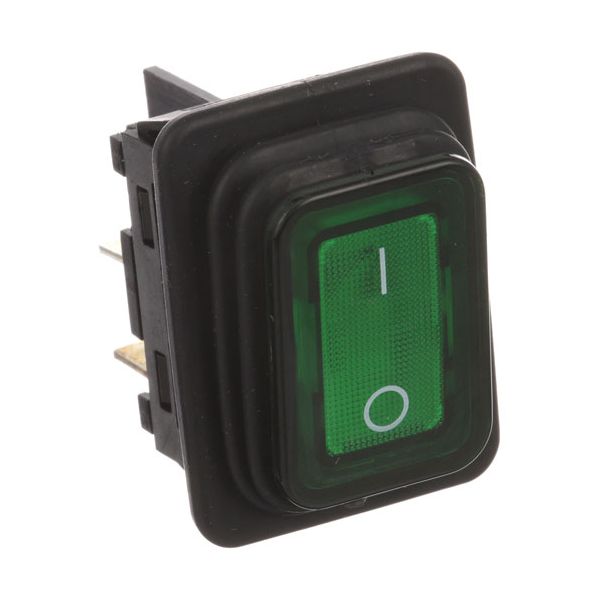
Cadco 9032 Green Rocker Switch W/4x 1/4" Tabs DPST ON/OFF 16A/125VAC

Special Price $14.70 Regular Price $15.00
In stock
SKU
9032
Manufacturer:

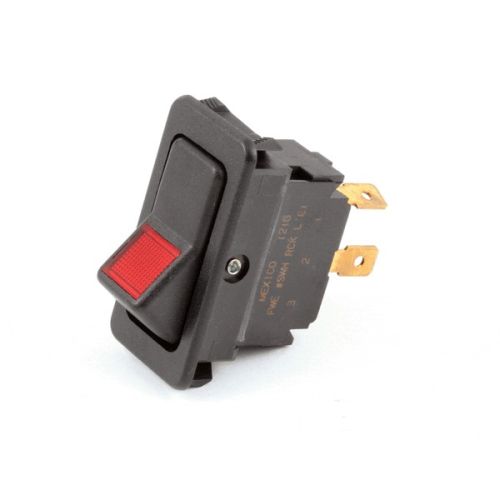
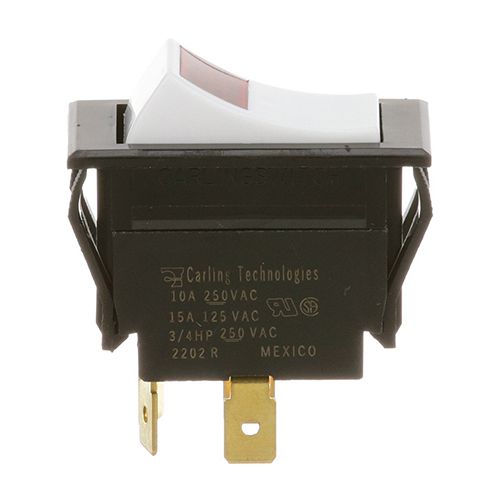
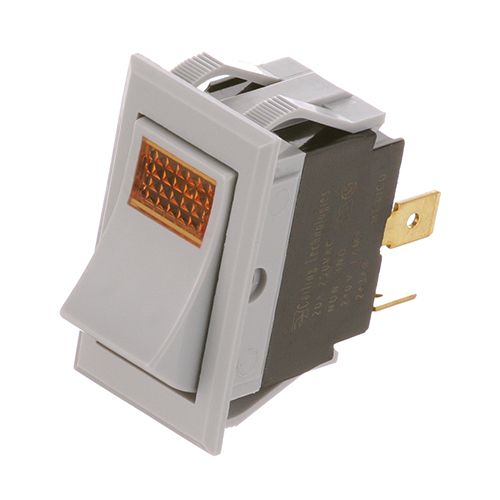
The Cadco 9032 Green Rocker Switch DPST has 4 x 1/4 inch tabs ON/OFF 16A/125 VAC connections that allow two electrical circuits to be operated at the same time by opening or closing internal contacts when the rocker is pushed. The rocker is moving, either permitting current to pass through both poles or breaking it, giving coordinated on/off control of two circuits with a single actuator. It is mounted on the control panel of compatible equipment. The green rocker is used to give a visual indication of the position of the switch and is consistent with the panel layouts, so that operators can access them.

Dimensions

  • Length: 1.2 In
  • Width: 1 In
  • Height: 1.3 In
  • Weight: 0.1 lbs
https://partsfe.com/media/catalog/product/c/a/cadco-9032-dpst-green-rocker-switch-w-4x-1-4-tabs-on-off-16a-125vac-19983-2.jpg

Product Notes

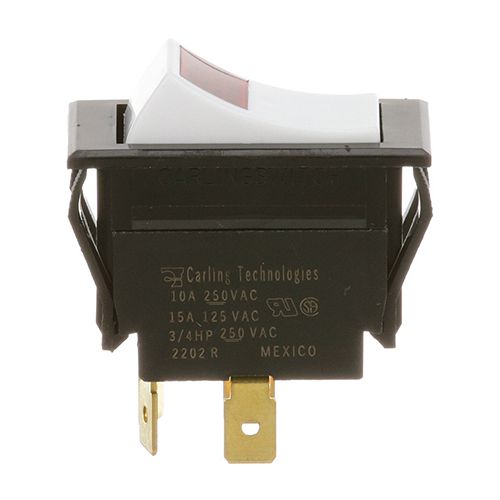
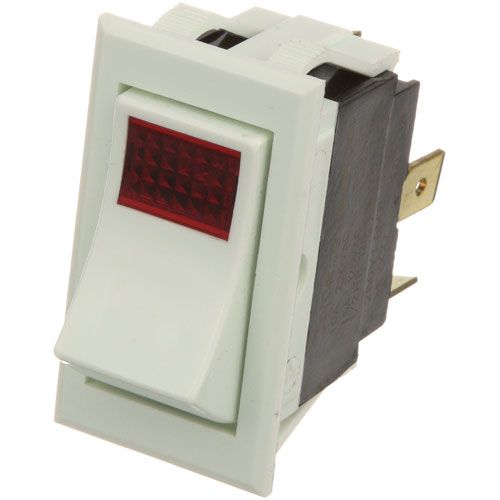
  • On/Off, Green Rocker, Dpst, (4) 1/4" Tabs,
  • 16A/125Vac, 10A/250Vac, Black Frame,
  • Fits 1.20" X .875" Hole.
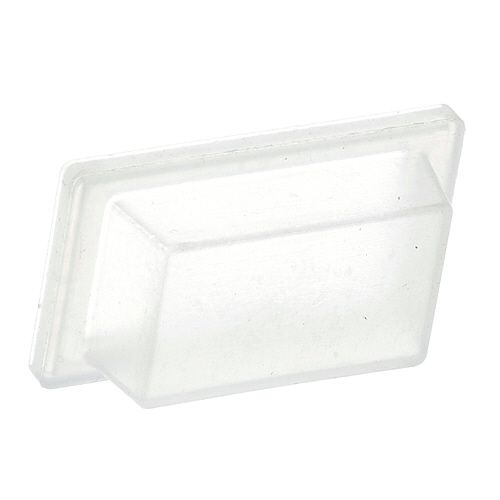
  • Note: May Not Come With Rubber Cover. Oem Does Not
  • Always Supply.
  • Cadco Ts-9000
CADCO:
CADDY:
Write Your Own Review
You're reviewing:Cadco 9032 Green Rocker Switch W/4x 1/4" Tabs DPST ON/OFF 16A/125VAC
Your Rating
Customer Questions
What maintenance is required for the Cadco 9032 Rocker Switch?

Keep terminals tight and periodically inspect for heat discoloration or wear. Clean dust and debris from the rocker and housing to prevent poor contact. Ensure the switch remains dry and properly insulated during operation.

What are common issues with the Cadco 9032 Rocker Switch?

  • Contact wear leading to intermittent connectivity.
  • Rocker switch sticking or failure to toggle.
  • Overheating at terminals due to loose connections.
  • Moisture ingress causing corrosion or malfunction.

We strive to provide our customers with a hassle-free and efficient shopping experience. Our shipping policy ensures the timely delivery of your orders and complete customer satisfaction. View More

We are committed to ensuring your complete satisfaction with every purchase. We understand that circumstances may arise where you must return a product or request a refund. If for any reason you are not satisfied, you may return the item(s) according to the terms outlined below. View More

This Payment Policy outlines the terms and conditions governing all payments made for products purchased through our website. By making a purchase, you agree to be bound by this Payment Policy. View More

Installation Steps

Step1: Wear insulated gloves and disconnect power at breaker; check no voltage with a tester.

Step2: Remove control panel to access old rocker switch carefully.

Step3: Label and disconnect all wires from switch terminals.

Step4: Remove old switch and insert new switch into mounting tabs.

Step5: Reconnect wires to matching terminals ensuring tight fit and polarity.

Step6: Secure panel, restore power, and test ON/OFF operation safely.