
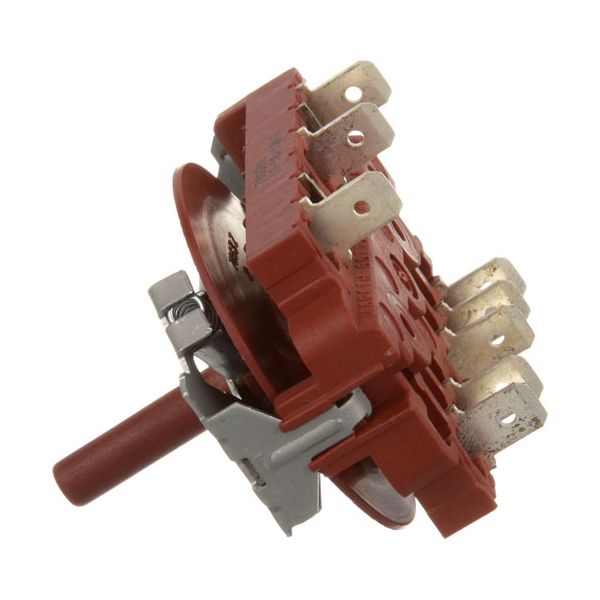
Montague 48841-0 4-Position Oven Rotary Switch 25A/250VAC 1/4" TAB

Special Price $60.63 Regular Price $123.75
In stock
SKU
48841-0
Manufacturer:

The Montague 48841-0 Rotary Switch 4-Position gives the user the ability to choose and manage various operational conditions in the appliance, and therefore adjust cooking functions properly. It is mounted in the control panel of the oven, and it spins around four different positions to turn heating elements, on or off accordingly. The switch is commonly used in restaurant kitchens, and other food service settings, where it is a key component in ensuring a consistent level of cooking performance, enabling the operation of the appliance.

Dimensions

  • Length: 3 In
  • Width: 1.75 In
  • Height: 2.5 In
  • Weight: 0.25 lbs
https://partsfe.com/media/catalog/product/m/o/montague-48841-0-4-position-oven-rotary-switch-25a-250vac-1-4-tab-25963-2.jpg

Product Notes

  • 4 Position Rotary Switch
  • (8) 1/4" Tab Term, 25A 250Vac
  • Montague Oven Vectaire: 70/115/Vectair Ii (03/15/10)
Write Your Own Review
You're reviewing:Montague 48841-0 4-Position Oven Rotary Switch 25A/250VAC 1/4" TAB
Your Rating
Customer Questions
What maintenance is required for the Montague 48841-0 Rotary Switch?

Regularly inspect the rotary switch for loose terminals, worn contacts, or heat discoloration that may affect oven performance. Keep the switch area clean and dry to prevent grease or moisture buildup around electrical connections. Verify smooth position changes during routine servicing. Always disconnect electrical power before inspecting or replacing the switch.

What are common issues with the Montague 48841-0 Rotary Switch?

  • Contact wear leading to intermittent heating.
  • Oven heat damage causing melted terminals.
  • Selector knob stiffness or misalignment.
  • Electrical arcing or power loss.
  • Overheating due to poor connections.

We strive to provide our customers with a hassle-free and efficient shopping experience. Our shipping policy ensures the timely delivery of your orders and complete customer satisfaction. View More

We are committed to ensuring your complete satisfaction with every purchase. We understand that circumstances may arise where you must return a product or request a refund. If for any reason you are not satisfied, you may return the item(s) according to the terms outlined below. View More

This Payment Policy outlines the terms and conditions governing all payments made for products purchased through our website. By making a purchase, you agree to be bound by this Payment Policy. View More

Installation Steps

Step1: Turn off the oven power supply and unplug oven to avoid electric shock; check no current and wear insulated gloves.

Step2: Remove the control panel, disconnect wiring connections.

Step3: Disconnect wires from old switch carefully.

Step4: Install new rotary switch aligning terminals correctly and firmly seat switch.

Step5: Reconnect wires as per original diagram.

Step6: Secure switch and reassemble panel.

Step7: Restore power and test all positions.