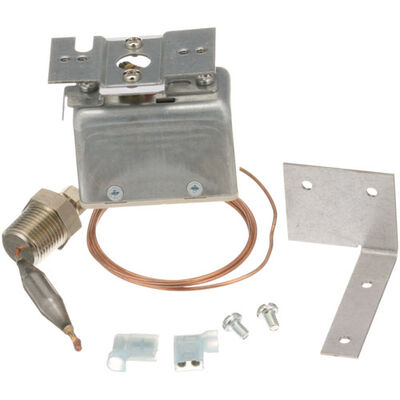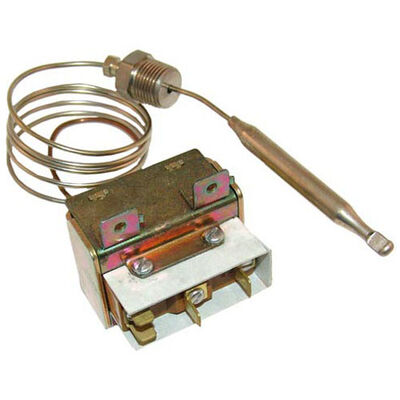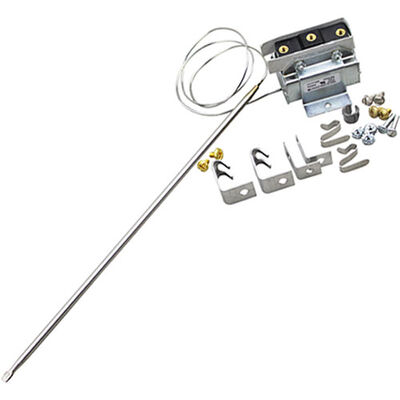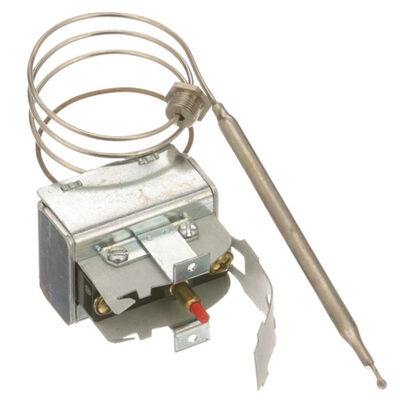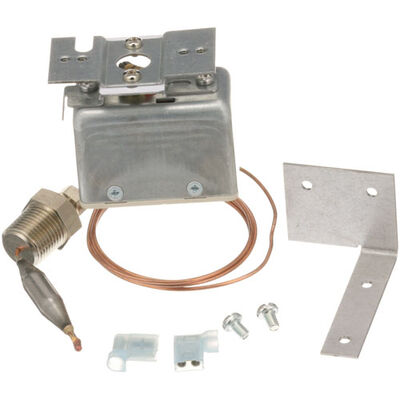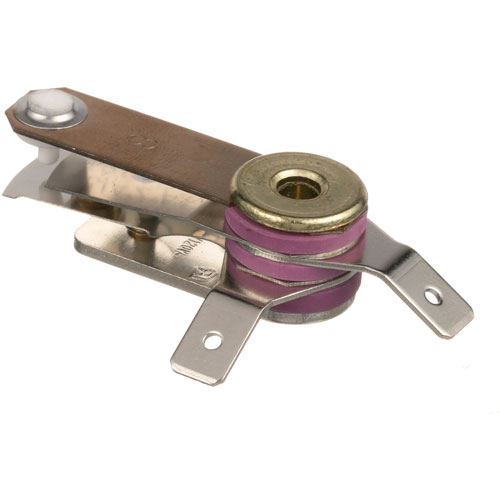
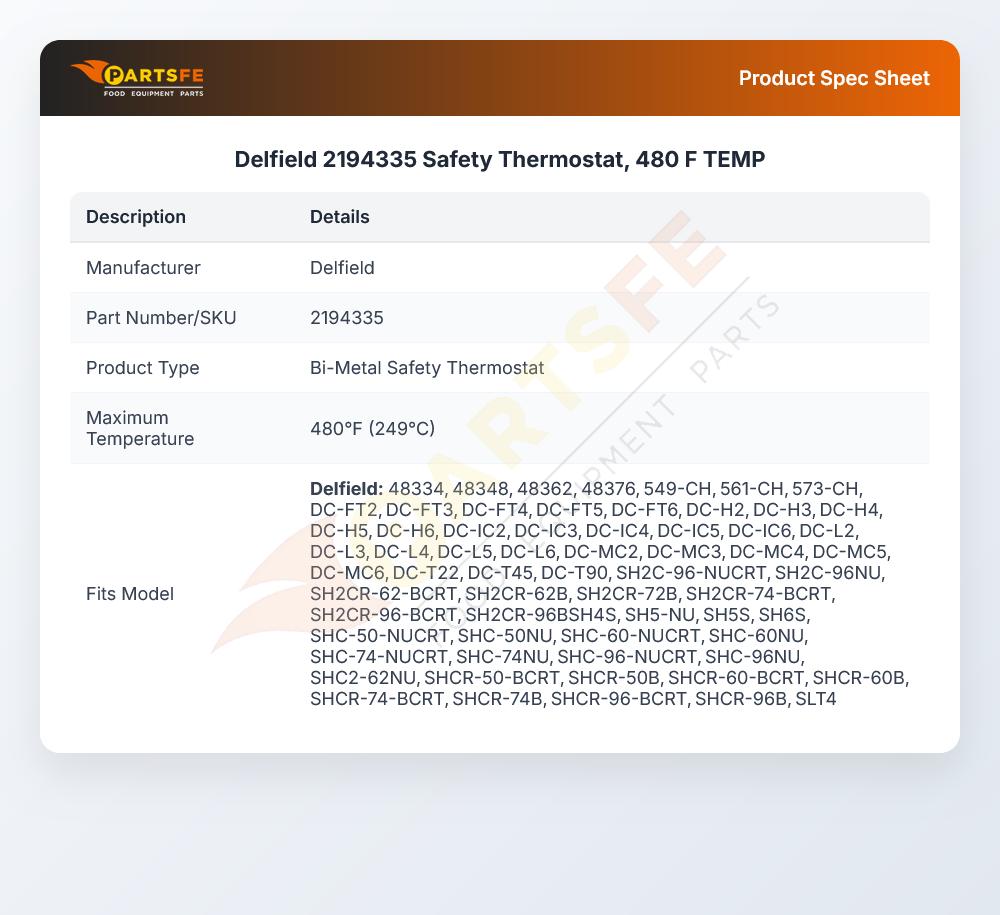
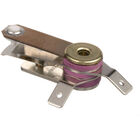
Delfield 2194335 Safety Thermostat 480°F
Specifications:
- Safety T'Stat, 480 Degrees F
- Delfield Model 48334, 48348, 48362, 48376, 549-Cd, 549-Ch,
- 561-Cd, 561-Ch, 573-Ch, F14Ew232, F14Ew348, F14Ew460,
- F14Ew572, F14Ew688, F14Ey232, F14Ey348, F14Ey460, F14Ey572,
- F14Ey688, F14Gw232, F14Gw348, F14Gw460, F14Gw572, F14Gw688,
- Kh2, Kh2-Nu, Kh3, Kh3-Nu, Kh4, Kh5, Kh5-Nu, Kh6, N8717-D,
- N8731-D, N8745-D, N8746N, N8759-D, N8768N,
- N8773-D,N8787-D, Sh2S, Sh3S, Sh4S, Sh5S, Sh6S
Description
Dimensions:
- Weight: 0.05 lbs
- Length: 2 in
- Height: 0.7 in
- Width: 0.7 in
This Part Fits the Following Models
215 modelsStep1: Disconnect power and confirm unit is de-energized before servicing.
Step2: Remove access panel and locate existing old thermostat assembly from unit.
Step3: Disconnect wiring noting terminal positions safely.
Step4: Mount new thermostat securely in original bracket assembly.
Step5: Reconnect wires to matching terminals per wiring diagram precisely.
Step6: Restore power and test temperature cut-out at setting.
Step7: check safe operation and replace cover securely as required.
-
What maintenance is required for the Delfield 2194335 Safety Thermostat?
Inspect the thermostat regularly for loose wiring, corrosion, or damaged terminals that may affect temperature protection. Keep surrounding heating components clean to prevent excessive heat buildup around the sensor. Test thermostat response during scheduled equipment servicing to confirm accurate operation.
-
What are common issues with the Delfield 2194335 Safety Thermostat?
- Temperature drift or inaccurate cut-off readings.
- Thermostat fails to trigger heating or safety shutoff.
- Intermittent electrical contact due to worn terminals.
- Overheating from sensor malfunction or calibration loss.
- Erratic cycling or failure to maintain set temperature.
Customer Reviews
No reviews yet. Be the first to write one!
Write a Review
We strive to provide our customers with a hassle-free and efficient shopping experience. Our shipping policy ensures the timely delivery of your orders and complete customer satisfaction. View More
We are committed to ensuring your complete satisfaction with every purchase. We understand that circumstances may arise where you must return a product or request a refund. If for any reason you are not satisfied, you may return the item(s) according to the terms outlined below. View More
This Payment Policy outlines the terms and conditions governing all payments made for products purchased through our website. By making a purchase, you agree to be bound by this Payment Policy. View More