
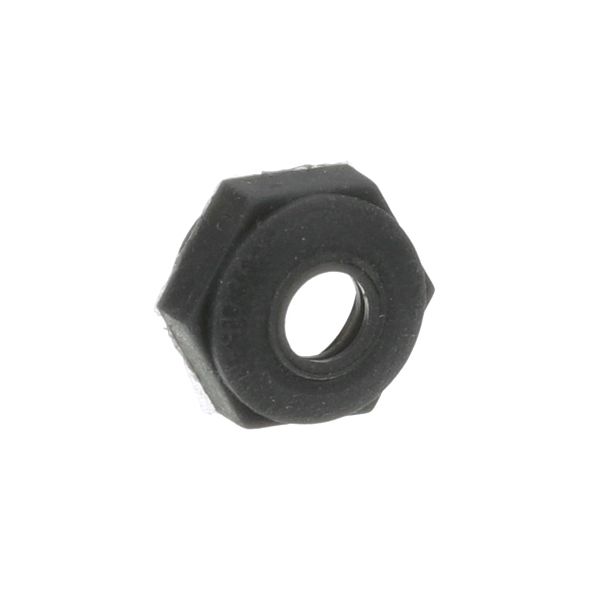
Cleveland KE51005 Oven Rotary Seal Shaft

Special Price $30.98 Regular Price $40.24
In stock
SKU
KE51005
Manufacturer:

The Cleveland KE51005 Rotary Seal Shaft represents a high-performing Oven hex seal that delivers dependable operations. The 3/8"-32 thread and switch boot seal on this rotary seal create a tight seal around protrusions to keep leaks away and keep the device working properly.seal works with rotary shaft #26-2990 and fits timer seal nuts for both #46-1236 and #42-1293 to protect appliance parts. The product's strong build delivers precise results and stays dependable over time making it perfect for protecting kitchen steamers and skillets.

Dimensions

  • Length: 0.5 In
  • Width: 0.5 In
  • Height: 0.125 In
  • Weight: 0.1 lbs
https://partsfe.com/media/catalog/product/c/l/cleveland-ke51005-oven-rotary-seal-shaft-21252.jpg

Product Notes

  • Hex Seal, 3/8"-32 Thread, Switch Boot Seals Around
  • Protrusion. Used With Rotary Shaft # 26-2990
  • For # 46-1236 & # 42-1293
  • Cleveland Skillet
  • Groen Steamer Timer Seal Nut
ACCUTEMP:
CLEVELAND:
GROEN:
Write Your Own Review
You're reviewing:Cleveland KE51005 Oven Rotary Seal Shaft
Your Rating
Customer Questions
What maintenance is required for the Cleveland KE51005 Rotary Seal Shaft?

Maintain by regularly inspecting the rotary seal shaft for wear and heat damage. Clean buildup and ensure proper lubrication applicable to prevent friction and overheating. Tighten fittings and replace worn seals promptly to avoid leaks and mechanical failure.

What are common issues with the Cleveland KE51005 Rotary Seal Shaft?

  • Shaft binding or friction under load.
  • Overheating causing seal degradation over time.
  • Misalignment causing uneven rotation and noise.
  • Debris buildup restricting movement inside housing.
  • Loss of sealing integrity at high temperature.

We strive to provide our customers with a hassle-free and efficient shopping experience. Our shipping policy ensures the timely delivery of your orders and complete customer satisfaction. View More

We are committed to ensuring your complete satisfaction with every purchase. We understand that circumstances may arise where you must return a product or request a refund. If for any reason you are not satisfied, you may return the item(s) according to the terms outlined below. View More

This Payment Policy outlines the terms and conditions governing all payments made for products purchased through our website. By making a purchase, you agree to be bound by this Payment Policy. View More

Installation Steps

Step1: Disconnect power to oven and allow surfaces to cool completely to secure from burns or electrical hazard.

Step2: Remove access panel and locate rotary shaft assembly inside oven cavity.

Step3: safely detach old seal/shaft components, noting orientation for reassembly.

Step4: Clean mounting area thoroughly, removing grease and debris.

Step5: Align new rotary seal shaft, install securely, and tighten fasteners evenly.

Step6: Reassemble panel, restore power, and test rotation for smooth operation.