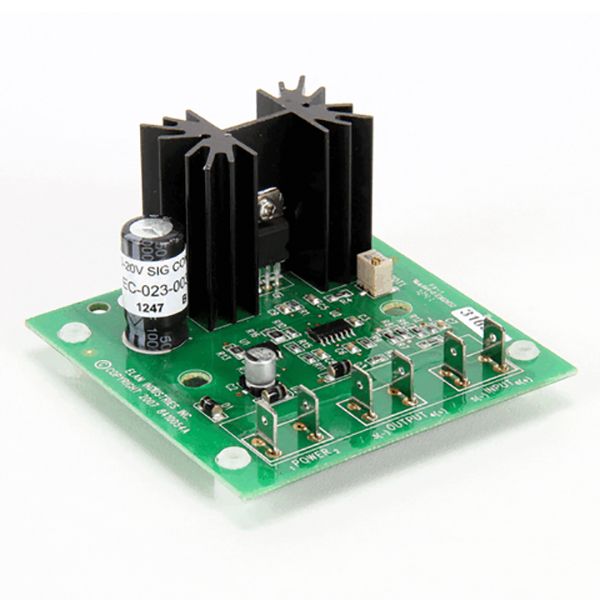
Middleby Marshall 31651 Gas Oven Signal Amplifier 4-20 VDC

Special Price $341.86 Regular Price $467.95
In stock
SKU
31651
Oven Parts,
Manufacturer:
The Middleby Marshall 31651 Gas Oven Signal Amplifier 4-20 VDC takes the control signals of the sensors or control board of the oven, and amplifies them to make sure that the gas ignition or monitoring systems can properly communicate with it. It is linked to wiring already in the control circuit and it modulates signals when necessary. The amplifier fits in the electrical compartment designed for compatible gas oven control panels. It will facilitate the normal transmission of signals and enable the oven to continue working normally.

Dimensions

  • Length: 5.5 In
  • Width: 4 In
  • Height: 2.5 In
  • Weight: 0.18 lbs
https://partsfe.com/media/catalog/product/m/i/middleby-marshall-31651-signal-amplifier-22176-2.jpg

Product Notes

  • Signal Amplifier, 4-20Vdc
  • Middleby Conveyor Oven: Ps360Ewb, Ps520G, Ps536Gs, Ps540G,
  • Ps555, Ps570G, Ps770, Ps870
MIDDLEBY MARSHALL:
Write Your Own Review
You're reviewing:Middleby Marshall 31651 Gas Oven Signal Amplifier 4-20 VDC
Your Rating
Customer Questions
What maintenance is required for the Middleby Marshall 31651 Signal Amplifier?

Regularly inspect the signal amplifier for loose connections, dust buildup, and signs of wear or damage. Clean external surfaces with a dry cloth and ensure proper ventilation. Routine checks support maintaining signal accuracy and prevent overheating. Always disconnect power before servicing for safety.

What are common issues with the Middleby Marshall 31651 Signal Amplifier?

  • Signal distortion or weak output.
  • Intermittent connectivity or loss of signal.
  • Overheating during operation.
  • Power supply inconsistencies.
  • Internal component failure affecting amplification performance.

We strive to provide our customers with a hassle-free and efficient shopping experience. Our shipping policy ensures the timely delivery of your orders and complete customer satisfaction. View More

We are committed to ensuring your complete satisfaction with every purchase. We understand that circumstances may arise where you must return a product or request a refund. If for any reason you are not satisfied, you may return the item(s) according to the terms outlined below. View More

This Payment Policy outlines the terms and conditions governing all payments made for products purchased through our website. By making a purchase, you agree to be bound by this Payment Policy. View More

Installation Steps

Step1: Turn off and unplug the equipment to secure from electrical shock.

Step2: Locate the existing amplifier inside the control compartment.

Step3: Open the access panel using proper tools.

Step4: Disconnect wiring from the old amplifier, noting positions.

Step5: Mount the new amplifier securely in place.

Step6: Reconnect wires according to original configuration.

Step7: Close the panel, restore power, and test for proper signal operations.