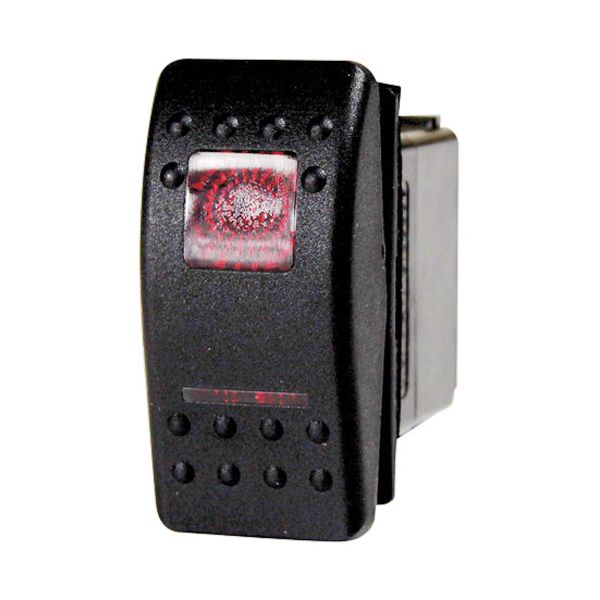
Cleveland SK2474102 Range 3 Position Red Light Rocker Switch W/ 7 Tab Term

Special Price $56.45 Regular Price $100.79
Out of stock
SKU
SK2474102
The Cleveland SK2474102 Range Red Light Rocker Switch 3-Position 15A 24 VDC operates by directing electrical flow from equipment by using three switch positions that are selected to turn the equipment on and off or to turn the lights on and off. It works by connecting to internal contacts when pressed and transmitting power to the matching circuit and the internal indicator light is also activated to provide a visual confirmation of status. This is mounted on the front control panel or user interface of commercial cooking equipment, where the operational settings can be easily read.

Dimensions

  • Length: 2.5 In
  • Width: 2 In
  • Height: 1 In
  • Weight: 0.07 lbs
https://partsfe.com/media/catalog/product/c/l/cleveland-sk2474102-range-3-position-red-light-rocker-switch-w-7-tab-term-24669.jpg

Product Notes

  • 3 Position Rocker On/Off/On, With Red Light,
  • 15A@24Vdc, 7 Tab Term
  • Cleveland Sgl-30-T1, Sgl-40-T1
CLEVELAND:
2474102, CLE2474102, CLESK2474102, SK2474102
Write Your Own Review
You're reviewing:Cleveland SK2474102 Range 3 Position Red Light Rocker Switch W/ 7 Tab Term
Your Rating
Customer Questions
What maintenance is required for the Cleveland SK2474102 Rocker Switch?

Periodically test the rocker switch to ensure a consistent on/off response throughout the range of operation. Clean the switch surface to remove grease or debris that may impede movement. Check the terminals for secure wiring connections. Proper care supports maintaining accurate control of range functions and secure operation.

What are the common issues with the Cleveland SK2474102 Rocker Switch?

  • Switch not activating or staying connected when pressed.
  • Grease or dirt buildup is causing sticking.
  • Loose wiring connections are disrupting power flow.
  • Internal contact wear is affecting performance.
  • Intermittent operation under normal use.

We strive to provide our customers with a hassle-free and efficient shopping experience. Our shipping policy ensures the timely delivery of your orders and complete customer satisfaction. View More

We are committed to ensuring your complete satisfaction with every purchase. We understand that circumstances may arise where you must return a product or request a refund. If for any reason you are not satisfied, you may return the item(s) according to the terms outlined below. View More

This Payment Policy outlines the terms and conditions governing all payments made for products purchased through our website. By making a purchase, you agree to be bound by this Payment Policy. View More

Installation Steps

Step1: Disconnect power at the breaker.

Step2: Remove the front control panel of the range.

Step3: Push out the old rocker switch from behind.

Step4: Transfer wires one at a time to the new rocker switch.

Step5: Snap the new switch into place, and reassemble the panel.

Step6: Restore power and verify switching response.