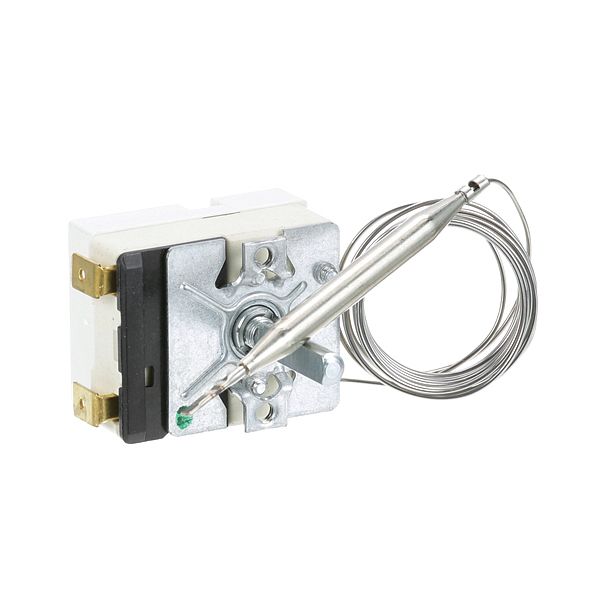
Waring/Qualheim 030013 Thermostat 3" X 3/16" Blub 60" CAP

Special Price $84.13 Regular Price $129.63
In stock
SKU
030013
The Waring/Qualheim 030013 Thermostat provides accurate temperature control to achieve grilling results. This thermostat has a 3 1/8" x 3/16" bulb and a 60 inch capillary to maintain a consistent cooking by measuring the heat within the grill and controlling it accordingly. When the temperature changes based on the signal received by its bulb sensor, and it indicates the grill to increase or decrease heating accordingly, so it does not overheat or undercook. It is designed and can be used in commercial applications and is able to retain the quality of food and its consistency.

Dimensions

  • Length: 3.5 In
  • Width: 3.5 In
  • Height: 2 In
  • Weight: 0.18 lbs
https://partsfe.com/media/catalog/product/w/a/waring-qualheim-030013-thermostat-w-60-cap-3-x-3-16-blub-11538-2.jpg

Product Notes

  • Thermostat
  • 60" Cap, Bulb = 3" X 3/16"
  • Waring Grill Wdg250, Wdg250C, Wfg150, Wfg150C, Wfg250,
  • Wfg250C, Wpg150(B,C), Wpg250, Wpg250C
WARING:
029942, 030013, 29942, WAR029942, WAR29942
Write Your Own Review
You're reviewing:Waring/Qualheim 030013 Thermostat 3" X 3/16" Blub 60" CAP
Your Rating
Customer Questions
What maintenance is required for the Waring/Qualheim 030013 Thermostat?

Regularly inspect for grease, dust, or debris around the sensor and terminals. Clean gently and tighten all connections. Disconnect power before servicing. Proper maintenance ensures consistent appliance heating and accurate temperature control.

What are common issues with the Waring/Qualheim 030013 Thermostat?

  • Temperature fluctuations or inaccurate readings.
  • Heating elements may fail to cycle properly.
  • Corroded or loose electrical terminals.
  • Mechanical sticking of the adjustment dial or sensor.
  • Delayed response affecting food warming.
  • Erratic cycling reducing heating efficiency.

We strive to provide our customers with a hassle-free and efficient shopping experience. Our shipping policy ensures the timely delivery of your orders and complete customer satisfaction. View More

We are committed to ensuring your complete satisfaction with every purchase. We understand that circumstances may arise where you must return a product or request a refund. If for any reason you are not satisfied, you may return the item(s) according to the terms outlined below. View More

This Payment Policy outlines the terms and conditions governing all payments made for products purchased through our website. By making a purchase, you agree to be bound by this Payment Policy. View More

Installation Steps

Step1: Turn off power to the appliance to prevent electrical shock.

Step2: Remove the old thermostat by disconnecting wires and unscrewing mounting hardware.

Step3: Mount the new thermostat securely in place of the old unit.

Step4: Reconnect wires exactly as they were on the previous thermostat.

Step5: Restore power and test performanceality by adjusting the temperature.

Step6: Ensure no loose connections and follow all safety precautions in the appliance manual.