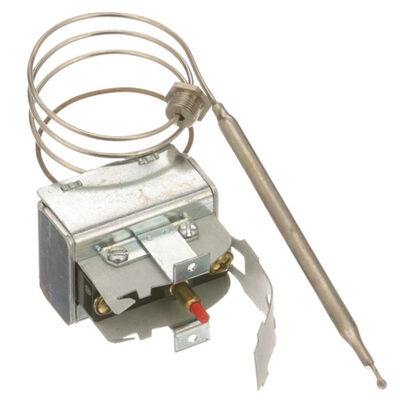
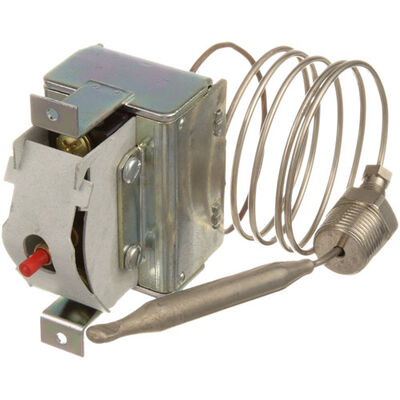
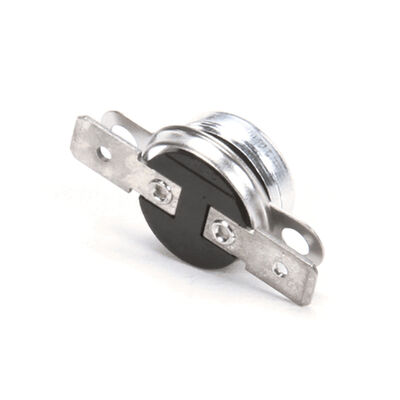
Star Mfg 2T-Z7208 Oven Thermostat S 3/8" X 5-3/8" Capillary 18", 200°F-375°F
Description
Dimensions:
- Weight: 0.98 lbs
Temperature Sensing:
Changes in the fryer oil temperature are detected by the thermostat’s sensing bulb and transmitted through the capillary to the control mechanism. This temperature response provides the thermostat with the information required to determine when the heating circuit needs to cycle relative to the selected setting.
Heating Cycle Control:
Controlling the fryer heating circuit according to the sensed temperature condition, the thermostat switches the heating system as the oil temperature reaches or moves away from the selected setting. This cycling action regulates when heat is applied during normal fryer operation.
Replacement Guidelines:
Replace the Star Mfg 2T-Z7208 Fryer Thermostat when it no longer provides the required temperature-sensing or heating-control function, or when the thermostat, sensing bulb, or capillary is physically damaged. Select the replacement by matching the thermostat configuration, sensing arrangement, temperature range, and applicable Star Manufacturing fryer model.
Common Failure Symptoms:
- Fryer temperature fluctuates beyond the selected setting.
- Heating continues without responding correctly to the temperature condition.
- Heating cycles occur at inconsistent temperatures.
- Sensing bulb or capillary shows physical damage.
- The thermostat does not maintain the expected temperature-control response.
Equipment Compatibility:
The Star Mfg 2T-Z7208 Fryer Thermostat 200°-375°F 3/8" X 5-3/8" Bulb 18" CAP is an OEM component designed for compatible Star Manufacturing commercial fryers using the corresponding thermostat configuration. Verify the fryer model and control arrangement before selecting the component.
Technical Specifications:
Part Number: 2T-Z7208
Brand: Star Mfg
Component Type: Thermostat
Temperature Range: 200°-375°F
Bulb Size: 3/8" X 5-3/8"
Capillary Length: 18"
Equipment Type: Commercial Fryer
Step1: Turn off the oven and disconnect electrical power.
Step2: Remove the control panel to access the existing thermostat.
Step3: Carefully disconnect the capillary tube and wiring from the old thermostat.
Step4: Unscrew and remove the old thermostat from its mounting.
Step5: Install the new thermostat and secure it properly.
Step6: Reconnect the capillary tube and wiring, reattach the control panel, and test for accurate temperature control.
-
Do mechanical thermostats require calibration over time?
Mechanical thermostats may need occasional calibration to ensure accuracy. Check your appliance's user manual for instructions on how to calibrate if necessary.
-
Can I trust the built-in thermometer of an appliance with a mechanical thermostat for food safety?
While mechanical thermostats are generally reliable, it's always advisable to use a separate food thermometer to ensure food safety.
-
Are there any safety concerns with using appliances equipped with mechanical thermostats
Mechanical thermostats are designed with safety features to prevent overheating and fires. However, it's crucial to follow the manufacturer's guidelines and never leave appliances unattended.
-
What maintenance is required for the Star Mfg 2T-Z7208 Thermostat?
Inspect the capillary tube and sensing bulb regularly for damage or kinks to ensure accurate temperature control. Clean connections to prevent corrosion and tighten loose wiring. Test temperature calibration periodically to maintain proper heating performance and avoid safety hazards.
-
What are the common issues with the Star Mfg 2T-Z7208 Thermostat?
- Inaccurate temperature readings.
- Oven failing to reach the set temperatures.
- Capillary tube damage or leaks.
- Electrical connection faults are causing intermittent operation.
-
What is the Star Mfg 2T-Z7208 Thermostat used for?
The Star Mfg 2T-Z7208 Thermostat is used to regulate temperature in compatible Star Manufacturing commercial cooking equipment.
-
How does a thermostat control temperature during equipment operation?
A thermostat responds to temperature conditions and controls the associated heating function according to the equipment's temperature-control system.
-
What role does the sensing bulb have in a thermostat?
The sensing bulb detects temperature conditions and provides the temperature-related input required for the thermostat's control function.
-
Why is a thermostat important in commercial cooking equipment?
A thermostat provides the temperature-regulating function needed to control heating according to the operating temperature of the equipment.
-
What type of equipment uses the Star Mfg 2T-Z7208 Thermostat?
The Star Mfg 2T-Z7208 Thermostat is intended for compatible Star Manufacturing commercial cooking equipment that uses the corresponding thermostat configuration.
Customer Reviews
Write a Review
-
Heat Regulated
This part restored proper heat regulation and improved cooking consistency.
-
Perfect Temperature
Solved my heating issue, oven works flawlessly
-
Perfect replacement
Excellent quality thermostat. It keeps my equipment at the precise temperature I require. Installation was simple.
-
Enhanced Performance
Improved the performance of my appliance a lot after the replacement of the thermostat. Working on the thermostat is awesome.
-
Budget-Friendly and Reliable
I was surprised by the affordability of this kitchen appliance with a mechanical thermostat. Changed my oven's performance from good to best. Loved the product.
We strive to provide our customers with a hassle-free and efficient shopping experience. Our shipping policy ensures the timely delivery of your orders and complete customer satisfaction. View More
We are committed to ensuring your complete satisfaction with every purchase. We understand that circumstances may arise where you must return a product or request a refund. If for any reason you are not satisfied, you may return the item(s) according to the terms outlined below. View More
This Payment Policy outlines the terms and conditions governing all payments made for products purchased through our website. By making a purchase, you agree to be bound by this Payment Policy. View More