
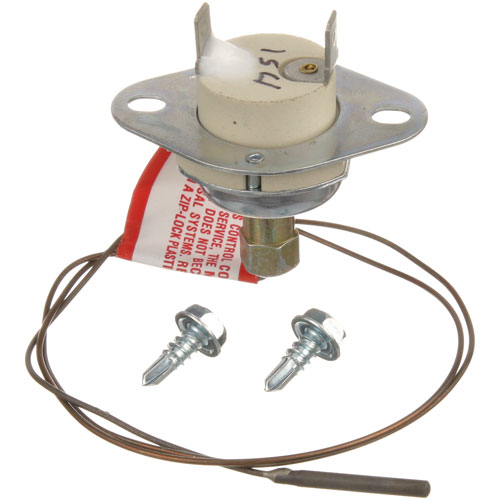
Hobart 913145-2 Flame Switch
Specifications:
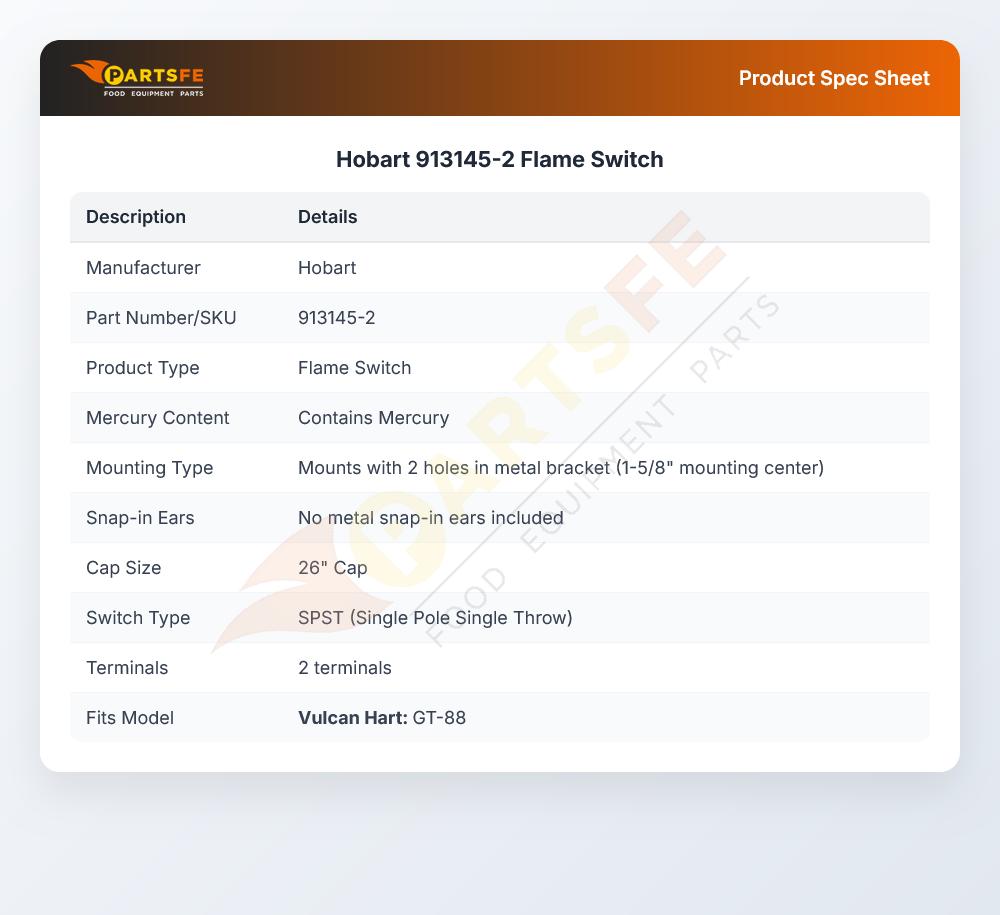
- - This Item Contains Mercury. --
- N/O, (No Metal Snap In Ears But Can Mount With 2 Holes In
- Metal Bkt 1-5/8" Mt Ctrs), 26" Cap,
- (No Pilot Assy On Sensor ) Spst, 2 Terminals.
- This Is A Rebuilt Part
Description
Dimensions:
- Weight: 0.3 lbs
- Length: 5 in
- Height: 4 in
- Width: 4 in
GARLAND:
HOBART:
U-LINE:
4070-001
Step1: Disconnect gas and electrical power completely and confirm the unit is cool before starting.
Step2: Remove the access panel and locate the existing flame switch on the mounting bracket.
Step3: Disconnect wiring terminals, noting original connections for correct reinstallation.
Step4: Mount the new flame switch using the bracket alignment and secure firmly.
Step5: Reconnect terminals, ensuring tight fit and proper insulation of connections.
Step6: Restore power and test ignition, confirming stable flame detection and safe shutdown response if flame is lost.
-
What maintenance is required for the Hobart 913145-2 Flame Switch?
Inspect the flame switch regularly for corrosion, loose wiring, or heat damage that can affect sensing accuracy. Ensure all electrical connections are tight and free of oxidation to maintain reliable operation. Keep the sensing area clean from grease buildup and verify proper mounting alignment. Replace the switch if it shows inconsistent flame detection or electrical failure to ensure better gas control.
-
What are common issues with the Hobart 913145-2 Flame Switch?
- Failure to detect flame causing system shutdown.
- Intermittent operation due to internal sensor degradation.
- Loose or corroded electrical connections.
- False flame signals or delayed response.
- Complete switch failure from heat stress or aging components.
Customer Reviews
Write a Review
-
Easy Install
Quick flame response, easy install
We strive to provide our customers with a hassle-free and efficient shopping experience. Our shipping policy ensures the timely delivery of your orders and complete customer satisfaction. View More
We are committed to ensuring your complete satisfaction with every purchase. We understand that circumstances may arise where you must return a product or request a refund. If for any reason you are not satisfied, you may return the item(s) according to the terms outlined below. View More
This Payment Policy outlines the terms and conditions governing all payments made for products purchased through our website. By making a purchase, you agree to be bound by this Payment Policy. View More