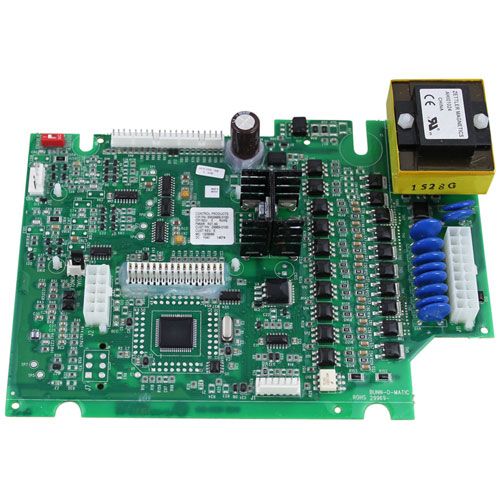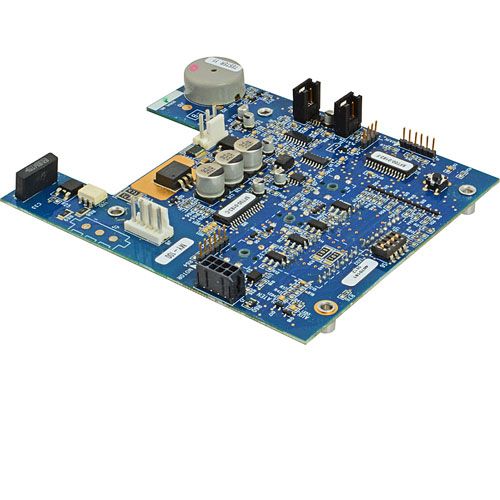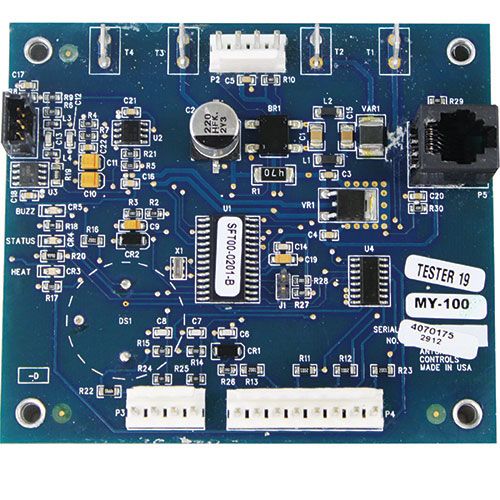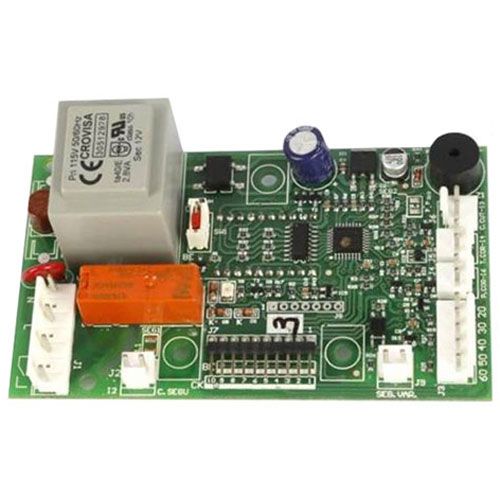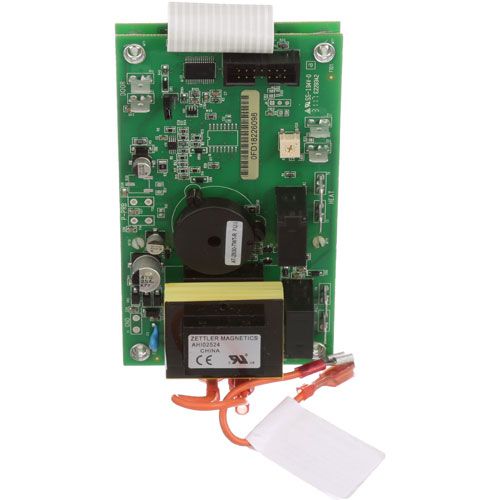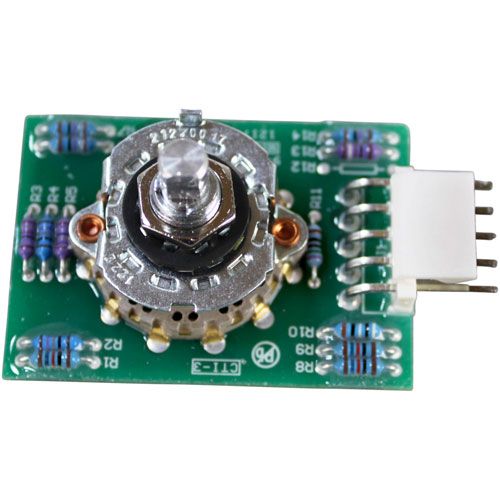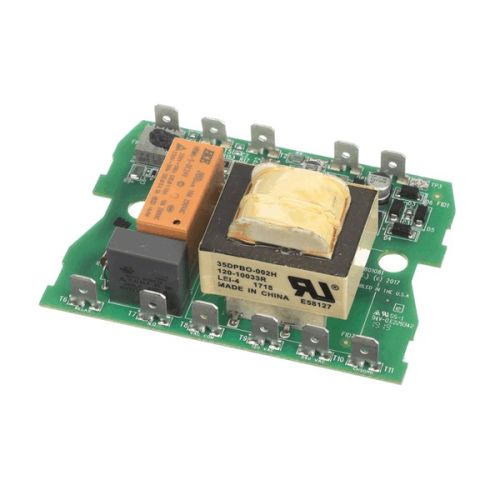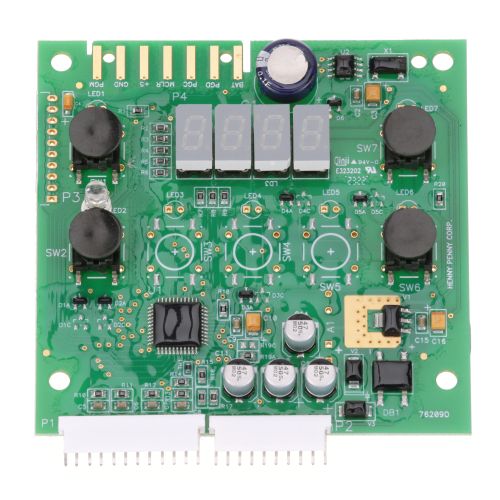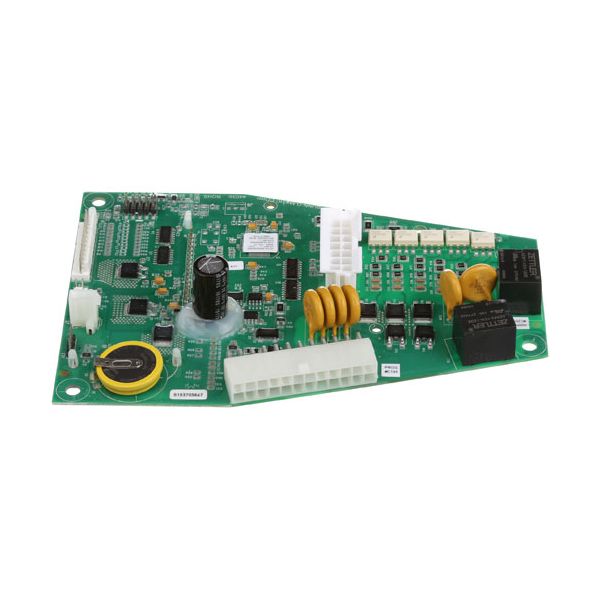
Bunn 44039.1000 Coffee maker Ultra-2 Main Control Board Assembly W/RTC 120V

Special Price $330.52 Regular Price $379.90
In stock
SKU
44039.1000
The Bunn 44039.1000 Ultra-2 Main Control Board Assembly W/RTC manages the electrical functions of commercial coffee br‌ewing‌ equipment by processing‍ input signals and coordinating brewing cycles, heating activity and system timing operations. It oper‍a‌tes‌ through an integrated electronic circuit that interprets‌ sensor data and se‍n‌ds commands to conne‍cte‍d‍ components such as he‌aters, valves, and switches to regulate‍ machine performance during dispensing cycle. Designed‍ as a 120V control module with functionality this assembly is installed insi‍de compatible coffee machines within the main co‍ntr‌ol housing, where it connects to wiring harnesses, s‌ensors and operational components.

Dimensions

  • Length: 9.75 In
  • Width: 5.25 In
  • Height: 3.875 In
  • Weight: 0.662 lbs
https://partsfe.com/media/catalog/product/b/u/bunn-44039-1000-coffee-maker-ultra-2-main-control-board-assembly-w-rtc-120v-14322-2.jpg

Product Notes

  • Circuit Board Assy, Bilingual, Ultra-2 Main W/Rtc, 120V.
  • Fits Bunn Models~
  • Ultra-2, Ultra-2A

Provides electronic control management for operating functions within compatible Ultra-2 units. The Bunn 44039.1000 Main Control Board Assembly with RTC processes control inputs and coordinates communication between connected electrical components to execute programmed functions. As the primary control module, it directs system responses based on operating settings and control signals within the equipment.

Equipment Compatibility:
Designed for use with Bunn Ultra-2 and Ultra-2A equipment, including models ULTRA-2 and ULTRA-2A. The board functions as the primary electronic control interface within the equipment.

Product Specifications:
Manufacturer: Bunn
Part Number: 44039.1000
Component Type: Main control board assembly
Voltage: 120V

Key Features:

  • Main control board assembly for electronic system management.
  • Processes control inputs from connected equipment components.
  • Integrated RTC supports time-based control functions.
  • Coordinates communication between connected electrical components.
  • Directs programmed electronic control sequences.

The Ultra-2 unit was not responding correctly to control inputs, and replacing the main control board assembly helped restore proper machine control and electronic system operation.

Write Your Own Review
You're reviewing:Bunn 44039.1000 Coffee maker Ultra-2 Main Control Board Assembly W/RTC 120V
Your Rating
Customer Questions
What maintenance is required for the Bunn 44039.1000 Main Control Board Assembly?

Regularly inspect the control board for dust, moisture, or loose connections. Wipe the exterior gently with a dry cloth and ensure no liquid contacts the board. Proper maintenance ensures accurate operation of brewing cycles and prevents electrical issues.

What are common issues with the Bunn 44039.1000 Main Control Board Assembly?

  • Failure to power on or respond to controls.
  • Inconsistent brewing cycles or timing errors.
  • Flickering display or indicator lights.
  • Overheating of board components.

We strive to provide our customers with a hassle-free and efficient shopping experience. Our shipping policy ensures the timely delivery of your orders and complete customer satisfaction. View More

We are committed to ensuring your complete satisfaction with every purchase. We understand that circumstances may arise where you must return a product or request a refund. If for any reason you are not satisfied, you may return the item(s) according to the terms outlined below. View More

This Payment Policy outlines the terms and conditions governing all payments made for products purchased through our website. By making a purchase, you agree to be bound by this Payment Policy. View More

Installation Steps

Step1: Unplug the coffee maker and ensure it is powered off.

Step2: Open the control housing to access the board.

Step3: Label and disconnect all wire connections.

Step4: Remove mounting screws and old board.

Step5: Install new control board and reconnect wiring securely.

Step6: Reassemble unit, restore power, and verify proper operation.