
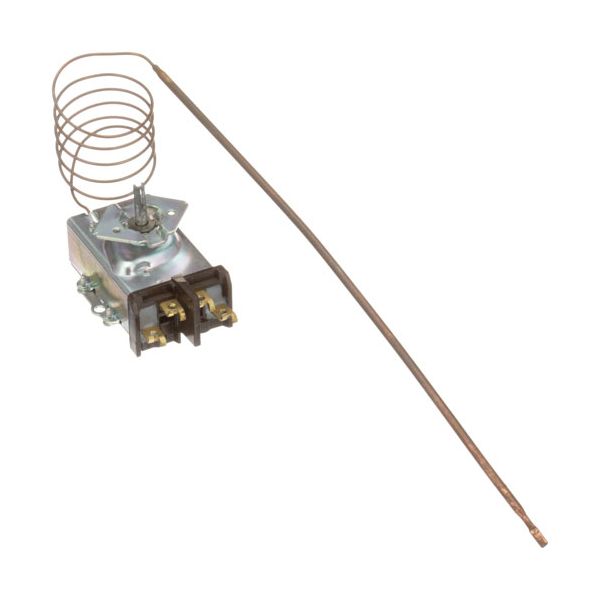
Hobart 00-350815-00002 Thermostat D1/D18 3/16"X 14-1/8" 3

Special Price $114.60 Regular Price $176.59
In stock
SKU
00-350815-00002
The Hobart 00-350815-00002 Thermostat D1/D18 is a high quality temperature control instrument. It has a 3/16” x 14-1/8” dimension to maintain the temperature stability to perform well in ovens, fryers, and other related equipment. This thermostat promotes the retention of appropriate cooking temperatures to bake the food at the right temperature. In this way, it helps to prevent overheating and energy loss, saves energy, cuts energy bills, and extends food’s shelf life. Recommended for use by companies that need to regulate temperature for effective cooking.

Dimensions

  • Length: 14 In
  • Width: 2.5 In
  • Height: 3 In
  • Weight: 0.9 lbs
https://partsfe.com/media/catalog/product/h/o/hobart-00-350815-00002-thermostat-d1-d18-3-16-x-14-1-8-3-84215-2.jpg

Product Notes

  • [ Type - D1/D18 ] [ Temp 200-550 ] [ Bulb 3/16" X 14-1/8"
  • Nickel ] [ Cap 36" ] [ Mount -5-Horizontal Offset ]
  • [ Dial A252, K-116, 22-1007 Off-550-200 ] Or
  • Dial A2762, # 22-1283 Off-500-200 ]
  • D1'D18 T'Stat, Dpst For Ac Operation, 4 Terminal
  • Used In Applications Requiring High Current.
  • 4 Terminal.
  • Ge/Hobart
  • Oven Hn205, Hr202~
  • Pizza Oven: Cn50, Cn60.
Write Your Own Review
You're reviewing:Hobart 00-350815-00002 Thermostat D1/D18 3/16"X 14-1/8" 3
Your Rating
Customer Questions
What maintenance is required for the Hobart 00-350815-00002 Thermostat?

Dust and grease should be removed from the thermostat body using a dry cloth during scheduled servicing. Check terminal tightness to prevent loose electrical contact issues. Ensure the sensing area remains unobstructed for accurate temperature regulation.

What are common issues with the Hobart 00-350815-00002 Thermostat?

  • Erratic temperature switching during operation.
  • Loose terminal connections causing signal loss.
  • Failure to reach or hold set temperature.
  • Internal sensor degradation over time.

We strive to provide our customers with a hassle-free and efficient shopping experience. Our shipping policy ensures the timely delivery of your orders and complete customer satisfaction. View More

We are committed to ensuring your complete satisfaction with every purchase. We understand that circumstances may arise where you must return a product or request a refund. If for any reason you are not satisfied, you may return the item(s) according to the terms outlined below. View More

This Payment Policy outlines the terms and conditions governing all payments made for products purchased through our website. By making a purchase, you agree to be bound by this Payment Policy. View More

Installation Steps

Step1: Disconnect power and unplug equipment to prevent electric shock.

Step2: Remove access panel and locate old thermostat.

Step3: Note or label wiring connections for accuracy.

Step4: Detach old thermostat and install new unit securely in position.

Step5: Reconnect wires as noted and tighten fittings.

Step6: Reassemble panel, restore power, and test temperature control for proper operation.

Step7: Verify thermostat calibration and monitor initial heating cycle.
