
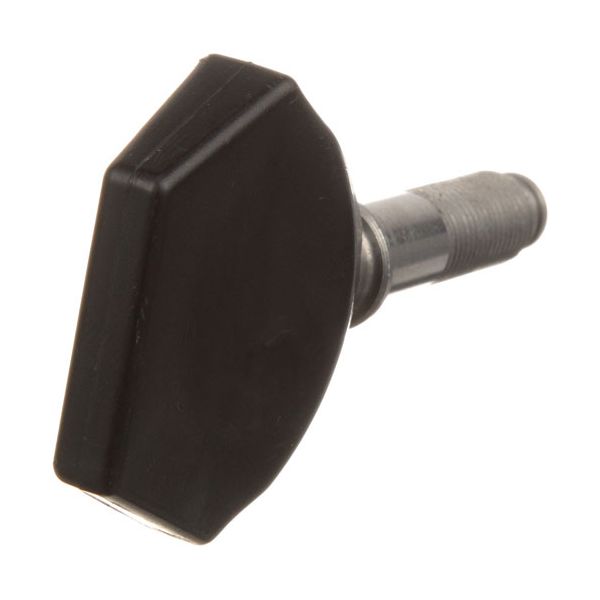
Hobart 00-108197-5 Carriage Thumb Screw 3/8"

Special Price $54.80 Regular Price $71.17
In stock
SKU
00-108197-5
Manufacturer:

The Hobart 00-108197-5 Carriage Thumb Screw 3/8 inch works by screwing through the carriage frame and provides a hand-tightened point of connection that is used to hold parts in place without the use of a tool. Components are clamped as the screw moves forward as it rotates. This is a thumb screw carriage that is attached to the carriage assembly of the slicer and placed where a firm, yet adjustable point of attachment is required. It operates in the machine to hold the movable parts in place when it is in use.

Dimensions

  • Length: 3 In
  • Width: 1.5 In
  • Height: 0.5 In
  • Weight: 0.084 lbs
https://partsfe.com/media/catalog/product/h/o/hobart-00-108197-5-slicer-3-8-carriage-thumb-screw-51189-2.jpg

Product Notes

  • Carriage Thumb Screw 3/8"-24 Male Thread
  • Hobart Slicer 1612, 1712
Write Your Own Review
You're reviewing:Hobart 00-108197-5 Carriage Thumb Screw 3/8"
Your Rating
Customer Questions
What maintenance is required for the Hobart 00-108197-5 Slicer Carriage Thumb Screw?

Inspect the thumb screw regularly for thread damage, stripping, or loosening during slicer operation. Clean grease and food particles from the threads to ensure smooth tightening. Proper tightening is essential to keep the carriage securely locked and prevent risky movement.

What are common issues with the Hobart 00-108197-5 Slicer Carriage Thumb Screw?

  • Stripped or worn threads reducing holding strength.
  • Loose fit causing carriage instability.
  • Difficulty tightening due to debris buildup.
  • Screw bending or damage from over-tightening.

We strive to provide our customers with a hassle-free and efficient shopping experience. Our shipping policy ensures the timely delivery of your orders and complete customer satisfaction. View More

We are committed to ensuring your complete satisfaction with every purchase. We understand that circumstances may arise where you must return a product or request a refund. If for any reason you are not satisfied, you may return the item(s) according to the terms outlined below. View More

This Payment Policy outlines the terms and conditions governing all payments made for products purchased through our website. By making a purchase, you agree to be bound by this Payment Policy. View More

Installation Steps

Step1: Turn off and unplug the slicer before performing any maintenance.

Step2: Move the carriage to a stable position and remove the old thumb screw if present.

Step3: Clean the threaded mounting area on the carriage assembly.

Step4: Align the new thumb screw with the threaded mounting hole.

Step5: Thread the screw in by hand to avoid cross-threading.

Step6: Tighten securely until the carriage is firmly locked but still allows proper adjustment.

Step7: Test carriage movement to ensure smooth operation and secure fastening.