

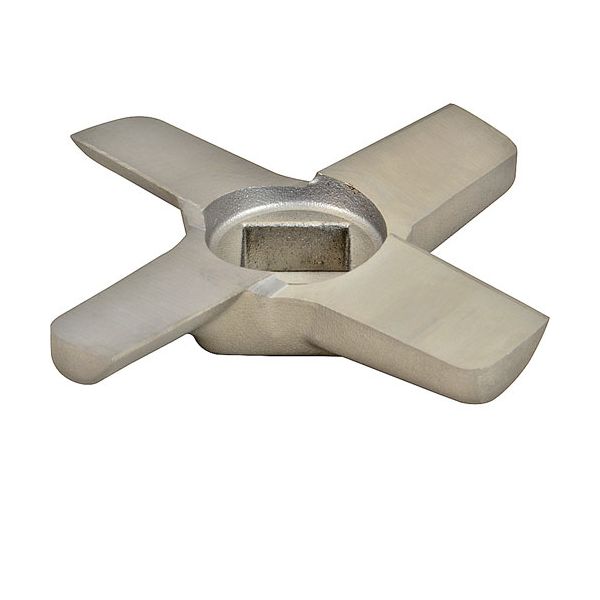
Hobart 00-290372 Knife #22

$96.39
Out of stock
SKU
00-290372
The Hobart 00-290372 high quality Steel Knife #22 used for meat processing with models such as the Alfa Internationals 4822 and ML-16225. Then you want to ensure it can take whatever the rigors of daily use will throw at it without sacrificing the quality of the product. Because the blade is so sharp and accurate, it makes it perfect for completely grinding meats giving your dishes better texture and taste. This knife is not only versatile but also easy to replace, so it is compatible with most mixer models and will not cause downtime in food preparation.

Dimensions

  • Length: 3 In
  • Width: 3 In
  • Height: 0.5 In
  • Weight: 0.25 lbs
https://partsfe.com/media/catalog/product/h/o/hobart-00-290372-knife-22-14023-2.jpg

Product Notes

  • Knife
  • Inside Diameter: 1/2", 13 mm
  • Material(S): Steel
  • Weight: 0.19 Lb
  • Alfa International Ml-16225-Z, Vs-12Dh
  • Alfa International 4322, 4722, 4822, 622
  • Hobart Corp 4822
  • Hobart Mixer/Prep 4822
HOBART:
Write Your Own Review
You're reviewing:Hobart 00-290372 Knife #22
Your Rating
Customer Questions
What maintenance is required for the Hobart 00-290372 Knife?

Clean the knife after every use to remove food debris and prevent buildup. Inspect the blade regularly for dullness, chips, or damage, and sharpen when required. Proper maintenance ensures smooth cutting performance and reduces strain on equipment. Always handle carefully during cleaning to avoid damage.

What are the common issues with the Hobart 00-290372 Knife?

  • Blade dulling leading to reduced cutting efficiency.
  • Chipping or edge damage from heavy or improper use.
  • Rust or corrosion due to moisture exposure.
  • Poor cutting performance from worn or misaligned blade.
  • Food buildup is causing uneven slicing performance.

We strive to provide our customers with a hassle-free and efficient shopping experience. Our shipping policy ensures the timely delivery of your orders and complete customer satisfaction. View More

We are committed to ensuring your complete satisfaction with every purchase. We understand that circumstances may arise where you must return a product or request a refund. If for any reason you are not satisfied, you may return the item(s) according to the terms outlined below. View More

This Payment Policy outlines the terms and conditions governing all payments made for products purchased through our website. By making a purchase, you agree to be bound by this Payment Policy. View More

Installation Steps

Step1: Unplug unit and ensure power is off for safety.

Step2: Remove the unit plate and worn knife, then clean the mounting surfaces.

Step3: Position the new knife onto the auger shaft with the cutting edges facing the plate.

Step4: Reinstall the plate and retaining ring, tightening securely without over-tightening.

Step5: Verify all parts are properly seated and aligned.

Step6: Restore power and run a brief test to ensure smooth performance.
