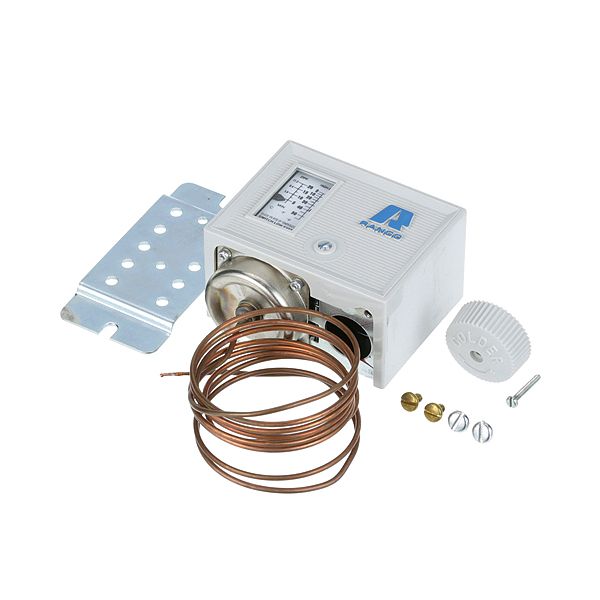
Ranco 010-1416 Medium Temperature Control

Special Price $126.91 Regular Price $215.10
In stock
SKU
010-1416
The Ranco 010-1416 Medium Temperature Control functions as a precise reliable solution to maintain consistent temperatures in industrial and refrigeration applications. The partprovides medium-temperature control through its adjustable range and durable components which lead to extended operational life The partfeatures a simple interface that enables users to adjust it thus minimizing equipment downtime and maintenance expenses. Its dependable accuracy and its small size enable efficient temperature management through stable operation thus making it suitable for industries that need precise temperature control.

Dimensions

  • Length: 6.75 In
  • Width: 4.25 In
  • Height: 2.75 In
  • Weight: 1.15 lbs
https://partsfe.com/media/catalog/product/r/a/ranco-010-1416-medium-temperature-control-51515-2.jpg

Product Notes

  • Ranco T'Stat
  • Temp/Range: 0-55 F, Dif: 17, Air Coil Cap,
  • Opens: Lo, Closes: Hi
  • Delfield Model 8100-Ef, 8100-Efn
  • Refrigerator V-1872-5, 6, 7 & 8
DELFIELD:
U-LINE:
Write Your Own Review
You're reviewing:Ranco 010-1416 Medium Temperature Control
Your Rating
Customer Questions
What maintenance is required for the Ranco 010-1416 Medium Temperature Control?

Clean electrical contacts and ensure proper wiring connections remain tight. Periodically inspect the sensing bulb for damage or corrosion. Keep the control housing free from moisture and debris to ensure accurate temperature regulation and accurate performance.

What are common issues with the Ranco 010-1416 Medium Temperature Control?n

  • Inaccurate temperature control due to sensor drift.
  • Failure to switch compressor or heating load.
  • Wiring connection faults causing intermittent operation.
  • Control cycling too frequently or not responding.
  • Thermostat calibration issues leading to unstable readings.

We strive to provide our customers with a hassle-free and efficient shopping experience. Our shipping policy ensures the timely delivery of your orders and complete customer satisfaction. View More

We are committed to ensuring your complete satisfaction with every purchase. We understand that circumstances may arise where you must return a product or request a refund. If for any reason you are not satisfied, you may return the item(s) according to the terms outlined below. View More

This Payment Policy outlines the terms and conditions governing all payments made for products purchased through our website. By making a purchase, you agree to be bound by this Payment Policy. View More

Installation Steps

Step1: Turn off power at the main supply and check equipment is de-energized.

Step2: Remove the old control, marking wire positions for accurate reconnection.

Step3: Install the new unit using the mounting bracket, ensuring a secure fit.

Step4: Route them to the sensing area, avoiding bends.

Step5: Reconnect wires to correct terminals and tighten firmly.

Step6: Restore power and test cooling cycle within range.

Step7: Use insulated tools and avoid damaging the capillary during installation.