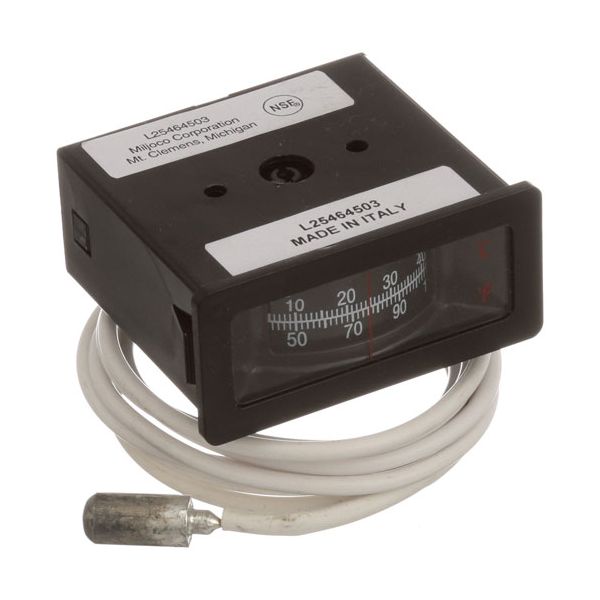
Hatco 02.16.050 Temperature Display

Special Price $48.76 Regular Price $81.00
In stock
SKU
02.16.050
The Hatco 02.16.050 Temperature Display is a digital interface part of the warming, and holding equipment. It gives the operator temperature readings, which enables the operator to monitor and control the heating system of the appliance accurately. The display is mounted directly on the control panel of the equipment, and it is able to communicate with internal sensors to show the actual conditions. This part is essential in keeping the food safe and consistent in operation in commercial kitchen and maintaining better system performance.

Dimensions

  • Length: 5.5 In
  • Width: 3 In
  • Height: 1.5 In
  • Weight: 0.2 lbs
https://partsfe.com/media/catalog/product/h/a/hatco-02-16-050-horizontal-drum-temperature-gauge-w-60-cap-3-8-x-1-bulb-61409-2.jpg

Product Notes

  • Horizontal Drum Temp Display,
  • Fits 2-3/8" X 1" Hole, 60" Cap, 3/8" X 1" Bulb
  • Hatco Fdw1, Fdw2
Write Your Own Review
You're reviewing:Hatco 02.16.050 Temperature Display
Your Rating
Customer Questions
What maintenance is required for the Hatco 02.16.050 Temperature Gauge?

Inspect the gauge, capillary tube, and sensing bulb regularly for damage, leaks, or loose mounting hardware. Clean the gauge face to ensure temperature readings remain visible and accurate. Verify that the indicator responds correctly to temperature changes during equipment operation.

What are common issues with the Hatco 02.16.050 Temperature Gauge?

  • Inaccurate readings due to calibration drift.
  • Bulb damage or bending affecting response.
  • Leakage or loose fitting at cap connection.
  • Gauge failing to respond to temperature changes.
  • Condensation or discoloration affecting readability.

We strive to provide our customers with a hassle-free and efficient shopping experience. Our shipping policy ensures the timely delivery of your orders and complete customer satisfaction. View More

We are committed to ensuring your complete satisfaction with every purchase. We understand that circumstances may arise where you must return a product or request a refund. If for any reason you are not satisfied, you may return the item(s) according to the terms outlined below. View More

This Payment Policy outlines the terms and conditions governing all payments made for products purchased through our website. By making a purchase, you agree to be bound by this Payment Policy. View More

Installation Steps

Step1: Disconnect power to the equipment and allow it to cool completely.

Step2: Remove the existing temperature gauge and carefully extract the sensing bulb and capillary tube.

Step3: Install the new gauge into the mounting opening and secure it firmly.

Step4: Route the tube along the original path, avoiding sharp bends or kinks.

Step5: Insert the sensing bulb into its holder and secure it.

Step6: Reinstall any panels or covers removed during service.

Step7: Verify the gauge displays temperature accurately during equipment operation.