
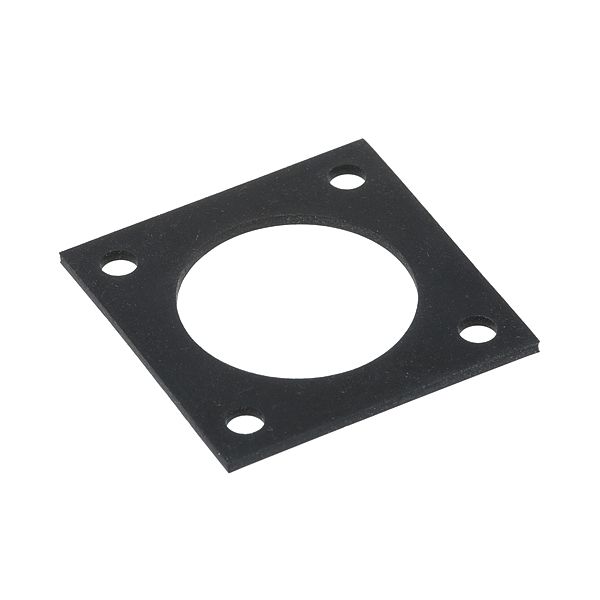
Jackson 05330-011-47-79 Flange Gasket 3" X 3"

Special Price $7.20 Regular Price $8.99
In stock
SKU
05330-011-47-79
Manufacturer:

The Jackson 05330-011-47-79 Flange Gasket is a 3" x 3" sealing strip that is used in other foodservice equipment. It provides a safe, waterproof seal between the surfaces that are connected together, to ensure that the water flows and the system pressure is maintained. This gasket is used in wash or rinse assemblies where the ability to perform in sealing is a requirement. It assists in maintaining the effective functioning of the equipment in the kitchen conditions and maintains the overall optimal level of the equipment, providing the stability of the connections inside the appliance.

Dimensions

  • Length: 3.125 In
  • Width: 3.125 In
  • Height: 0.2 In
  • Weight: 0.1 lbs
https://partsfe.com/media/catalog/product/j/a/jackson-05330-011-47-79-3-sq-black-rubber-flange-gasket-2-25-mount-hole-centers-32716-2.jpg

Product Notes

  • Gasket, 3" Square Flange
  • [ 3" X 3" ] [Rubber ] [ Black ]
  • Mount 4 Holes, 2.25" Mount Hole Ctrs
  • Champion Dishwasher
  • Cleveland Steamers
  • Jackson Dishwasher 150, Jp24
CHAMPION:
108345, CHA108345
CLEVELAND:
103989, 7128, CLE07128, CLE103989, CLE7128
JACKSON:
Write Your Own Review
You're reviewing:Jackson 05330-011-47-79 Flange Gasket 3" X 3"
Your Rating
Customer Questions
What maintenance is required for the Jackson 05330-011-47-79 Flange Gasket?

Check the flange gasket periodically for compression loss, cracks, or deformation that could affect sealing performance. Ensure mounting surfaces remain clean, dry, and free from grease or debris before reassembly. Proper alignment during installation can maintain even pressure distribution. Replace the gasket if any leakage or visible consumption occurs.

What are common issues with the Jackson 05330-011-47-79 Flange Gasket?

  • Leakage from compressed gasket.
  • Cracking due to heat or chemical exposure.
  • Flattening causing poor sealing pressure
  • Misalignment of mounting holes
  • Rubber degradation over time
  • Improper fit leading to fluid seepage

We strive to provide our customers with a hassle-free and efficient shopping experience. Our shipping policy ensures the timely delivery of your orders and complete customer satisfaction. View More

We are committed to ensuring your complete satisfaction with every purchase. We understand that circumstances may arise where you must return a product or request a refund. If for any reason you are not satisfied, you may return the item(s) according to the terms outlined below. View More

This Payment Policy outlines the terms and conditions governing all payments made for products purchased through our website. By making a purchase, you agree to be bound by this Payment Policy. View More

Installation Steps

Step1: Disconnect power and water supply before servicing the unit.

Step2: Remove the old gasket and clean the flange mounting surface thoroughly.

Step3: Align the new gasket with the mount hole centers.

Step4: Position the gasket evenly between the flange and mating surface.

Step5: Insert and hand-tighten mounting screws to hold alignment.

Step6: Tighten screws evenly in a cross pattern to ensure proper sealing.

Step7: Restore power and water, then check carefully for leaks.