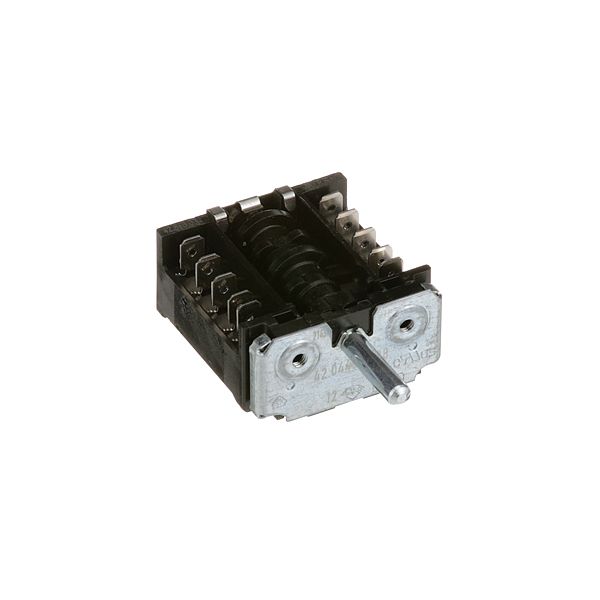
Bakers Pride 1300210 Rotary Switch
Special Price $29.65 Regular Price $60.51
In stock
SKU
1300210
Manufacturer:

Rotary Switch
Dimensions
- Length: 3 In
- Width: 2 In
- Height: 1.25 In
- Weight: 0.25 lbs

| Manufacturer Name: Bakers Pride Product Number: 1300210 OEM Part Number: 1300210 Product Description: Rotary Switch Similar Models:M1326X - Bakers-Pride Dimensions: Length:3in/7.62cm Width:2in/5.08cm Height:1.25in/3.18cm Weight:0.25lbs/113.4g |
Same Day Shipping
Best Quality And Best Price
Wide Range of Inventory
Best Customer Service
We strive to provide our customers with a hassle-free and efficient shopping experience. Our shipping policy ensures the timely delivery of your orders and complete customer satisfaction. View More
We are committed to ensuring your complete satisfaction with every purchase. We understand that circumstances may arise where you must return a product or request a refund. If for any reason you are not satisfied, you may return the item(s) according to the terms outlined below. View More
This Payment Policy outlines the terms and conditions governing all payments made for products purchased through our website. By making a purchase, you agree to be bound by this Payment Policy. View More
Step1: Ensure unit is de-energized to secure shock.
Step2: Disconnect power, apply lockout tagout.
Step3: Remove control panel access.
Step4: Label and disconnect old existing switch wires, noting terminal positions.
Step5: Refer to manufacturer wiring diagram for correct terminal orientation.
Step6: check compatibility with equipment model before installation.
Step7: Install new rotary switch, match terminals per wiring diagram.
Step8: Secure mounting nut and reconnect wires firmly.
Step9: Restore power and test each position for correct operation.