
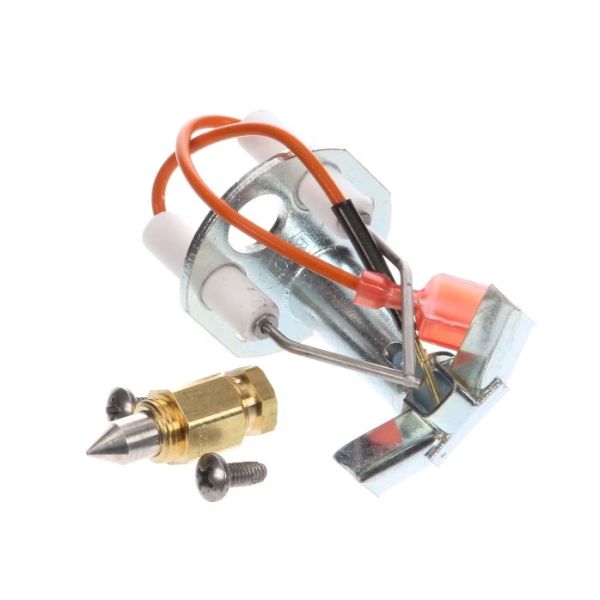
Henny Penny 140296 Fryer Pilot Assembly

Special Price $115.86 Regular Price $218.20
In stock
SKU
140296
Manufacturer:

The Henny Penny 140296 Pilot Assembly is an part used to ensure that the fryers are properly operated. It comprises a pilot light and thermocouple ignition that provide continuous control of the fryer’s gas burner. When the light is on then it regulates the flow of gas to give the better frying experience. The advantages of this assembly include, improved ignition, safety and uniformity in cooking temperatures making it suitable for commercial use. It increases the durbaility of the fryer thereby decreasing the chances of a burner going bad.

Dimensions

  • Length: 5 In
  • Width: 2 In
  • Height: 1 In
  • Weight: 2 lbs
https://partsfe.com/media/catalog/product/h/e/henny-penny-140296-fryer-pilot-assembly-61432.jpg
HENNY PENNY:
Write Your Own Review
You're reviewing:Henny Penny 140296 Fryer Pilot Assembly
Your Rating
Customer Questions
What is the Best Electric Griddle?

Electric Griddle is an electronic equipment that uses an electric element as its heat source. It has a large cooking surface often made up of nonstick material. Electric Griddle has a surface which you do not find in the regular stovetop cookware. ...

What maintenance is required for the Henny Penny 140296 Pilot Assembly?

Regularly inspect the fryer pilot assembly for grease buildup and debris, and clean it to ensure proper ignition. Check the pilot flame for consistency and proper alignment. Ensure gas connections are secure and free from leaks. Turn off gas supply before servicing.

What are common issues with the Henny Penny 140296 Pilot Assembly?

  • Pilot flame not igniting or staying lit.
  • Weak or inconsistent pilot flame.
  • Gas flow obstruction or blockage.
  • Faulty thermocouple connection.
  • Misaligned pilot burner affecting ignition.

We strive to provide our customers with a hassle-free and efficient shopping experience. Our shipping policy ensures the timely delivery of your orders and complete customer satisfaction. View More

We are committed to ensuring your complete satisfaction with every purchase. We understand that circumstances may arise where you must return a product or request a refund. If for any reason you are not satisfied, you may return the item(s) according to the terms outlined below. View More

This Payment Policy outlines the terms and conditions governing all payments made for products purchased through our website. By making a purchase, you agree to be bound by this Payment Policy. View More

Installation Steps

Step1: Disconnect fryer from gas and power supply; allow unit to cool completely before starting.

Step2: Remove access panels and locate old pilot assembly.

Step3: Detach gas line and mounting hardware carefully.

Step4: Install new pilot assembly, ensuring correct alignment and secure fittings.

Step5: Reconnect gas line, check for leaks using approved solution.

Step6: Restore power, test ignition and flame stability.

Step7: Safety: ensure ventilation and avoid open flame during installation.