
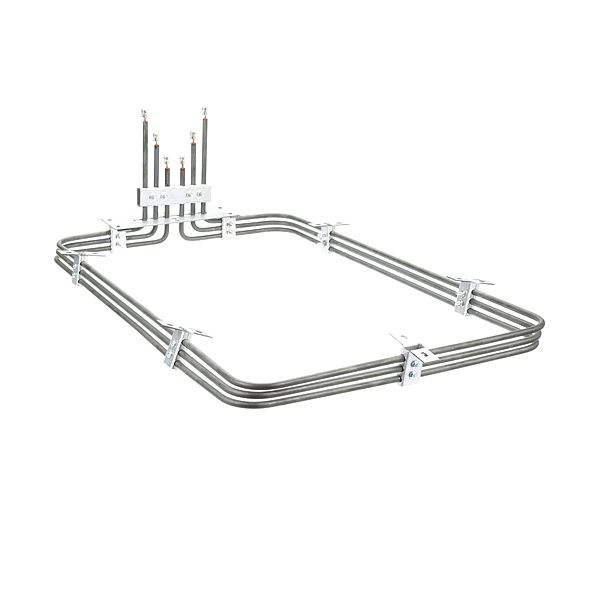
Hobart 142170-1 Element 208V 10000W

Special Price $654.30 Regular Price $1,025.54
In stock
SKU
142170-1
Manufacturer:
Hobart 142170-1 Element is a high power commercial cooking oven element with 10,500 watts at 208V. Dimensions are 26 1/4" x 16 1/2" x 9"H and engineered to fit several Hobart and Vulcan oven models such as CN90A, CN90B, CN90C, CN91, CN91B, CN92C, CN95, and Vulcan ECO4S. This heavy use durable element operates efficiently and consistently heats baking, roasting, and broiling. The Element’s build is robust for longevity, it’s compatible with a variety of commercial ovens, and it heats up quickly to high temperatures, so the food cooks evenly and quickly.

Dimensions

  • Length: 26 In
  • Width: 16 In
  • Height: 9 In
  • Weight: 4.3 lbs
https://partsfe.com/media/catalog/product/h/o/hobart-142170-1-element-208v-10000w-34404-2.jpg

Product Notes

  • Oven Element, [ 208V 10000W 1-3Ph ]
  • [ 26-1/4" X 16-1/2" X 9"H ] [Terminals {Flag }
  • Hobart Oven Cn90A, Cn90B, Cn90C, Cn91, Cn91B, Cn92C, Cn95.
  • Vulcan Oven Eco4S.
Write Your Own Review
You're reviewing:Hobart 142170-1 Element 208V 10000W
Your Rating
Customer Questions
How to replace an oven element by yourself ?

When you wanted to replace an oven element, you first need to remove the power plug from the power cord so that there would be no power exchange. Firstly open the oven door and remove the racks inside it. Keep them aside. At the bottom, you will find...

What maintenance is required for the Hobart 142170-1 Element?

Keep the element clean from grease and residue to maintain proper heat transfer. Inspect for surface wear, oxidation, or cracks. Ensure secure electrical connections and avoid moisture exposure to maintain consistent and safe operation.

What are common issues with the Hobart 142170-1 Element?

  • Element burnout or complete heating failure.
  • Uneven heating across the surface.
  • Loose wiring causing intermittent operation.
  • Surface oxidation reducing efficiency.

We strive to provide our customers with a hassle-free and efficient shopping experience. Our shipping policy ensures the timely delivery of your orders and complete customer satisfaction. View More

We are committed to ensuring your complete satisfaction with every purchase. We understand that circumstances may arise where you must return a product or request a refund. If for any reason you are not satisfied, you may return the item(s) according to the terms outlined below. View More

This Payment Policy outlines the terms and conditions governing all payments made for products purchased through our website. By making a purchase, you agree to be bound by this Payment Policy. View More

Installation Steps

Step1: Disconnect power supply and verify zero voltage.

Step2: Remove access panel and label all wiring connections carefully before removal.

Step3: Unscrew and detach the old heating element from its mounting bracket.

Step4: Install new element, align properly, and secure mounting hardware firmly.

Step5: Reconnect wiring as labeled, ensuring tight and better electrical connections.

Step6: Refit panel, restore power supply, and test operation while monitoring overheating risk.
