
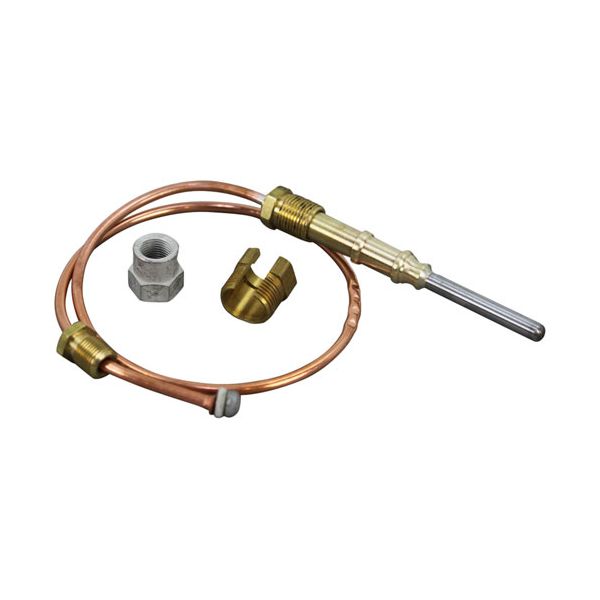
Comstock Castle 17005 Thermocouple

Special Price $36.68 Regular Price $47.64
In stock
SKU
17005
Manufacturer:

The Comstock Castle 17005 Thermocouple  is used for the conversion of appliances from LP to natural gas. It consists of an 18” heavy duty coaxial thermocouple with a range of 20-30 MV and 11/32”-32 coaxial thermocouple threads. This kit is for Johnson Controls K16BT-18H, American Permanent Ware Broiler GCB, GCRB, Henny Penny 16219 (use 511608), and Southbend (use AP# 8012305). The conversion kit is designed to enable a simple and fast change of the kind of gas used in the appliances for optimum performance.

Dimensions

  • Length: 4.5 In
  • Width: 3 In
  • Height: 0.5 In
  • Weight: 0.2 lbs
https://partsfe.com/media/catalog/product/c/o/comstock-castle-17005-lp-to-natural-gas-conversion-kit-w-stainless-spring-cap-black-adjusting-screw-19422-2.jpg

Product Notes

  • 18" Heavy Duty Coaxial Thermcouple, 20-30 Mv,
  • Coaxial Thermocouple Threads = 11/32"-32.
  • Johnson Controls K16Bt-18H
  • American Permanent Ware Broiler Gcb, Gcrb
  • For Henny Penny 16219, Use 511608
  • For Southbend, Use Ap# 8012305
APW WYOTT:
CECILWARE:
COMSTOCK CASTLE:
GRINDMASTER:
JOHNSON CONTROLS:
Write Your Own Review
You're reviewing:Comstock Castle 17005 Thermocouple
Your Rating
Customer Questions
What maintenance is required for the Comstock Castle 17005 Conversion Kit?

Inspect conversion kit regularly for gas leaks and securely tighten fittings. Clean spring cap and adjusting screw to prevent buildup. Proper maintenance ensures safe gas conversion and consistent appliance performance.

What are common issues with the Comstock Castle 17005 Conversion Kit?

  • Gas leakage at fittings and connection points.
  • Incorrect pressure adjustment causing unstable flame performance.
  • Spring cap wear, corrosion, or loosening over time.
  • Adjusting screw sticking, stripping, or misalignment issues.
  • Improper conversion leading to inconsistent gas flow.

We strive to provide our customers with a hassle-free and efficient shopping experience. Our shipping policy ensures the timely delivery of your orders and complete customer satisfaction. View More

We are committed to ensuring your complete satisfaction with every purchase. We understand that circumstances may arise where you must return a product or request a refund. If for any reason you are not satisfied, you may return the item(s) according to the terms outlined below. View More

This Payment Policy outlines the terms and conditions governing all payments made for products purchased through our website. By making a purchase, you agree to be bound by this Payment Policy. View More

Installation Steps

Step1: Wear gloves and goggles; Turn off gas supply and disconnect appliance power.

Step2: Remove existing LP orifices per manual.

Step3: Install provided natural gas conversion orifices from kit.

Step4: Replace spring cap and black adjusting screw, ensuring tight fit.

Step5: Turn gas back on slowly, check for leaks using soapy water before operation.

Step6: Test burner flame and adjust settings as needed for proper combustion.