
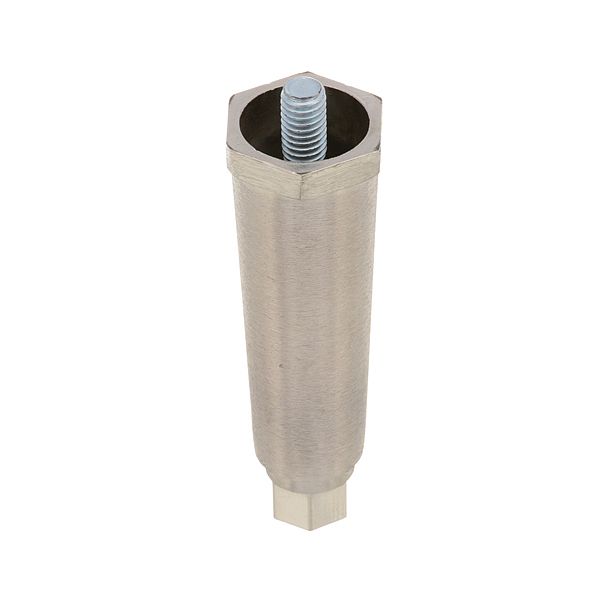
Wells 20314 Leg 4"H 3/8-16" Stud

$14.08
In stock
SKU
20314
Manufacturer:

The Wells 20314 Leg 4H 3/8-16" is used for threading into the equipment frame to offer height adjustment and stability to the equipment when in use. Its metal structure enables the leg to support the weight and, at the same time, level it by simply rotating. This is mounted on the lower corners of the chassis and it is in direct contact with the floor. It is designed to fit on a standard threaded connection and is compatible with other models to ensure adequate clearance in the kitchen layouts, airflow, and alignment.

Dimensions

  • Length: 4 In
  • Width: 0.375 In
  • Height: 4 In
  • Weight: 0.62 lbs
https://partsfe.com/media/catalog/product/w/e/wells-20314-leg-4h-3-8-16-59640-2.jpg

Product Notes

  • 4" Leg, [ Stud 3/8-16 ] [ Satin ] [Material Metal]
  • [ Type Foot Hex ] , Adj: 4" To 5.5" [ General Use ]
  • Wells Warmer
  • Grill
  • Hot Plate
  • Wolf Broiler Scb
  • Grill/Hot Plate Hg, Stg, Stg-Sap
APW WYOTT:
87321, APW87321
BLOOMFIELD:
CHG:
A60-1651, A601651, CHGA60-1651, CHGA601651
STANDARD KEIL:
Write Your Own Review
You're reviewing:Wells 20314 Leg 4"H 3/8-16" Stud
Your Rating
Customer Questions
What maintenance is required for the Wells 20314 Leg?

Regularly inspect the leg for loosening, wear, or thread damage on the stud. Clean grease and debris to prevent corrosion buildup. Tighten securely during routine equipment checks. Proper leveling assists in maintaining better, stable operation of connected equipment.

What are common issues with the Wells 20314 Leg?

  • Loose threading causing instability.
  • Uneven equipment leveling.
  • Corrosion from moisture or grease exposure.
  • Bent or damaged leg base affecting support.
  • Difficulty securing to mounting surface.

We strive to provide our customers with a hassle-free and efficient shopping experience. Our shipping policy ensures the timely delivery of your orders and complete customer satisfaction. View More

We are committed to ensuring your complete satisfaction with every purchase. We understand that circumstances may arise where you must return a product or request a refund. If for any reason you are not satisfied, you may return the item(s) according to the terms outlined below. View More

This Payment Policy outlines the terms and conditions governing all payments made for products purchased through our website. By making a purchase, you agree to be bound by this Payment Policy. View More

Installation Steps

Step1: Disconnect power and ensure the equipment is fully supported on a stable jack or lifting system, wear gloves for safety.

Step2: Remove the existing leg if installed and clean the threaded mounting insert to ensure proper fit.

Step3: Thread the new leg into the mounting point by hand, aligning the threads to avoid cross-threading.

Step4: Adjust height as needed to level equipment evenly on the surface.

Step5: Tighten securely, lower the equipment, and check stability before reconnecting power.