
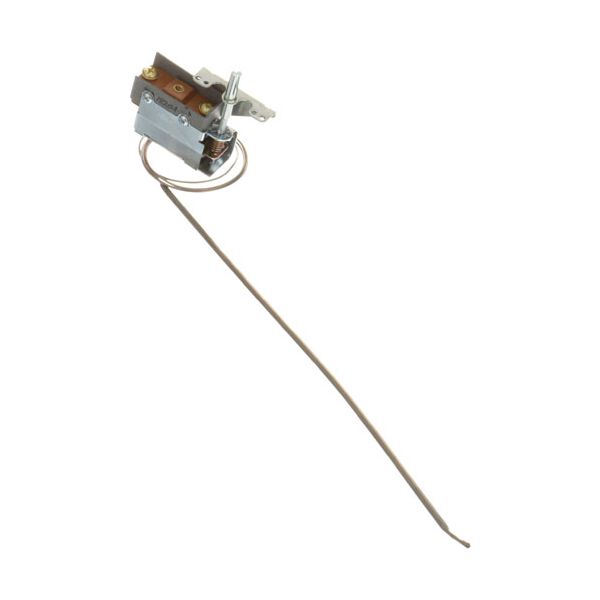
Hatco 2.16.002.00 Thermostat Essex Stemco-351 3/16" X 13" BULB 80-192°F 36" CAP

Special Price $65.02 Regular Price $108.00
In stock
SKU
2.16.002.00
Manufacturer:

The Hatco 2.16.002.00 Thermostat Essex Stemco-351 serves as a temperature controller for heating system applications. The 3/16" x 13" bulb on this thermostat enables equipment control for heating systems between 80°F and 192°F. The 36" capillary allows for flexible installation options and the system regulator Hatco 2.16.002.00 Thermostat functions effectively in industrial and food service environments to deliver safe heat control. Users can adjust temperature settings through the dial system on this device because it combines strong materials with a dial adjustment system that maintains stable performance while being power efficient.

Dimensions

  • Length: 16 In
  • Width: 6 In
  • Height: 6 In
  • Weight: 1.3 lbs
https://partsfe.com/media/catalog/product/h/a/hatco-2-16-002-00-thermostat-essex-stemco-351-3-16-x-13-bulb-80-192-f-36-cap-85757-2.jpg

Product Notes

  • [ Type Essex Stemco - 351 ] [ Temp 80-192 F ]
  • [ Bulb 3/16" X 13" ] [ Cap 36" ] ]
  • [ Dial To Use A1699, K-182, # 22-1138 Pointer ]
  • Hatco Warmer Series: Fdw, Fs, Fshc, Fst,
  • Newer Grsds Units.
Write Your Own Review
You're reviewing:Hatco 2.16.002.00 Thermostat Essex Stemco-351 3/16" X 13" BULB 80-192°F 36" CAP
Your Rating
Customer Questions
What maintenance is required for the Hatco 2.16.002.00 Thermostat?

Regularly inspect the thermostat for accurate temperature regulation and ensure the bulb is properly positioned and free from grease buildup. Clean sensing components carefully and check all wiring for secure, corrosion-free connections. Verify calibration periodically to maintain consistent heating performance and always disconnect power before servicing.

What are common issues with the Hatco 2.16.002.00 Thermostat?

  • Inaccurate or drifting temperature control.
  • Slow response from bulb sensor.
  • Faulty or loose electrical connections.
  • Loss of calibration affecting heating cycles.
  • Intermittent heating or failure to cycle properly.

We strive to provide our customers with a hassle-free and efficient shopping experience. Our shipping policy ensures the timely delivery of your orders and complete customer satisfaction. View More

We are committed to ensuring your complete satisfaction with every purchase. We understand that circumstances may arise where you must return a product or request a refund. If for any reason you are not satisfied, you may return the item(s) according to the terms outlined below. View More

This Payment Policy outlines the terms and conditions governing all payments made for products purchased through our website. By making a purchase, you agree to be bound by this Payment Policy. View More

Installation Steps

Step1: Disconnect electrical power to the equipment and allow it to cool completely.

Step2: Remove the control panel to access the existing thermostat and capillary bulb.

Step3: Label and disconnect the thermostat wiring.

Step4: Carefully remove the sensing bulb and capillary tube, avoiding kinks or sharp bends.

Step5: Install the new thermostat and route the capillary tube along the original path.

Step6: Secure the sensing bulb in its mounting location and reconnect the wiring.

Step7: Reassemble the unit, restore power, and verify proper temperature control operation.