
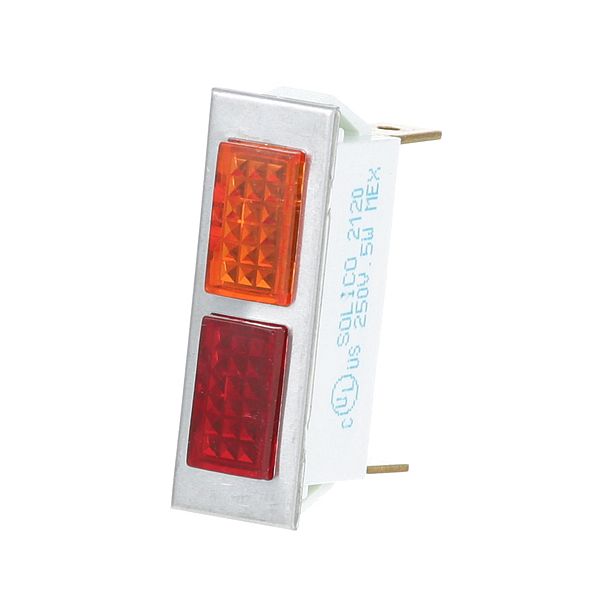
Hobart 345751-2 Signal Light 3/8" X 1-5/16" Red/Amber

Special Price $16.87 Regular Price $21.90
In stock
SKU
345751-2
Manufacturer:

The Hobart 345751-2 Signal Light is a two-color indicator unit that is used to indicate the operating condition in compatible commercial foodservice equipment. It is intended to be used with the systems produced, and it can give visual input as it lights up red or amber to indicate certain conditions of the machine. The light fits into the control panel, and it communicates with internal circuitry to reflect the activity. This indicator is substituted by technicians in the course of maintenance when visibility is diminished so that operators can monitor equipment status properly as a normal part of appliance operation.

Dimensions

  • Length: 1 In
  • Width: 1.5 In
  • Height: 0.5 In
  • Weight: 0.1 lbs
https://partsfe.com/media/catalog/product/h/o/hobart-345751-2-signal-light-3-8-x-1-5-16-red-amber-97615-2.jpg

Product Notes

  • Signal Light, 250 V [ Fits Hole 3/8" X 1-5/16" ]
  • [(3) 1/4" Tabs ] [Color Red/Amber] [ Type Hat Flat ]
  • [ Bezel Crhome] [ Fastener Lock Tabs]
  • Alto-Shaam
  • Hobart Fryer
ALTO-SHAAM:
GENERAL ELECTRIC:
HOBART:
00-345751-00002, 00-345751-00005, 345751-2, 345751-5, XNC25X113/345751-2, XNC25X118/345751-5
Write Your Own Review
You're reviewing:Hobart 345751-2 Signal Light 3/8" X 1-5/16" Red/Amber
Your Rating
Customer Questions
What maintenance is required for the Hobart 345751-2 Signal Light?

Inspect the signal light regularly for lens clarity, secure mounting, and proper color visibility. Check electrical connections for tightness and corrosion. Replace the unit if flickering or dimming occurs. Keeping the lens clean ensures clear visual signaling and accurate equipment status indication.

What are common issues with the Hobart 345751-2 Signal Light?

  • Flickering or intermittent illumination.
  • Burned-out LED or bulb failure.
  • Loose or corroded wiring connections.
  • Cracked or faded red/amber lens.
  • Moisture ingress causing malfunction.

We strive to provide our customers with a hassle-free and efficient shopping experience. Our shipping policy ensures the timely delivery of your orders and complete customer satisfaction. View More

We are committed to ensuring your complete satisfaction with every purchase. We understand that circumstances may arise where you must return a product or request a refund. If for any reason you are not satisfied, you may return the item(s) according to the terms outlined below. View More

This Payment Policy outlines the terms and conditions governing all payments made for products purchased through our website. By making a purchase, you agree to be bound by this Payment Policy. View More

Installation Steps

Step1: Turn off electrical power and apply lockout/tagout, check zero voltage.

Step2: Remove existing indicator and clean mounting opening.

Step3: Insert the signal light into panel cutout and secure with retaining nut.

Step4: Connect wires to matching terminals per wiring diagram, ensuring tight, insulated connections.

Step5: Restore power and test indication for correct operation and visibility.