Toastmaster - See Middleby Marshall 3B82D8403 Plastic Drawer Handle

$57.44
In stock
SKU
3B82D8403
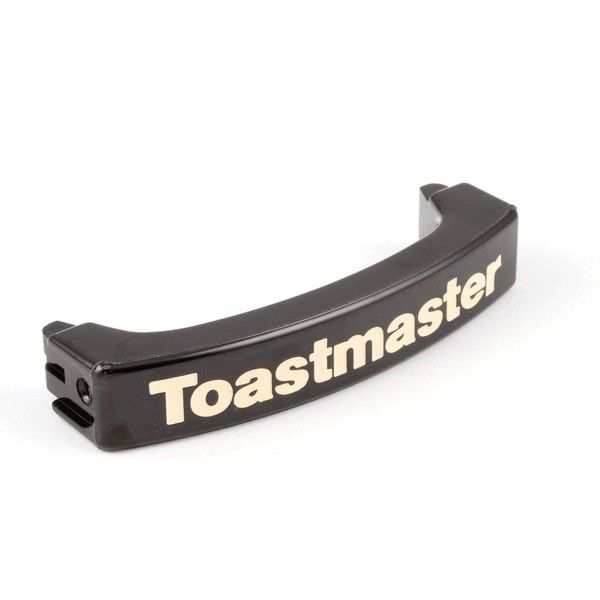
The Toastmaster - See Middleby Marshall 3B82D8403 Black Plastic-Drawer Handle serves as a specific component that restores both performance and visual appeal of your Toastmaster warming equipment. The handle provides both safety and smooth operation to your warming drawer. The handle was created exclusively for Toastmaster warming units and functions with screws. Toastmaster provides diverse warming drawer units which meet different requirements in the foodservice industry. The 3C84DT09 operates as a standalone unit that contains three drawers which accept 12" x 20" x 5" pans and provides precise temperature control through thermostatic controls. The 3A81DT09 single-drawer free-standing warmer stands alongside the two-drawer free-standing warmer which has a stainless steel body and aluminized steel interior.

Dimensions

  • Length: 4.125 In
  • Width: 0.75 In
  • Height: 1.5 In
  • Weight: 0.1 lbs
https://partsfe.com/media/catalog/product/t/o/toastmaster-see-middleby-marshall-3b82d8403-plastic-drawer-handle-37831-2.jpg

Product Notes

  • Black Plastic Drawer Handle,
  • For Screws Use # 26-1249
  • Toastmaster Warmer 3A(20A,80A,81D),
  • 3B(20A,22D,70A,72D,80A,82D,84A,
  • 84D), 3C8(Xd,0A,4A,4D), 3D8Xd, Hh(24,96).
MIDDLEBY MARSHALL:
STERO:
STA2R-3101758, STA2R3101758
Write Your Own Review
You're reviewing:Toastmaster - See Middleby Marshall 3B82D8403 Plastic Drawer Handle
Your Rating
Customer Questions
What maintenance is required for the Toastmaster 3B82D8403 Drawer Handle?

Wipe the handle regularly to remove grease and dirt. Check screws or mounting points for tightness to prevent loosening. Avoid abrasive cleaners that could scratch the finish. Proper care ensures easy opening and secure handling of drawers.

What are the common issues with the Toastmaster 3B82D8403 Drawer Handle?

  • Loose or stripped screws.
  • Handle cracking or breaking.
  • Finish wearing or chipping.
  • Difficulty gripping the handle.

We strive to provide our customers with a hassle-free and efficient shopping experience. Our shipping policy ensures the timely delivery of your orders and complete customer satisfaction. View More

We are committed to ensuring your complete satisfaction with every purchase. We understand that circumstances may arise where you must return a product or request a refund. If for any reason you are not satisfied, you may return the item(s) according to the terms outlined below. View More

This Payment Policy outlines the terms and conditions governing all payments made for products purchased through our website. By making a purchase, you agree to be bound by this Payment Policy. View More

Installation Steps

Step1: Ensure the appliance drawer is empty and the area is clear.

Step2: Remove the old handle by unscrewing the mounting screws from inside the drawer.

Step3: Align the new handle with the pre-drilled holes on the drawer front.

Step4: Insert and tighten screws securely from the inside, ensuring the handle is straight.

Step5: Test the handle by opening and closing the drawer smoothly.

Step6: Avoid overtightening screws to prevent cracking the drawer surface.